 Pin
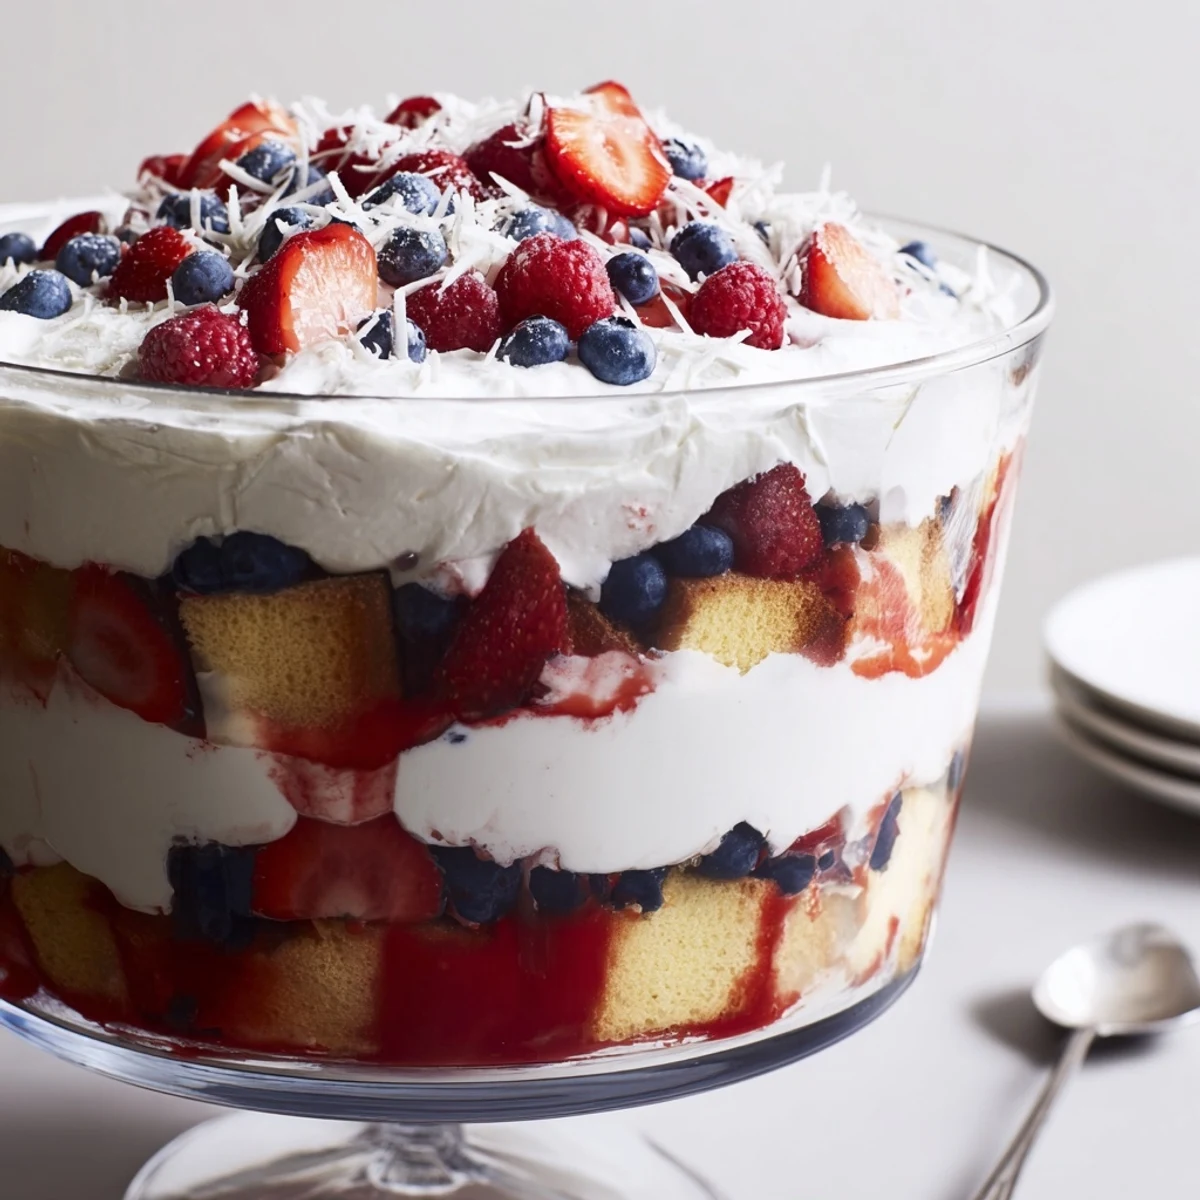
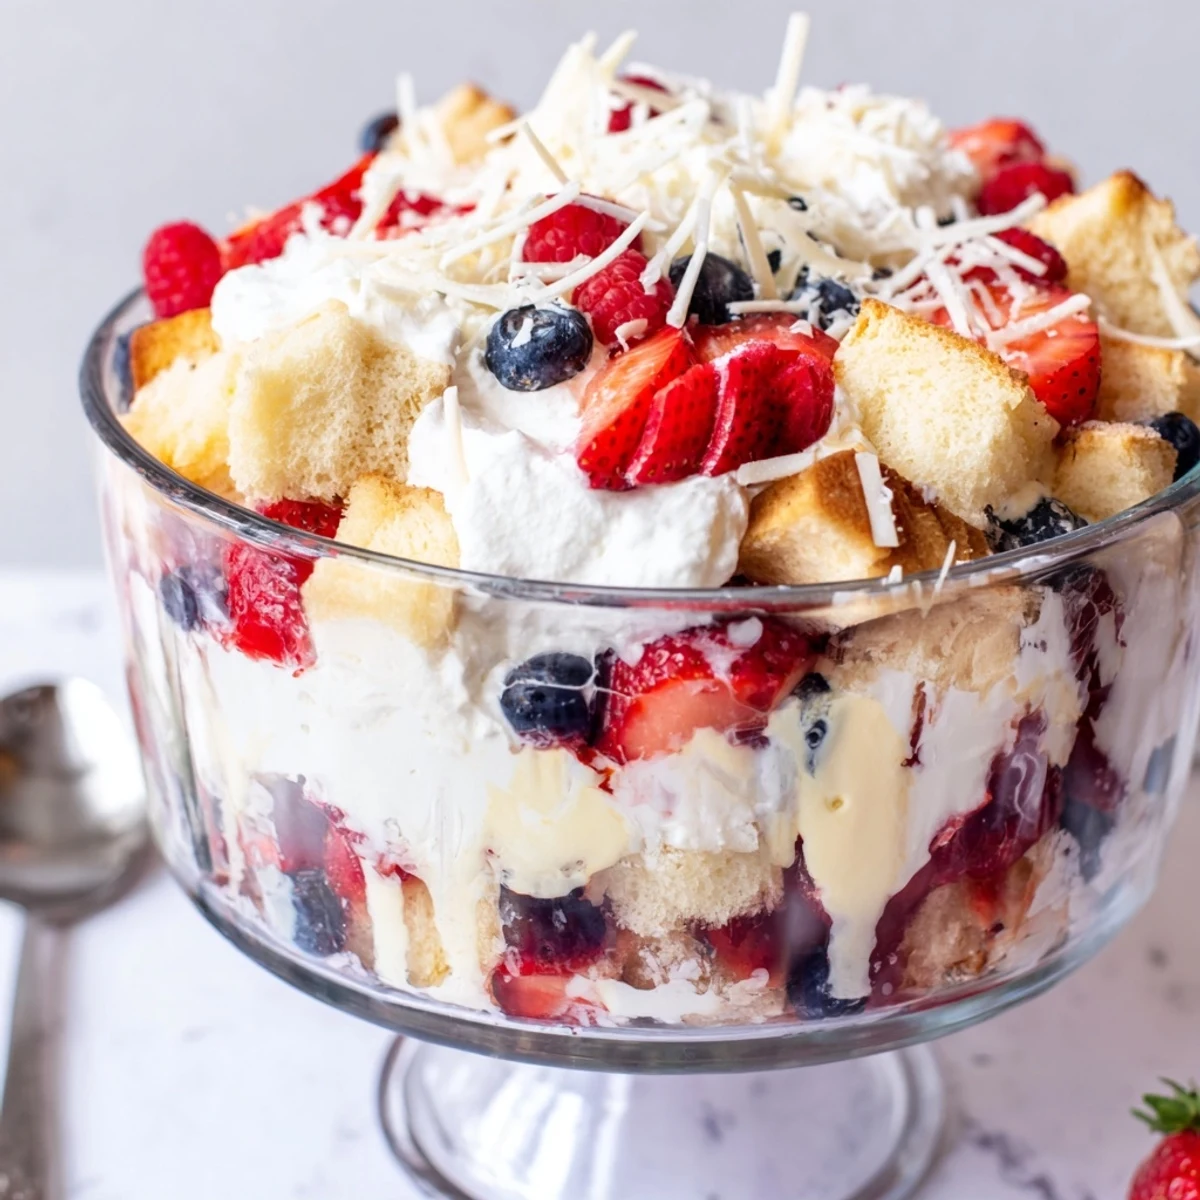
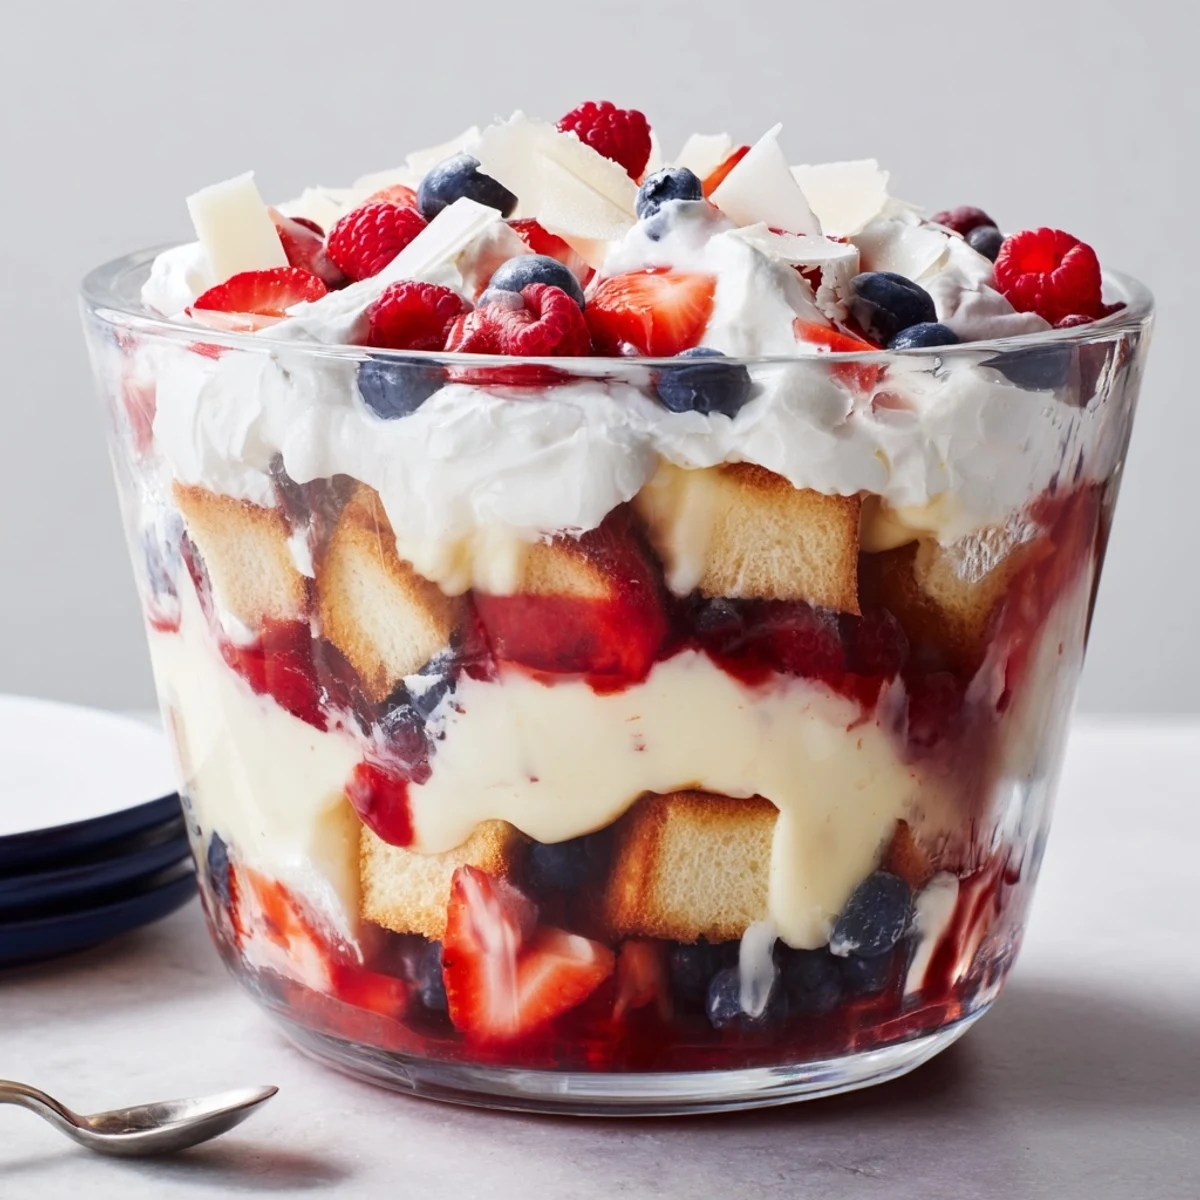
Pin Build layers of cubed pound cake, silky instant vanilla pudding and freshly whipped cream, alternating with strawberries, blueberries and raspberries. Chill at least 2 hours so the cake softens and flavors meld. Serve chilled from a clear bowl to showcase the red, white and blue layers; finish with extra berries and optional white chocolate shavings.
Some desserts just seem to bring out everyone's inner child, and this trifle always manages to do just that. The first time I made it, I was struck by the laughter in the kitchen as each layer tumbled in, the berries accidentally rolling off the spoon and quick hands trying to snag a few. It's the kind of recipe that fills the house with anticipation—not just for the taste, but for the gorgeous, festive layers. Watching the colors come together is half the fun.
One July afternoon, my nephew offered to help but couldn't resist sneaking extra berries, and our trifle ended up with a wonky red-and-blue mosaic that became an accidental hit. That day, nobody cared if the layers were perfect; it’s still the most talked-about dessert from that cookout.
Ingredients
- Pound cake or angel food cake: Diced into cubes, these soak up the pudding and cream while holding their shape, so cut them evenly for the best texture.
- Fresh strawberries: Slice them right before layering so they stay vibrant and juicy; macerating isn’t needed here.
- Blueberries: I love using plump, firm blueberries—give them a quick rinse and pat dry to avoid sogginess.
- Raspberries: They add a tart pop, but be gentle when layering; the prettiest trifles have whole, undamaged berries.
- Cold milk and instant vanilla pudding mix: The base of the creamy layer, and the quicker the pudding sets, the happier I am.
- Heavy whipping cream, powdered sugar, and vanilla extract: Whipped together, this gives the trifle its luscious finish—cold utensils help it hold its shape, especially on a warm day.
- Extra berries and optional white chocolate shavings: The final touch that has everyone reaching for seconds; use as much or as little as you like.
Instructions
- Make the pudding:
- In a medium-sized bowl, whisk together cold milk and vanilla pudding mix briskly for a couple of minutes—listen for the whispers of thickening as you go. Let it sit for five minutes; you'll see it turn glossy and rich.
- Whip the cream:
- Chill your mixing bowl and beaters, then pour in the heavy cream, powdered sugar, and vanilla. As you whip, watch for the peaks to stiffen—holding their little shape is your cue to stop.
- Begin layering:
- Scatter half the cake cubes into the bottom of your glass trifle dish; the chunkier the cubes, the more fun each bite. Try not to eat them all as you go, but no promises.
- Add creamy goodness:
- Spoon one third of the pudding over the cake, then float a pillowy layer of whipped cream on top—spreading gently ensures the layers stay distinct.
- Bring on the color:
- Top with a generous helping of strawberries and blueberries, letting their colors mix in artistic patches. It's okay if they tumble together—it makes every serving special.
- Repeat the fun:
- Add the rest of your cake, another layer of pudding and cream, and now sprinkle in the remaining raspberries and berries. Stack up the color all the way to the top.
- Final flourish:
- Crown your trifle with the last of the pudding and cream, then artfully arrange remaining berries and a flurry of white chocolate shavings for that irresistible finish.
- Chill for flavor:
- Cove it and refrigerate for at least two hours, allowing the flavors to mingle and the whole dessert to settle into its deliciously messy glory.
 Pin
Pin I’ll never forget when my friend, who was skeptical of "assembly" desserts, scooped up a portion and suddenly declared me queen of the potluck—sometimes even the simplest sweets win hearts.
Tips for Assembling Like a Pro
If you're layering in a hurry, keep the whipped cream just a hair firmer—this helps it stay put and gives you those magazine-ready tiers. Using a glass bowl lets everyone see the stripes, but if you’re short on time, mason jars make adorable single servings.
Choosing the Best Berries
Grab the ripest berries you can find, but avoid overripe ones that might melt into the cream before serving. I’ve swapped in blackberries when raspberries were scarce, and the trifle turned out just as joyful.
Serving and Storing
This trifle is at its best served the same day, after a good chill, but leftovers hold up for about 24 hours—if you can keep from sneaking a late-night spoonful. Invite friends to scoop from the edge to get every layer in each helping.
- If in doubt, double the recipe for big crowds.
- Keep a few extra berries handy for last-minute garnishing.
- Don’t forget to tuck the bowl toward the back of the fridge—out of sight is out of mind for dessert thieves.
 Pin
Pin No matter how you serve it, this trifle always disappears fast and leaves a table full of smiles. However you layer it, it’s really about sharing a little sweetness with the people you love.
Recipe FAQs
- → Can I use frozen berries?
-
Yes. Thaw and drain frozen berries thoroughly to avoid excess moisture. Pat them dry on paper towels before layering so the pudding and cake stay firm.
- → How do I prevent the cake from getting soggy?
-
Use slightly stale or toasted pound cake for better structure, and ensure pudding is thick before layering. Chill the assembled bowl so the layers set rather than collapse.
- → What can I substitute for pound cake?
-
Angel food cake, sponge cake or cubed brioche work well. Choose a sturdy, mildly sweet cake that absorbs flavors without disintegrating.
- → How far ahead can I assemble it?
-
Assemble up to 1 day ahead and refrigerate. The cake will soften as it chills, and flavors deepen; add delicate garnishes like extra berries just before serving.
- → How can I lighten the layers?
-
Swap heavy cream for a light whipped topping or use plain vanilla yogurt in place of some or all of the whipped cream to reduce richness while keeping creamy texture.
- → Any tips for displaying the layers?
-
Use a clear trifle bowl and even, thin layers for a striking red, white and blue presentation. Spread ingredients flat with a spatula and alternate colors for the best visual impact.