
 Pin
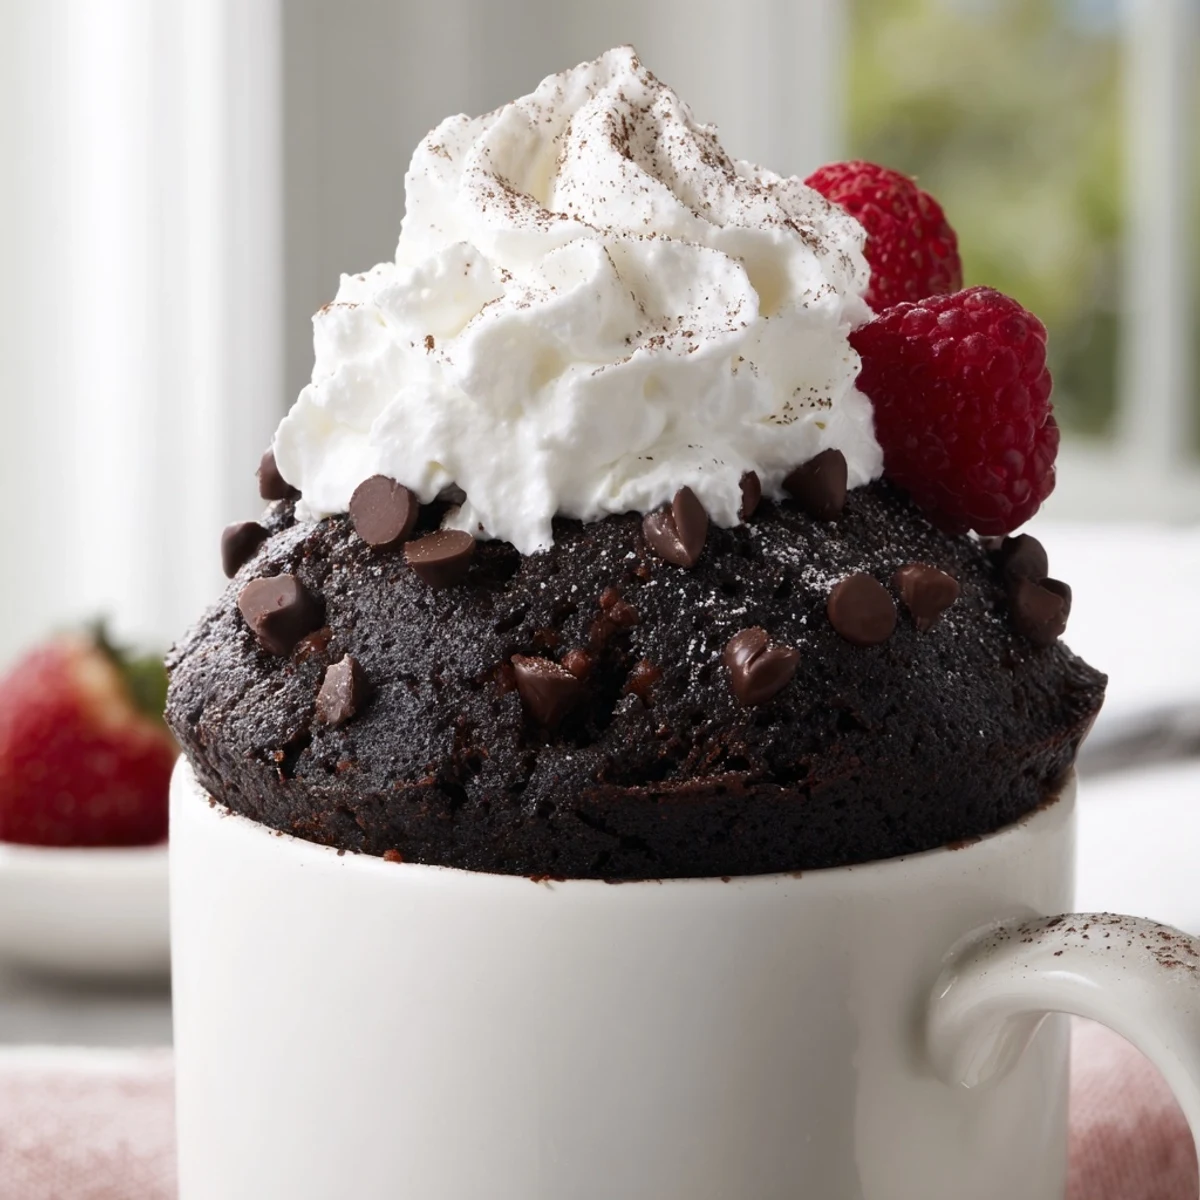
Pin This gluten-free chocolate mug cake is the ultimate quick-fix dessert for anyone craving something sweet and chocolaty without the fuss. Made with a simple blend of gluten-free flour, cocoa powder, and pantry staples, it comes together in a single mug and cooks in the microwave in under 2 minutes.
The batter is whisked directly in a microwave-safe mug, eliminating the need for bowls or extra cleanup. A handful of chocolate chips folded into the mix adds pockets of melted indulgence throughout. Topped with whipped cream or fresh berries, it transforms into a satisfying individual dessert.
Perfect for late-night cravings, last-minute guests, or anytime you want a warm, personal-sized treat without turning on the oven.
My daughter stood in the kitchen doorway at ten thirty on a school night, arms crossed, declaring she absolutely needed chocolate or the world would end. I glanced at the clock, weighed my options, and reached for a mug. Sometimes the best recipes are born from pure desperation and a willingness to gamble on the microwave.
I made this three nights in a row that first week, each time tweaking something small until my daughter finally declared it perfect and started making it herself. She now calls it her emergency protocol and keeps a dedicated mug for it on the top shelf. The dog sits hopefully nearby every single time, though he has never once gotten a bite.
Ingredients
- Gluten-free all-purpose flour blend (3 tablespoons): The backbone of the cake, and you really do need a proper blend with xanthan gum already included for the right texture.
- Unsweetened cocoa powder (2 tablespoons): Use a good quality one because there is nowhere to hide in a mug cake, and every flavor stands out.
- Granulated sugar (3 tablespoons): This is not the moment to cut back, as sugar helps create that tender crumb we are after.
- Baking powder (1/4 teaspoon): Just enough lift to keep it from turning into a chocolate brick at the bottom of your mug.
- Salt (pinch): A tiny pinch makes the chocolate taste deeper and more rounded.
- Milk, dairy or non-dairy (3 tablespoons): Any milk works here, so use whatever you have handy.
- Neutral oil (2 tablespoons): Canola or light olive oil keeps it moist in a way butter just cannot match in the microwave.
- Pure vanilla extract (1/4 teaspoon): A little goes a long way in such a small batter.
- Chocolate chips (1 tablespoon, optional): Fold these in for pockets of melted chocolate that make the whole thing feel outrageously indulgent.
- Whipped cream or berries (for serving): Entirely optional but they turn a quick snack into something that feels like a real dessert.
Instructions
- Build the dry foundation:
- Grab a microwave-safe mug that holds at least twelve ounces and whisk together the flour, cocoa powder, sugar, baking powder, and salt right inside it. Break up any cocoa clumps with your spoon because they will not dissolve later no matter how hard you try.
- Add the wet ingredients:
- Pour in the milk, oil, and vanilla, then stir thoroughly until you have a smooth, lump-free batter that looks like glossy chocolate silk. Scrape the sides and bottom of the mug because stray flour pockets are the enemy of a good mug cake.
- Make it indulgent:
- Fold in the chocolate chips if you are using them, and for an even more decadent surprise, press a small piece of chocolate right into the center of the batter.
- Into the microwave:
- Cook on high for one minute and thirty seconds to two minutes, watching through the door like a nervous parent on the first day of school. The cake is done when it is set and springs back lightly when you touch the top, but every microwave is different so start checking early.
- Rest and finish:
- Let it cool for one to two minutes because that molten center will take the roof of your mouth off if you rush. Top with whipped cream or berries and eat it straight from the mug while it is still warm.
 Pin
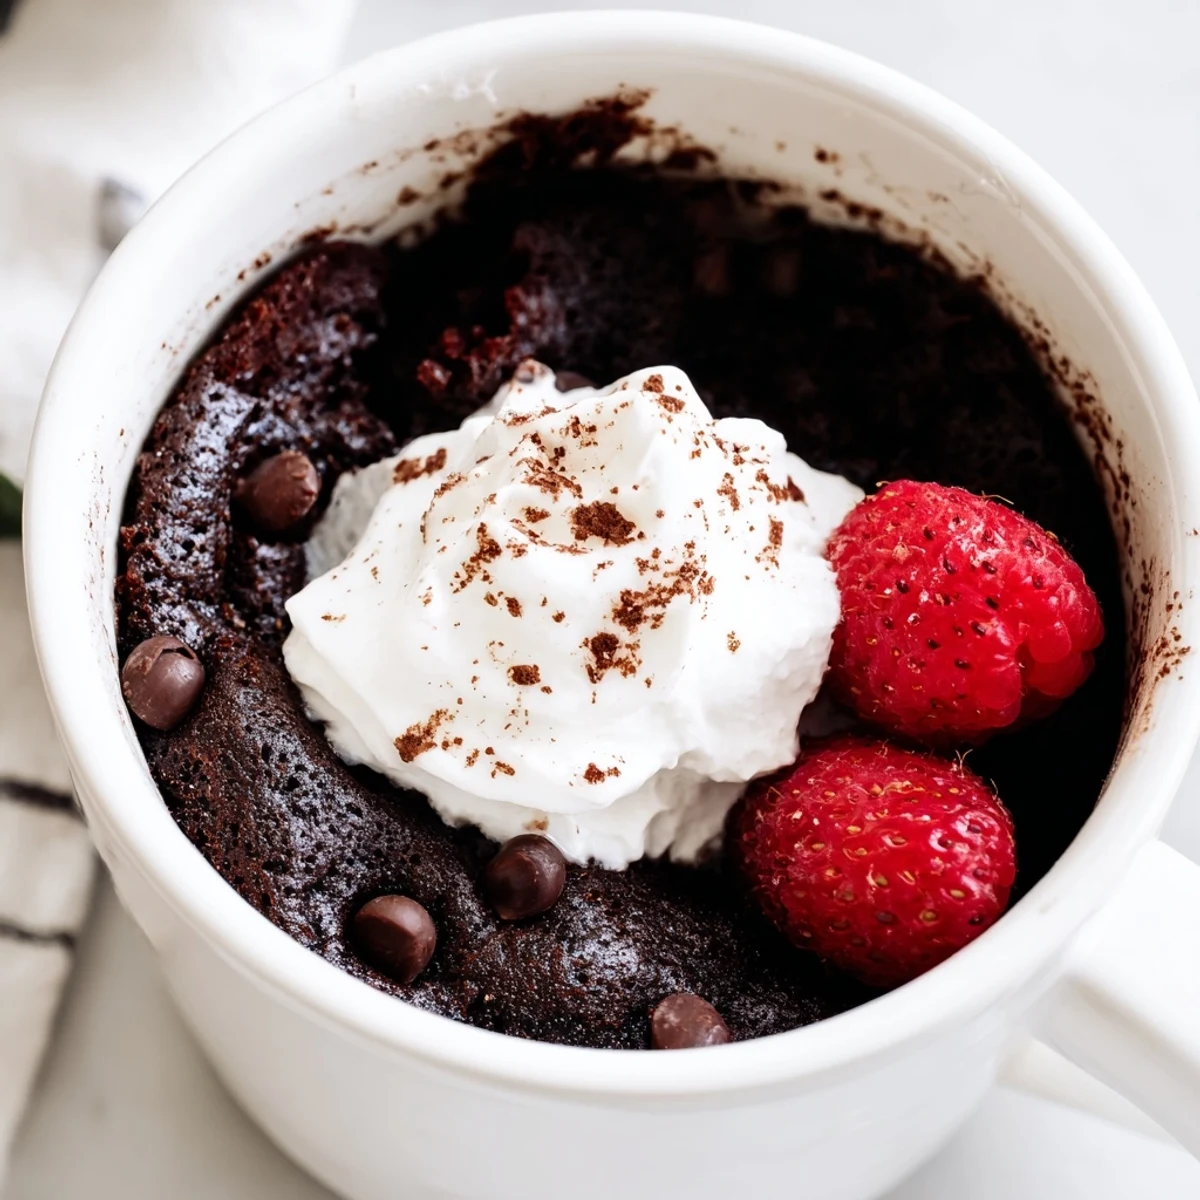
Pin One rainy Saturday my daughter made this for a friend who had never eaten gluten-free anything and was deeply suspicious. The friend took one bite, went quiet, and then asked for the recipe before admitting she could not tell the difference. That tiny mug cake did more for gluten-free persuasion than any cookbook ever could.
Choosing the Right Mug Matters More Than You Think
Use a mug that is at least twelve ounces because this batter rises dramatically in the microwave and will overflow anything smaller, leaving you with a mess on the turntable and a much smaller cake than you planned. Straight-sided mugs cook more evenly than tapered ones, and a wider mug gives you a better ratio of edge to center. I learned this the hard way when half my batter ended up on the microwave plate and the dog finally got his wish.
Making It Dairy-Free Is Effortless
Swap the milk for almond, soy, or oat milk and use dairy-free chocolate chips, and you have a dessert that works for almost everyone at the table without any extra effort. Coconut oil can stand in for the neutral oil if you like a hint of coconut flavor with your chocolate. The texture stays virtually identical, so nobody feels like they are eating a compromise.
Quick Answers From My Kitchen to Yours
After making this probably a hundred times, a few questions come up repeatedly and the answers are always simpler than people expect.
- You can mix everything the night before and refrigerate the mug, then just add a few extra seconds to the cook time in the morning.
- Double the recipe into a larger bowl if you want two servings, but do not just use two mugs at once because they cook unevenly.
- Eat it right away because mug cakes wait for no one and the texture changes as it cools completely.
 Pin
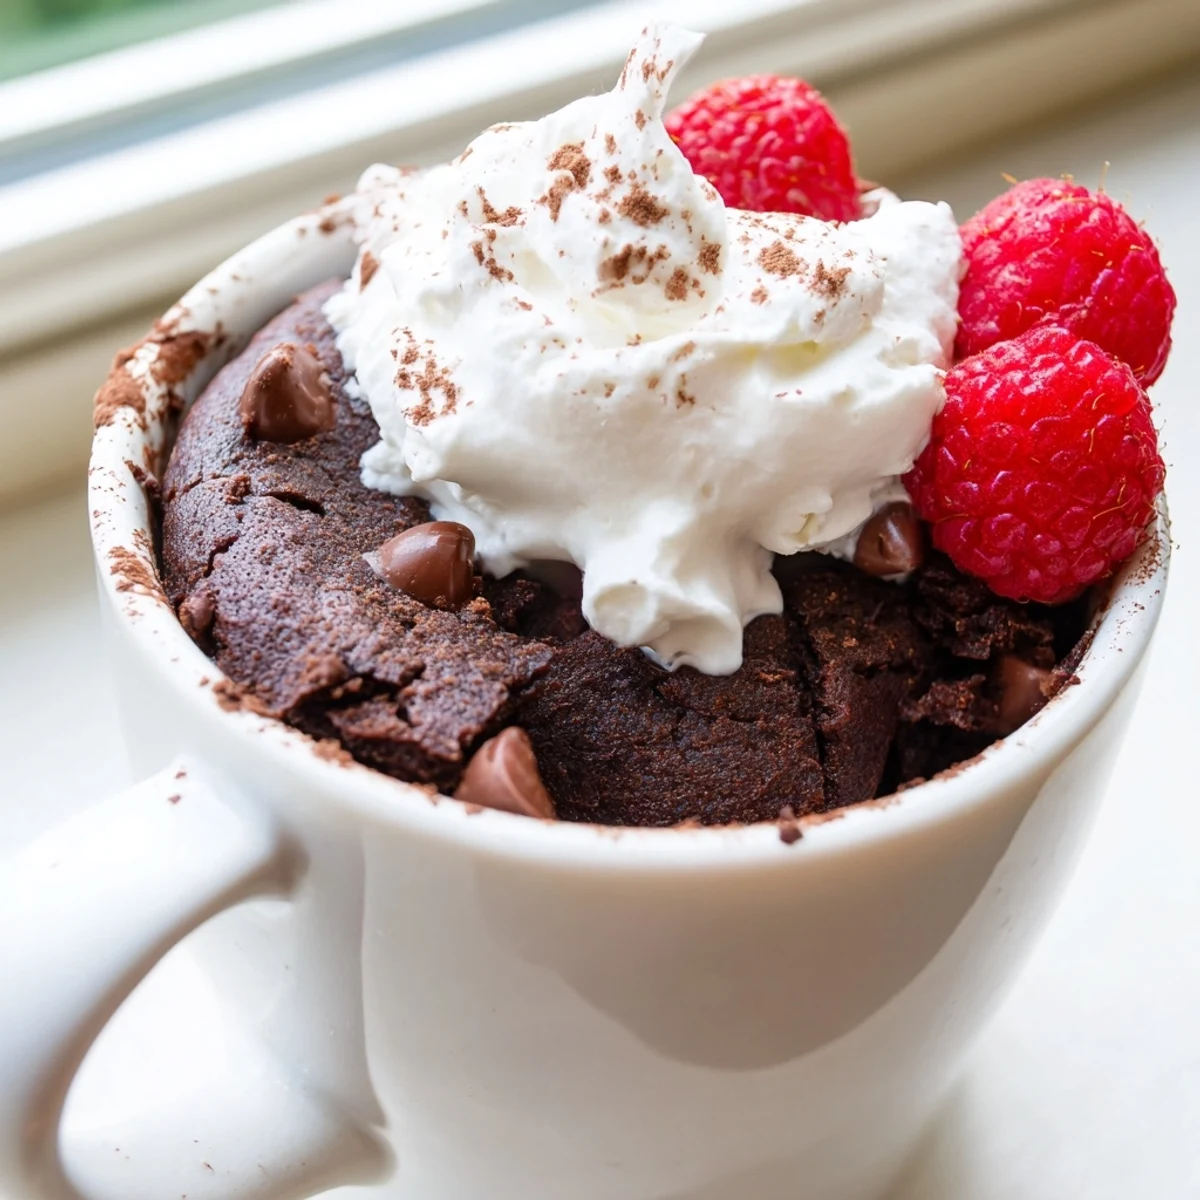
Pin Keep this recipe tucked in your back pocket for late-night cravings, unexpected guests, or any evening that simply deserves chocolate in a hurry. It is small proof that good things do not always require patience.
Recipe FAQs
- → Can I make this mug cake dairy-free as well?
-
Yes, simply substitute the milk with your favorite non-dairy alternative such as almond milk, oat milk, or soy milk. Use dairy-free chocolate chips and a neutral oil instead of butter to keep it entirely plant-based.
- → Why did my mug cake turn out rubbery?
-
Microwaves vary in power, so overcooking is the most common cause of a rubbery texture. Start with 1 minute 30 seconds and check for doneness — the top should look set and spring back lightly when touched. Add time in 15-second increments if needed.
- → What gluten-free flour blend works best?
-
A store-bought gluten-free all-purpose flour blend that contains xanthan gum yields the best results. If your blend doesn't include it, add a small pinch of xanthan gum to help with structure and texture.
- → Can I prepare the dry mix ahead of time?
-
Absolutely. Combine the flour, cocoa powder, sugar, baking powder, and salt in a small airtight container or zip-top bag. When ready to enjoy, just add the wet ingredients, stir, and microwave. This makes a great quick-dessert kit.
- → What size mug should I use?
-
Use a microwave-safe mug that holds at least 12 ounces to allow the cake to rise without overflowing. A standard 14 to 16 ounce mug works perfectly and gives a little extra room for toppings like whipped cream or ice cream.
- → How should I store leftovers?
-
Mug cakes are best enjoyed immediately while warm and fresh. If you have leftovers, cover the mug with plastic wrap and refrigerate for up to one day. Reheat briefly in the microwave for 10 to 15 seconds to soften before eating.