 Pin
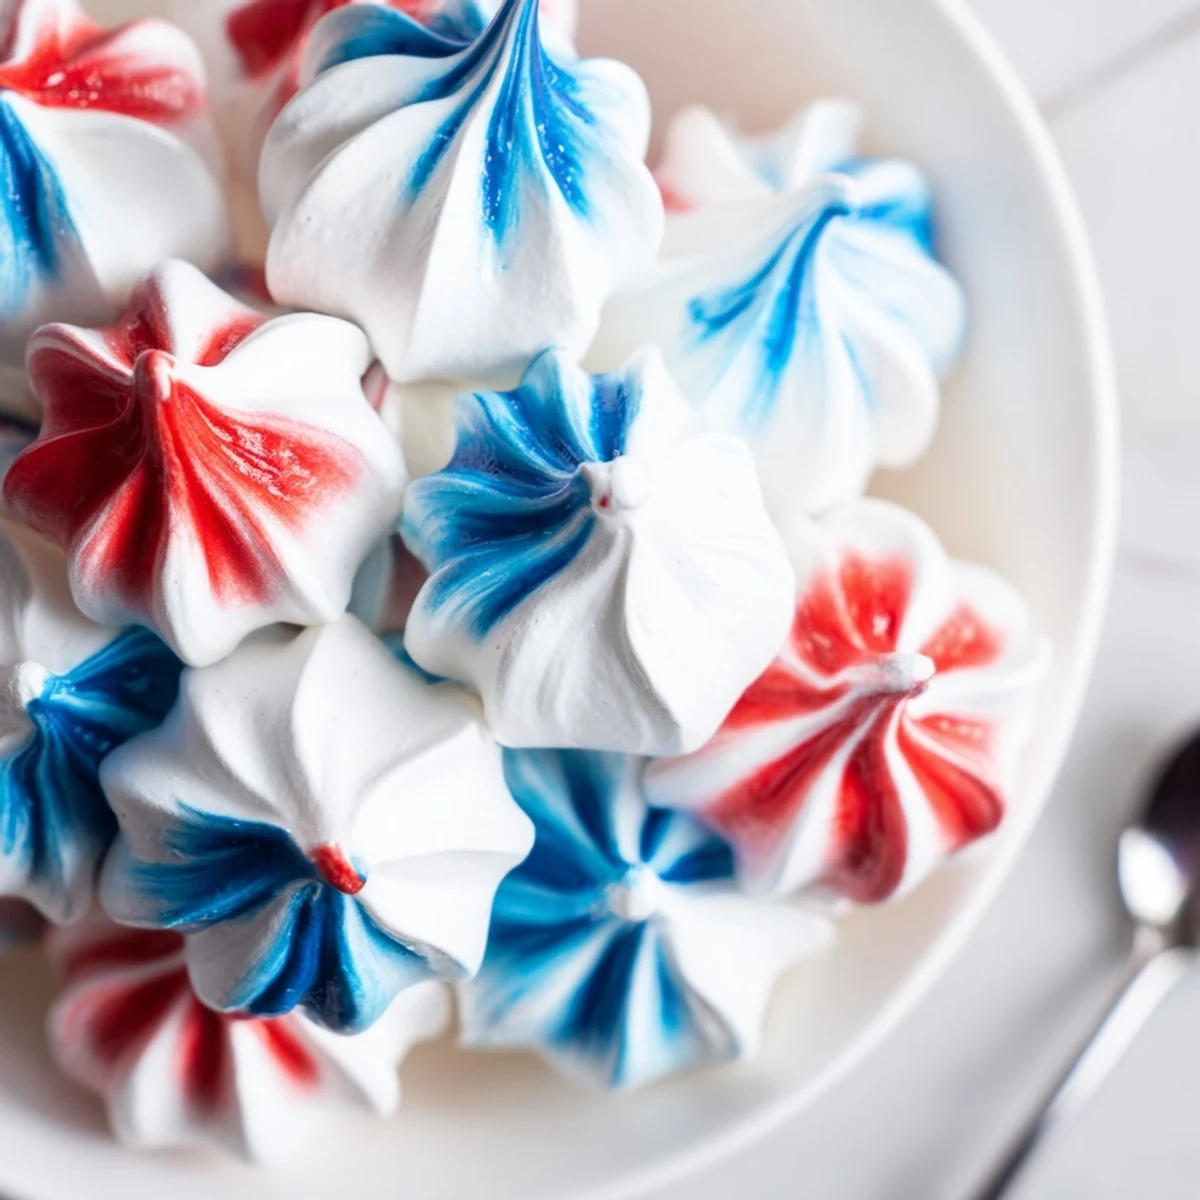
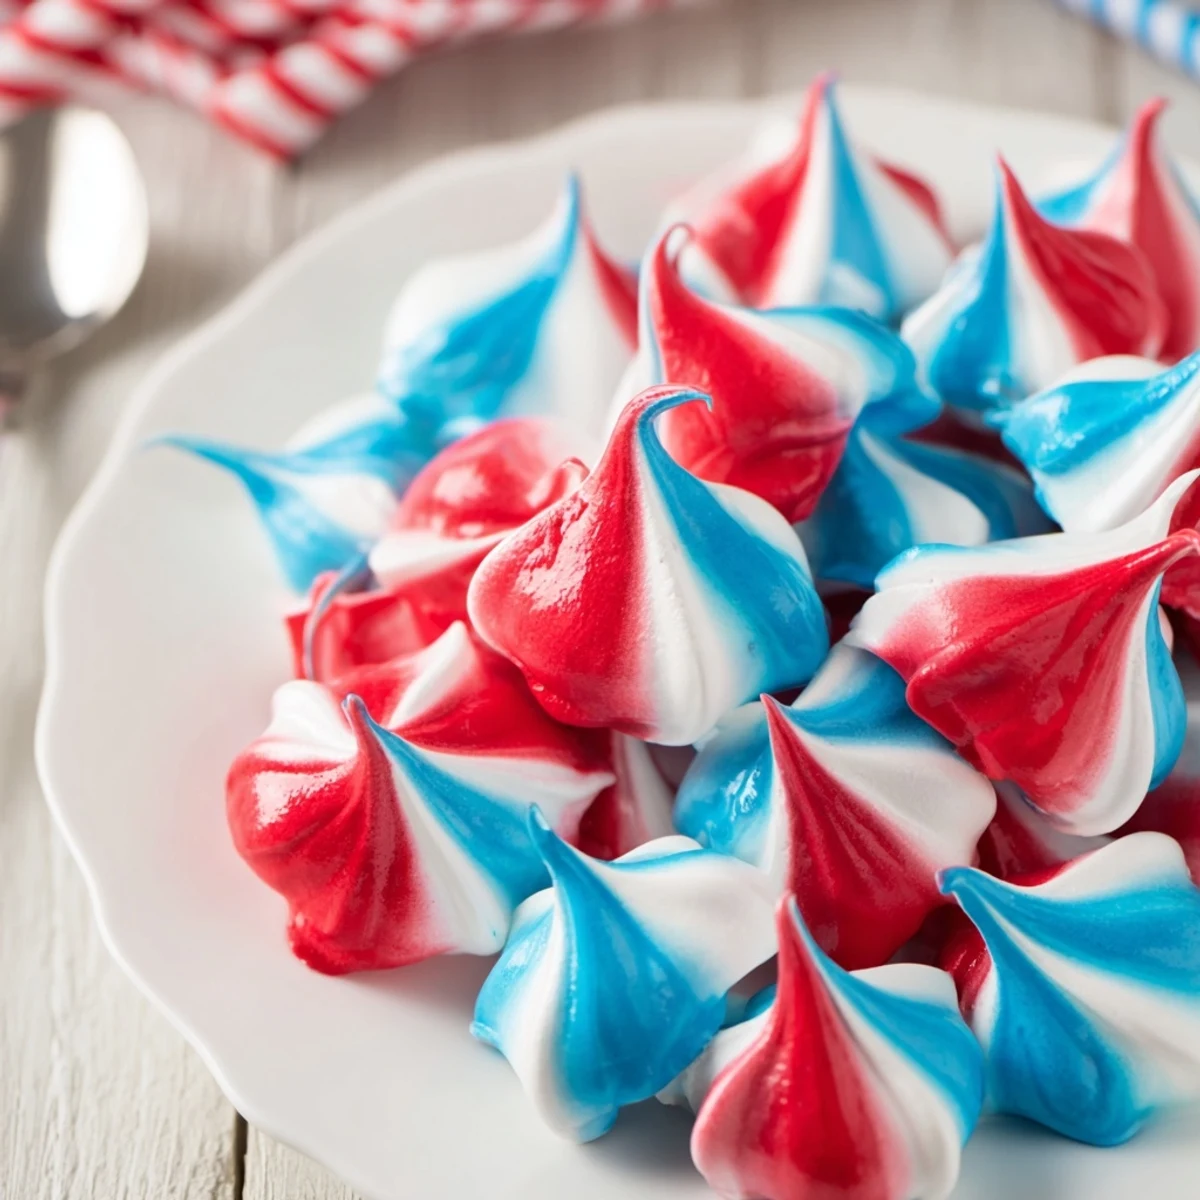
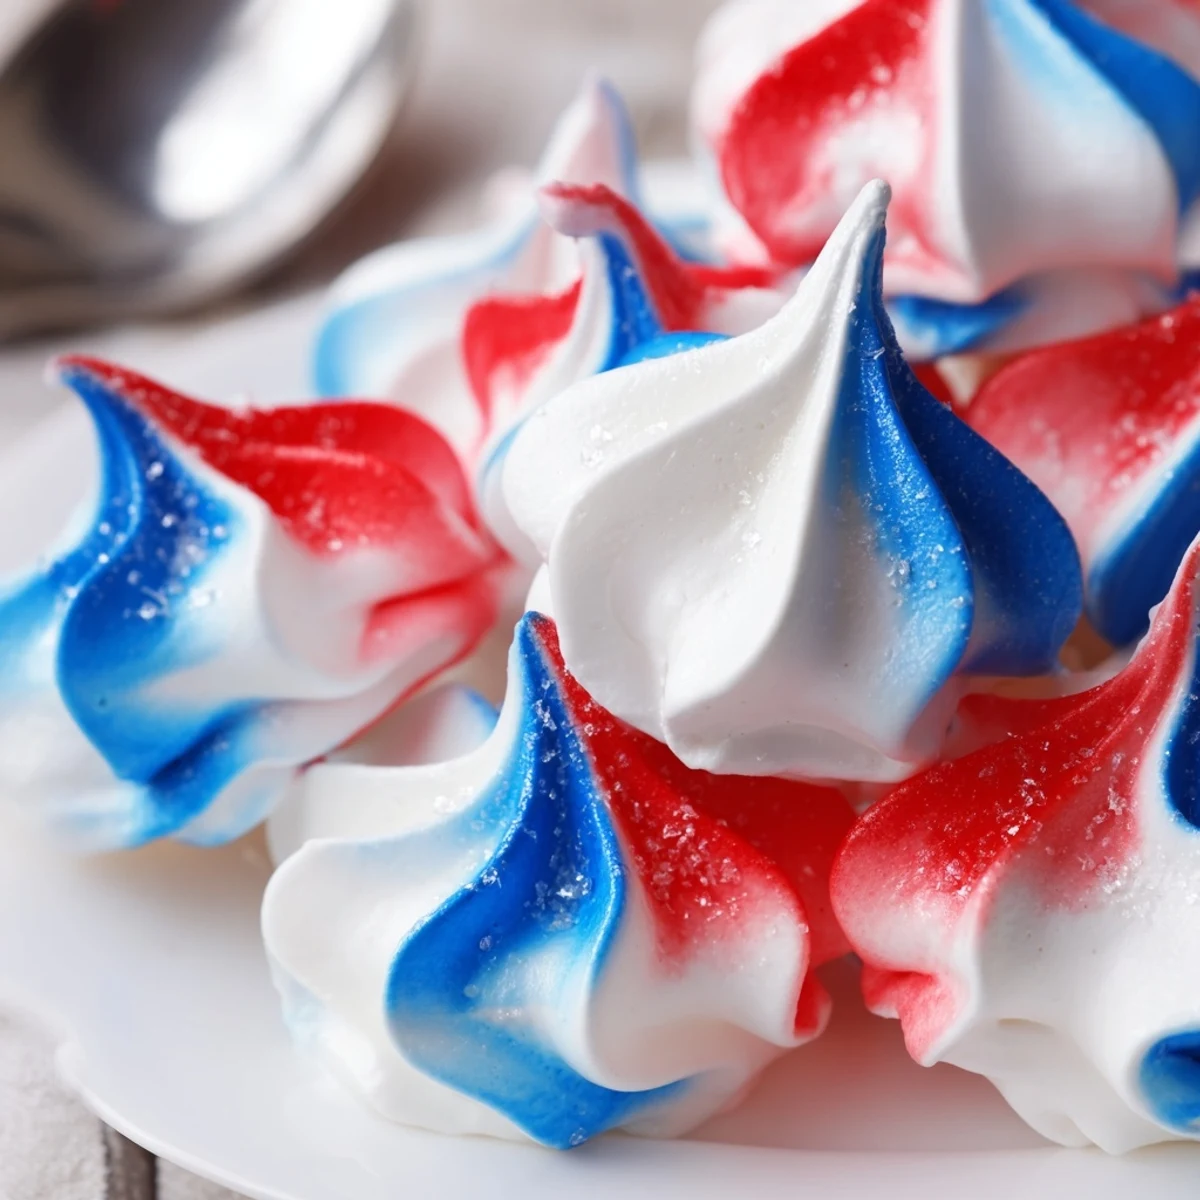
Pin These airy meringue kisses are beaten to glossy, stiff peaks, piped with red, white and blue stripes, then dried low and slow until crisp. Use room-temperature egg whites and grease-free bowls for the most stable foam; a pinch of cream of tartar helps strengthen peaks. Pipe 1–1.5 inch mounds, bake at 200°F (90°C) for about 1h15m, then cool inside the oven to finish drying. Store airtight up to 5 days.
There is something mischievous about cracking eggs open for meringues, especially when the kitchen is already warm and the anticipation of color—red, white, and blue—makes me smile. The first time I whipped up these kisses, the hum of the mixer became the soundtrack for a cheerful afternoon spent trying not to accidentally splatter dye everywhere. The sugar-sweet aroma that crept through the kitchen stuck to my fingers and lured wandering snackers until I had to shoo them away from the parchment-lined trays. Baking these treats has become a ritual whenever patriotic celebrations pop up, promising dessert and a bit of kitchen chaos.
One July evening, I handed out still-warm meringue kisses, each piled in a little paper cup, while my neighbors set up lawn chairs for fireworks. The kids immediately started comparing whose meringue had more red and whose had a taller peak, giggling over the bits of sugar dusting their faces. Nothing fancy—just laughter, hands sticky with sweetness, and the easy chatter of people eating with their fingers outdoors. It’s those little moments that make me return to this recipe every year.
Ingredients
- Large egg whites: Letting them come to room temperature gives meringues the loftiest lift, so don’t rush this step.
- Granulated sugar: Adding it gradually creates that glossy, cloud-like texture—if you’re patient, you’ll notice the shine.
- Cream of tartar: Just a pinch keeps the egg whites stable, and I’ve found it makes a world of difference for novice whiskers.
- Salt: Even a small amount sharpens the meringue’s sweetness, preventing them from being cloying.
- Vanilla extract: Stirring it in at the end fills the whole kitchen with a soft, fragrant note.
- Red and Blue gel food coloring: Gel colors are bold without watering down your meringue, and playing with stripes never gets old.
Instructions
- Set the Stage:
- Preheat your oven to 200°F and snug two sheets of parchment onto baking pans—there’s a certain calm in this quiet prep while the kitchen is just waking up.
- Whip to Soft Peaks:
- In a squeaky-clean bowl, start mixing the egg whites and cream of tartar; you’ll see them fluff and barely hold their shape after a few minutes, almost like topping a pie.
- Slow Sugar Snow:
- Add the sugar in slow sprinkles, watching the meringue transform into satiny peaks that shine and cling dramatically to the beater.
- Final Touches:
- Briefly blend in the salt and vanilla—one last swirl and you’ll smell the vanilla mingling with sweet air.
- Stripe the Bag:
- Use a clean food brush to paint bold, wobbly stripes of red and blue up the inside of your piping bag; don’t worry if they’re not perfect, quirks show up beautifully later.
- Careful Filling:
- Spoon the marshmallowy meringue in, aiming for the striped sides—sticky fingers are inevitable but kind of fun here.
- Shape and Space:
- Pipe little kisses in satisfying swirls about an inch apart, pausing to admire each color-streaked peak as it blooms.
- Low and Slow Bake:
- Bake for 75 minutes, resisting the urge to peek—patience lets them dry to a perfect crisp, and the kitchen will smell like spun sugar the whole time.
- Cool Down:
- Turn off the oven but leave the trays inside for another hour, letting the kisses dry out completely so they crunch and melt in your mouth.
- Finish and Store:
- Peel the meringues off gently (sometimes they squeak), and let them cool before plinking into a jar or tin for safe keeping—if they last that long.
 Pin
Pin Watching my best friend sneak one off the tray before they’d cooled—insisting she was “just checking for doneness”—was the moment I realized these meringue kisses can’t be hidden away till dessert. Somehow, everyone ends up circling the kitchen, waiting for permission for “just one more.”
When Humidity Strikes
Once, on a sticky July day, my meringues wouldn’t set properly—turns out humidity is the enemy of crispness. If the air feels damp, bake meringues on the lowest heat for a little longer and store them with a dry paper towel to keep away unwanted chewiness.
Choosing the Right Tools
Grease-free bowls and whisks are non-negotiable here; I even wipe them with a little vinegar beforehand for luck. Using a star tip creates those charming ridges, but don’t fret if you only have a round tip—smooth kisses are just as fun to eat.
Making Them Uniquely Yours
Sometimes, I experiment with a drop of almond or lemon extract for a twist, or swap out the food coloring to match another occasion’s mood. There’s unexpected joy in seeing how the colors swirl—no two come out the same, which always sparks conversation.
- If your meringue feels limp, whip it a little longer until it’s thick and holds shape.
- Store in a tightly sealed container for crunch—humidity is the enemy.
- Don’t worry about imperfections; the charm is in the playful stripes and peaks.
 Pin
Pin These meringue kisses somehow make every table look festive, even on the quietest days. Share them generously, and watch the smiles appear with every colorful, sweet bite.
Recipe FAQs
- → How do I know when egg whites are at stiff peaks?
-
When glossy peaks hold a firm point and don’t slump when the whisk is lifted, they’re ready. Gradually add sugar while whipping to avoid collapsing the foam.
- → Why bake meringues at a low temperature?
-
A low oven temperature dries the meringues slowly so they become crisp through and through without browning. Rapid heat can crack or color the exterior and leave the center chewy.
- → What’s the purpose of painting stripes inside the piping bag?
-
Painting stripes creates distinct red, white, and blue streaks on the meringue as it is piped, giving a vivid marbled appearance without overmixing the colored and plain meringue.
- → How can I prevent weeping or sticky meringues?
-
Avoid humid conditions when drying meringues and ensure sugar is well dissolved into the egg whites during whipping. Cooling them in the turned-off oven with the door closed helps finish drying evenly.
- → Can I make these ahead and how should I store them?
-
Yes. Once fully cooled and crisp, keep meringues in an airtight container at room temperature away from moisture. They will stay crisp for up to five days.
- → Any tips for piping uniform kisses?
-
Use a large star or round tip and steady pressure. Pipe short bursts about 1–1.5 inch wide and leave space between pieces so air circulates during drying.