 Pin
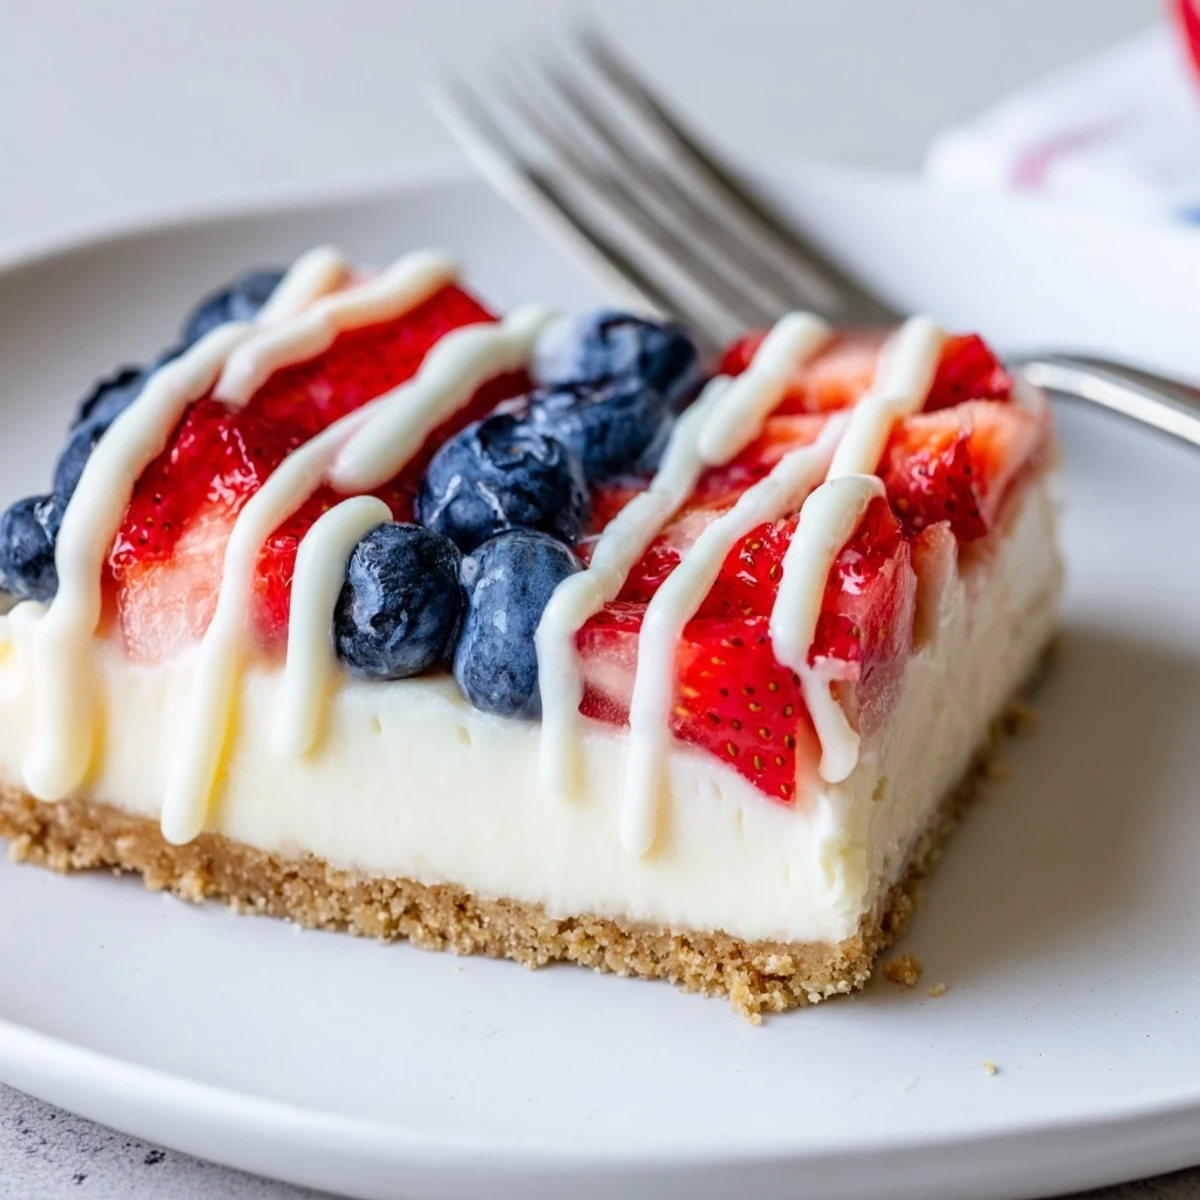
Pin Start by pressing a buttery graham cracker crust into a 9x9 pan. Beat softened cream cheese with sugar, add eggs one at a time, then fold in vanilla and sour cream for a silky filling. Bake at 325°F for 40–45 minutes until the center is just set. Cool, chill at least 3 hours (preferably overnight), then top with chopped strawberries and blueberries and drizzle white chocolate if desired. Yields 16 chilled bars; use gluten-free crumbs to adapt.
The first time the scent of vanilla and melting butter wafted from my oven while I made these patriotic cheesecake bars, I couldn’t help but smile. The kitchen radio was playing, and the hum of summer made the berries seem twice as sweet. As I spread the creamy filling, my mind wandered to gatherings where desserts like this become the real centerpiece. There’s something special about assembling these bars, as if you know you’re crafting a little celebration in every slice.
One July, I made a double batch for a neighbor’s potluck and watched the kids carefully choose the pieces with the most berries. I had to laugh as someone snuck a second helping before I even cut them all. They became the silent star of the picnic table, quietly disappearing while conversation and laughter swirled outdoors under a sky already hinting at fireworks. I still think of that cheerful mess of red and blue fingers whenever I make these bars.
Ingredients
- Graham cracker crumbs: Go for a fine crumb and press firmly for a sturdy base that won’t crumble apart when cut.
- Granulated sugar: A little in both the crust and filling brings out the natural flavor of the cream cheese and berries.
- Unsalted butter: Melted and cooled, it binds your crust and adds a hint of richness without being greasy.
- Cream cheese: Full-fat works best for a velvety texture; make sure it’s properly softened for easy mixing.
- Eggs: Add these one at a time to ensure everything blends smoothly, helping your bars set just right.
- Pure vanilla extract: Quality vanilla is worth it here; it gives the filling a deeper, more inviting aroma.
- Sour cream: This secret ingredient keeps the cheesecake layer extra creamy and adds a subtle tang.
- Fresh strawberries: Chop just before topping for the juiciest splash of red.
- Fresh blueberries: Their size means they nestle perfectly between the strawberries, making every bite a burst of berry.
- White chocolate (optional): A drizzle on top adds sweetness and polish—but don’t worry if you skip it; these bars shine on their own.
Instructions
- Prep the Pan:
- Line your 9x9-inch baking pan with parchment, letting the edges hang over like handles so pulling out the bars is totally fuss-free.
- Mix the Crust:
- Stir together the graham cracker crumbs, sugar, and melted butter until they feel like wet sand; press into the pan and listen for that satisfying crunch as you pack it in.
- Blend the Filling:
- Beat cream cheese and sugar together until glossily smooth, then add the eggs one by one, following with vanilla and sour cream for silkiness.
- Layer and Bake:
- Pour the batter onto your crust, smoothing out air bubbles, and bake until the edges are lightly golden and the center barely shivers when shaken.
- Chill Completely:
- Let them cool on the counter, then chill for at least three hours—a test in patience, but absolutely worth it.
- Add the Toppings:
- Scatter chopped strawberries and blueberries in rows or a flag pattern, and drizzle with white chocolate if you’re feeling festive.
- Slice and Serve:
- Lift the chilled bars from the pan and cut them into neat squares; serve cold for the creamiest bite.
 Pin
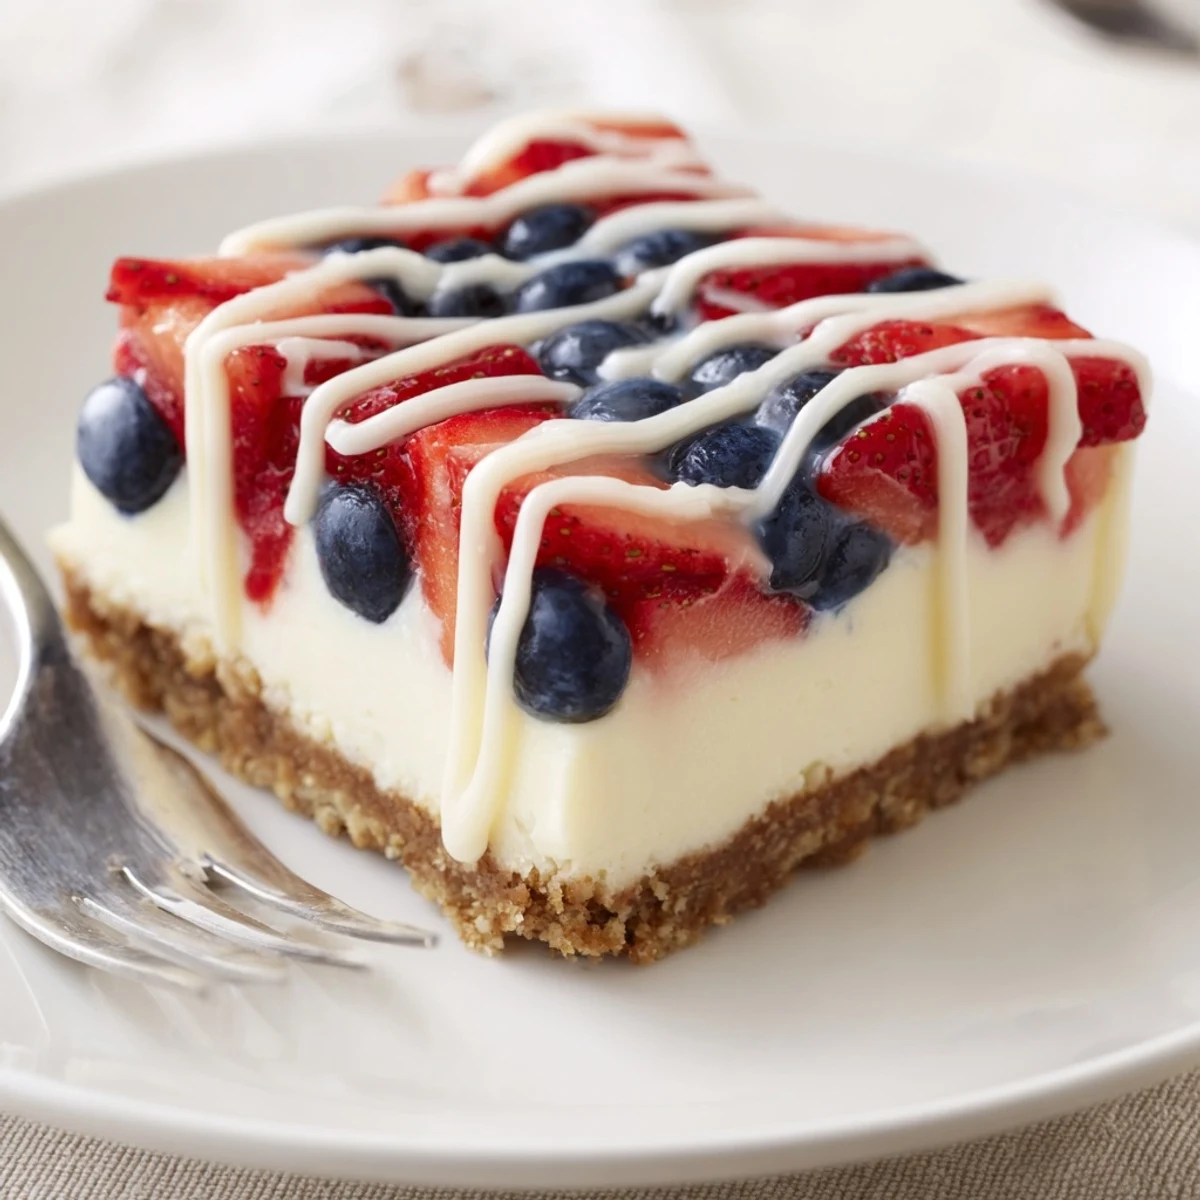
Pin The day I surprised my little cousin with a tray of these cheesecake bars, her eyes grew huge at the burst of color and glossy drizzle. In that moment, these treats transformed from a simple recipe to a playful gift worth sharing again and again.
Making the Colors Pop Without Food Dye
Fresh, ripe strawberries and blueberries give these bars their patriotic flair with nothing artificial. I learned that letting your berries dry on a paper towel before arranging prevents soggy tops and keeps the white layer clean and bright. It’s a trick that makes every bar look bakery-ready, even if you’re just enjoying them at home.
How to Store (and Even Freeze) Your Bars
These cheesecake bars keep well in an airtight container for several days in the fridge, so you can make them ahead for any get-together. If you want to stash some for later, slice and wrap individual bars before freezing; thaw overnight in the fridge and they taste just as fresh. It’s convenient for planning, and perfect for sneaking a treat when you least expect it.
Cheesecake Bar Troubleshooting: What to Do When Things Go Sideways
Sometimes, the center of the cheesecake seems a little too wobbly, or the crust looks uneven—that happens to the best of us. Don’t panic! A long, slow chill in the fridge usually works magic, and a thin spatula can lift even stubborn corners with a gentle touch. Remember, even less-than-perfect bars disappear just as fast.
- Wipe your knife clean between cuts for tidy slices.
- Let the bars sit out for a few minutes before cutting if they’re straight from the fridge.
- Arrange the berries just before serving for the brightest, freshest look.
 Pin
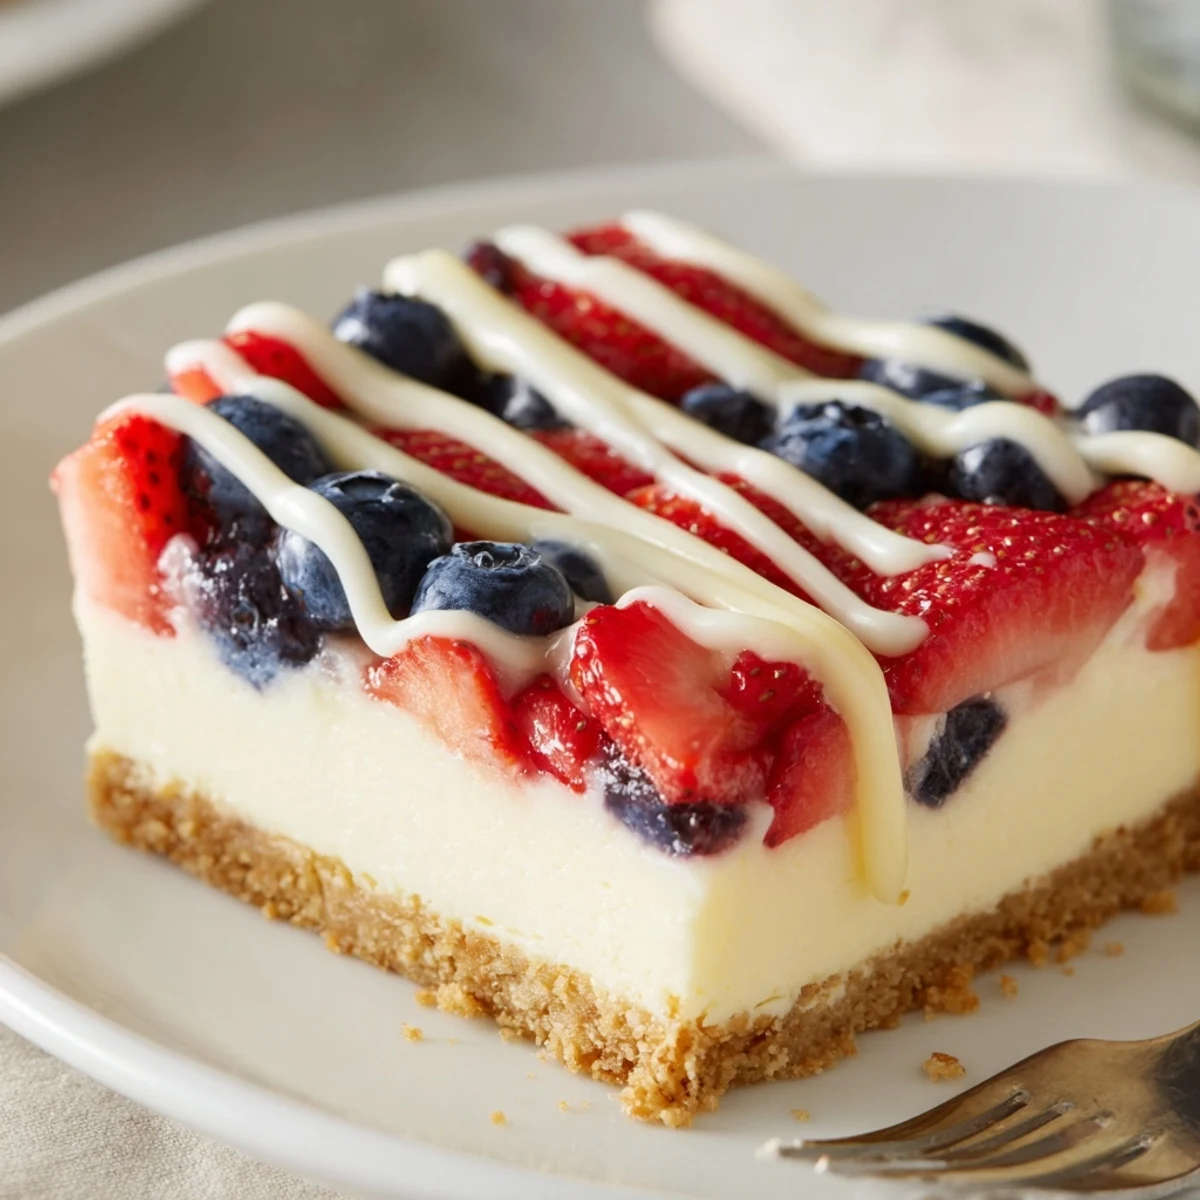
Pin Sharing these bars always brightens the table, and the simple steps mean you can whip them up anytime you need a festive, cheerful treat. Enjoy every creamy, berry-filled bite!
Recipe FAQs
- → How long should these bars chill before slicing?
-
Chill at least 3 hours to firm the filling, but overnight refrigeration yields the cleanest slices and best texture.
- → How can I prevent cracks in the filling?
-
Avoid overmixing and overbaking: stop when the center is just set with a slight jiggle. Cool to room temperature before chilling to reduce sudden shrinkage.
- → Can I make a gluten-free version?
-
Yes—substitute gluten-free graham crackers or cookie crumbs for the crust and press with the same amount of melted butter. Chill well to help it set.
- → What’s the best way to slice neat bars?
-
Chill thoroughly, then run a sharp knife under hot water, dry it, and slice in a single steady stroke, wiping the blade between cuts for clean edges.
- → Can I swap the berries or add other toppings?
-
Raspberries, blackberries, or a mix work well; pat berries dry to avoid extra moisture. A light white chocolate drizzle adds sweetness and visual contrast.
- → How far in advance can these be prepared?
-
Assemble and bake a day ahead, chill overnight, and add the berries just before serving to keep them fresh and vibrant.