 Pin
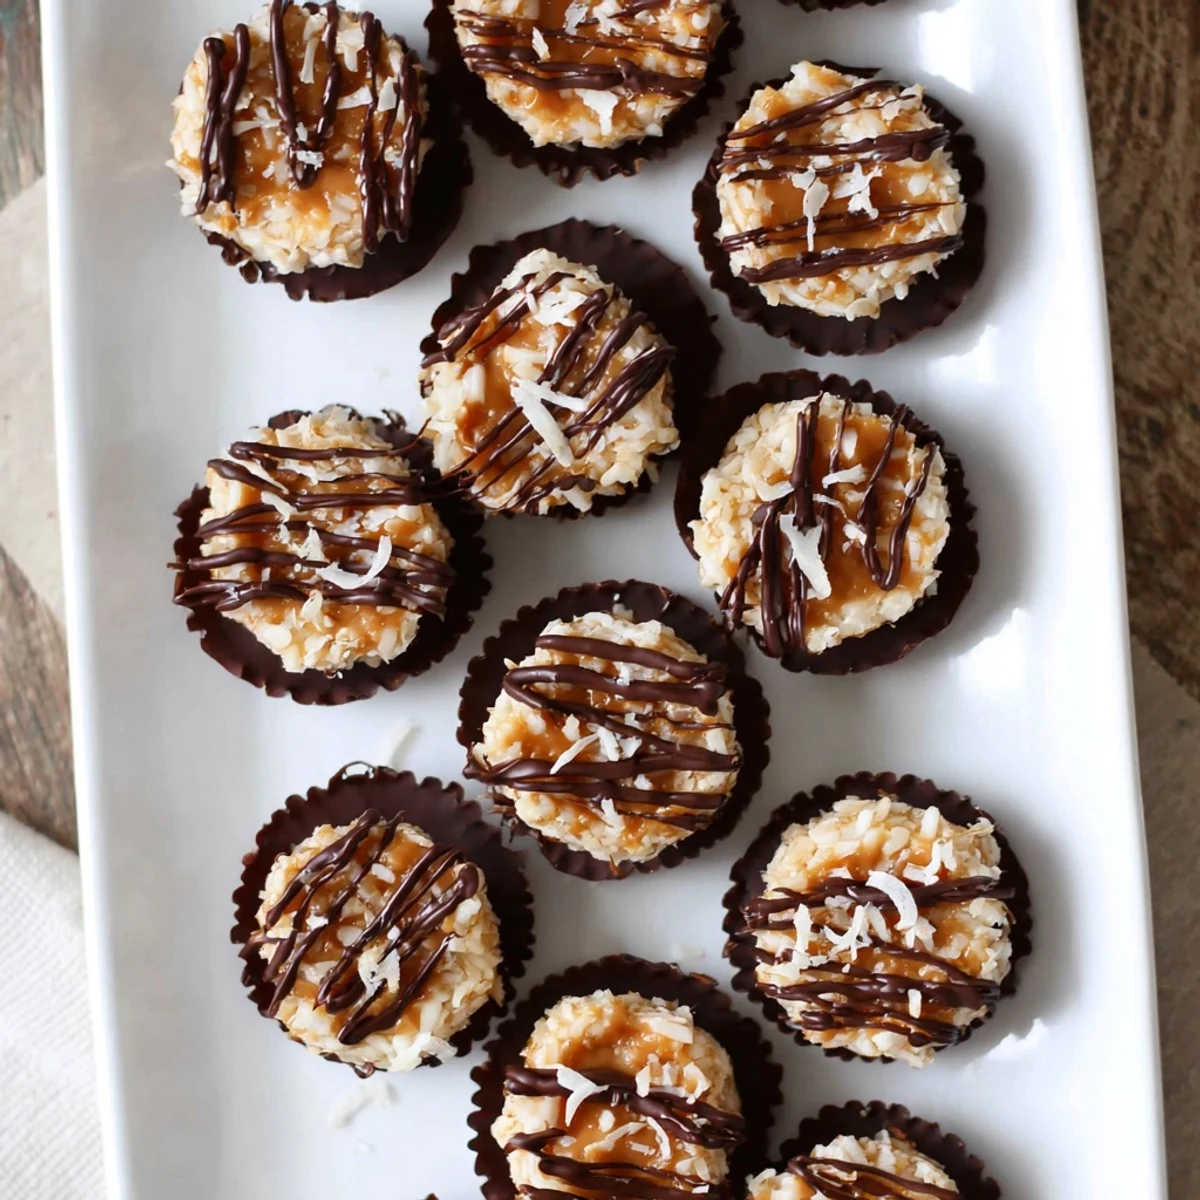
Pin These delightful no-bake treats capture all the flavors of the classic Samoa cookie in bite-sized form. A rich date and cocoa base forms the foundation, topped with a creamy almond butter caramel layer infused with toasted coconut, then finished with a decadent dark chocolate coating.
Perfect for when you need something sweet but don't want to turn on the oven, these bites come together in just 20 minutes using simple, wholesome ingredients. The combination of chewy dates, nutty almond flour, smooth caramel, and velvety chocolate creates an irresistible texture and flavor profile.
The rain was pounding against my kitchen window last Tuesday when I desperately needed something sweet but refused to turn on the oven. These little bites came together in twenty minutes, and by the time my roommate walked through the door complaining about her commute, she found me sitting on the counter with chocolate on my chin and a Tupperware of these caramel coconut morsels.
Last month I brought these to a potluck and watched three different people ask for the recipe while simultaneously reaching for seconds. Something about the combination of chewy dates, toasted coconut, and that snap of dark chocolate makes people forget their manners in the most charming way possible.
Ingredients
- 1 cup pitted dates: These create the sticky, sweet base that holds everything together without any refined sugar
- 1 cup unsweetened shredded coconut: Toast half of this separately for that irresistible Samoa cookie flavor
- 1/2 cup almond flour: Adds structure and a subtle nutty background note
- 2 tbsp cocoa powder: Gives the base that deep chocolate foundation
- 1/4 tsp salt: Crucial for balancing all that sweet coconut and caramel
- 1/2 cup creamy almond butter: Creates the most luscious caramel-like layer you can imagine
- 2 tbsp maple syrup: Just enough sweetness to make the caramel layer sing
- 3 oz dark chocolate: The higher the percentage, the better these taste
- 1 tsp coconut oil: Makes the chocolate coating shiny and gives it that perfect snap
Instructions
- Prep your station:
- Line a baking sheet with parchment paper before you start anything else because once that chocolate melts, you will need to move fast.
- Make the chocolate base:
- Blend dates, coconut, almond flour, cocoa powder, and salt in your food processor until the mixture sticks together when you pinch it.
- Shape the bottoms:
- Scoop about a tablespoon of mixture and press firmly into compact balls, then flatten slightly into discs.
- Whip up the caramel:
- Stir almond butter and maple syrup until completely smooth, then fold in that toasted coconut you wisely set aside earlier.
- Assemble the layers:
- Top each base with a generous teaspoon of caramel, pressing gently so it sticks.
- Melt the chocolate:
- Heat chocolate with coconut oil in thirty second bursts, stirring between each one until glossy and fluid.
- The chocolate dip:
- Dip each bottom into melted chocolate, place back on parchment, and drizzle the remaining chocolate over the tops like a pro.
- Patience pays off:
- Refrigerate for at least thirty minutes because eating these immediately results in chocolate everywhere.
 Pin
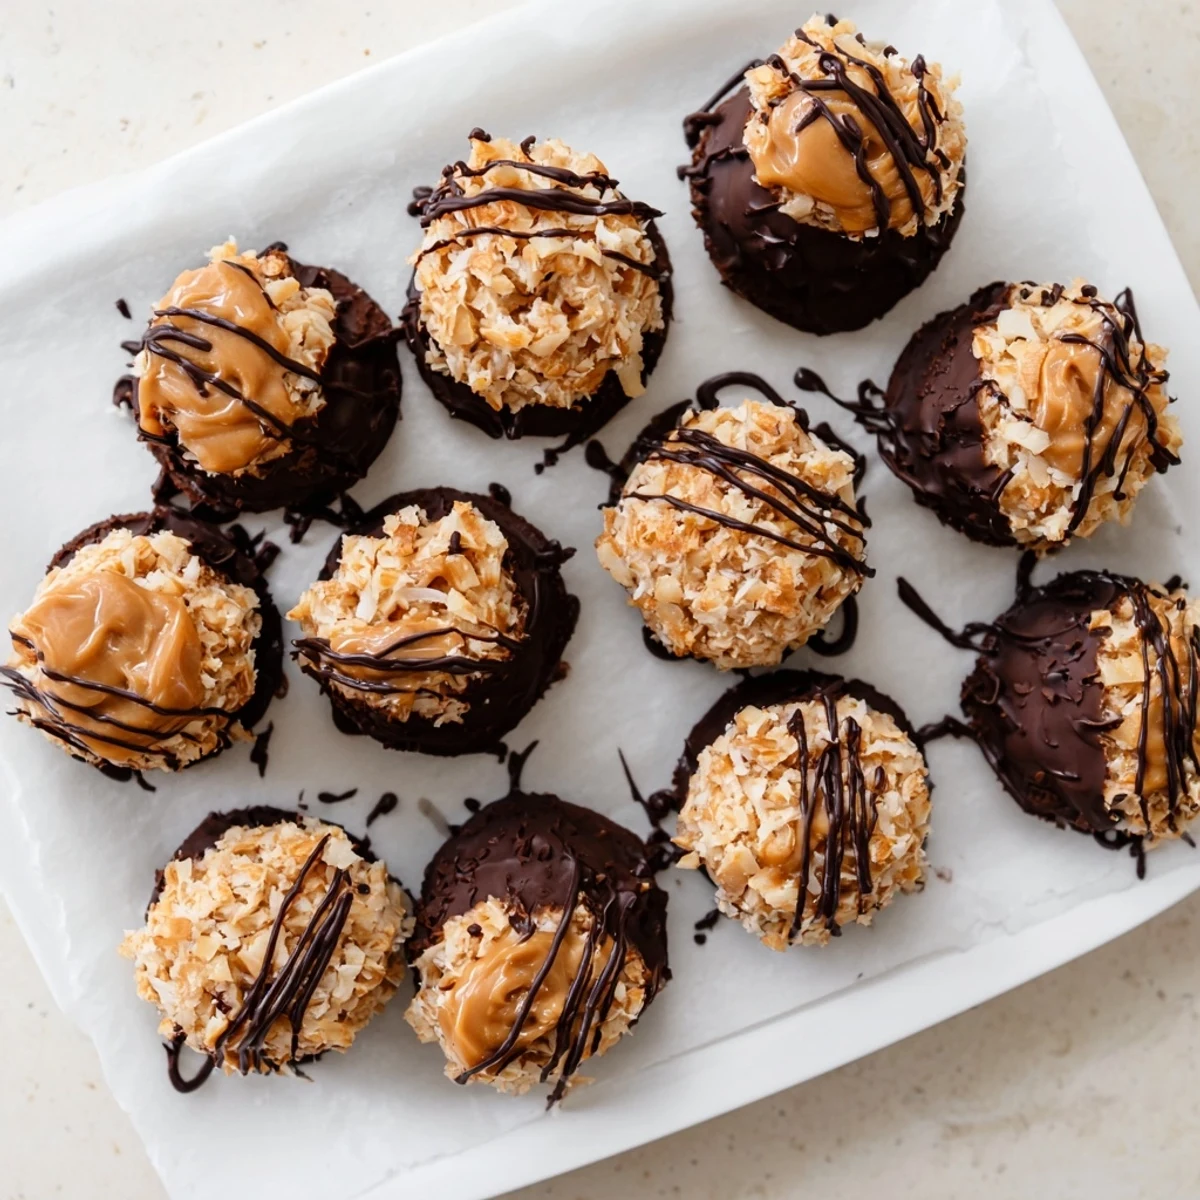
Pin My sister called me mid-bite during our weekly video chat and immediately demanded to know what I was eating. I had to pause our conversation to mail her a batch because apparently describing these over the phone was cruel and unusual punishment.
Making Them Your Own
Swap the almond flour for oat flour if you are feeding someone with nut allergies. Cashew butter works beautifully in the caramel layer, and honestly, sunflower seed butter gives these a lovely nutty flavor that nobody can quite put their finger on.
Storage Wisdom
Keep these in the refrigerator and they will last a week, assuming they survive that long. I have also frozen them for emergency dessert situations and they thaw in about fifteen minutes on the counter.
Serving Suggestions
These shine brightest when served slightly chilled so the chocolate coating snaps against your teeth. Pair them with coffee in the afternoon or as that perfect midnight snack when nobody else is watching.
- Sprinkle flaky sea salt on top before the chocolate sets if you want to get fancy
- A quick toast of the coconut makes all the difference in the caramel layer
- Double the chocolate coating if you are feeling particularly indulgent
 Pin
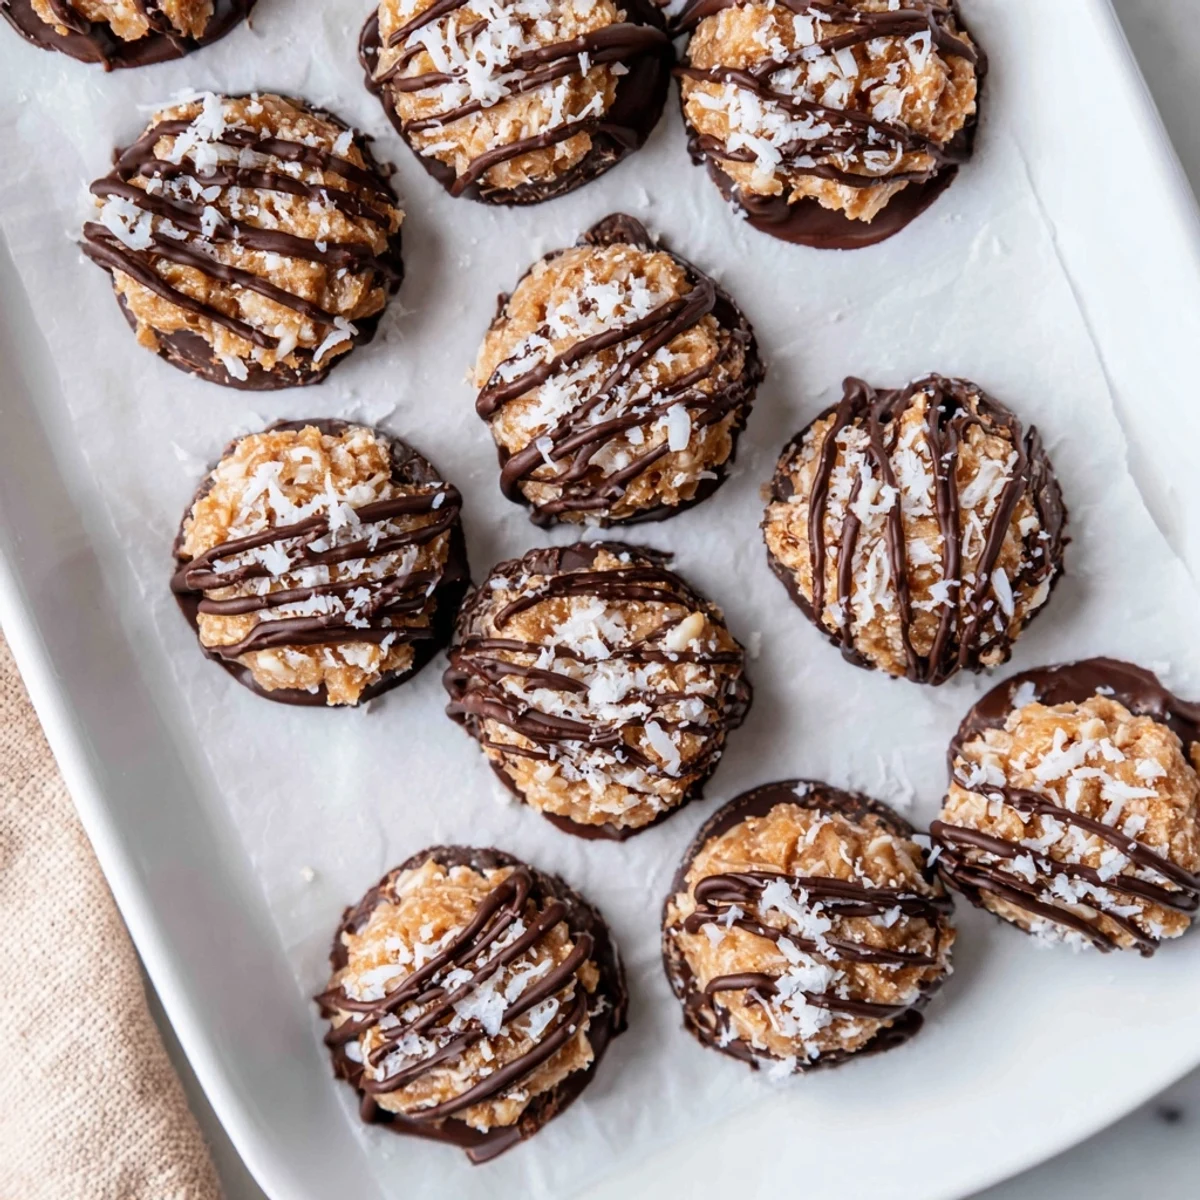
Pin There is something deeply satisfying about making something this decadent without ever turning on the oven. Happy no-baking, friend.
Recipe FAQs
- → How long do these keep fresh?
-
Store in an airtight container in the refrigerator for up to 2 weeks. For longer storage, freeze for up to 3 months. Separate layers with parchment paper to prevent sticking.
- → Can I make these nut-free?
-
Yes! Substitute almond flour with oat flour and replace almond butter with sunflower seed butter. The flavor will vary slightly but still delicious.
- → Do I need to toast the coconut?
-
Toast the coconut for the caramel layer to enhance flavor and create a crunchier texture. Simply spread on a baking sheet at 350°F for 5-7 minutes, watching carefully to prevent burning.
- → Why isn't my mixture sticking together?
-
If the base mixture is too dry, add 1-2 teaspoons of water or maple syrup and blend again. Dates vary in moisture content, so adjust as needed to achieve a sticky, pliable dough.
- → Can I use milk chocolate instead of dark?
-
Yes, though dark chocolate provides a nice contrast to the sweet caramel. Milk chocolate will make these sweeter overall. Use whatever chocolate you prefer, adjusting the amount of maple syrup if needed.
- → What's the best way to melt the chocolate?
-
A double boiler prevents scorching, but the microwave works in 30-second intervals with stirring between each. Add coconut oil to help achieve a smooth, dippable consistency.