
 Pin
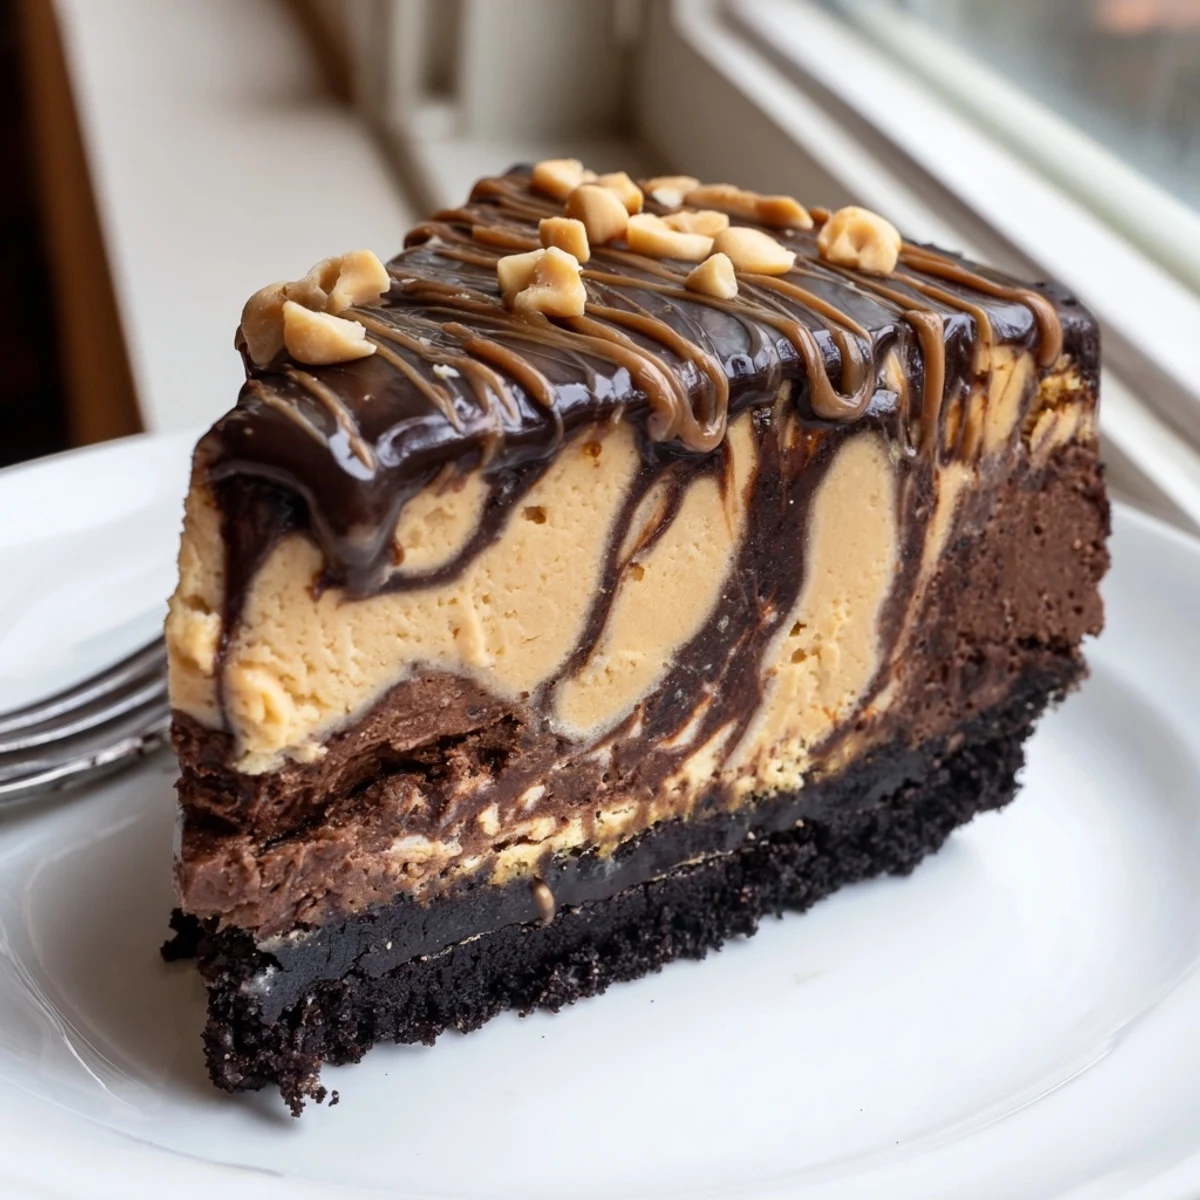
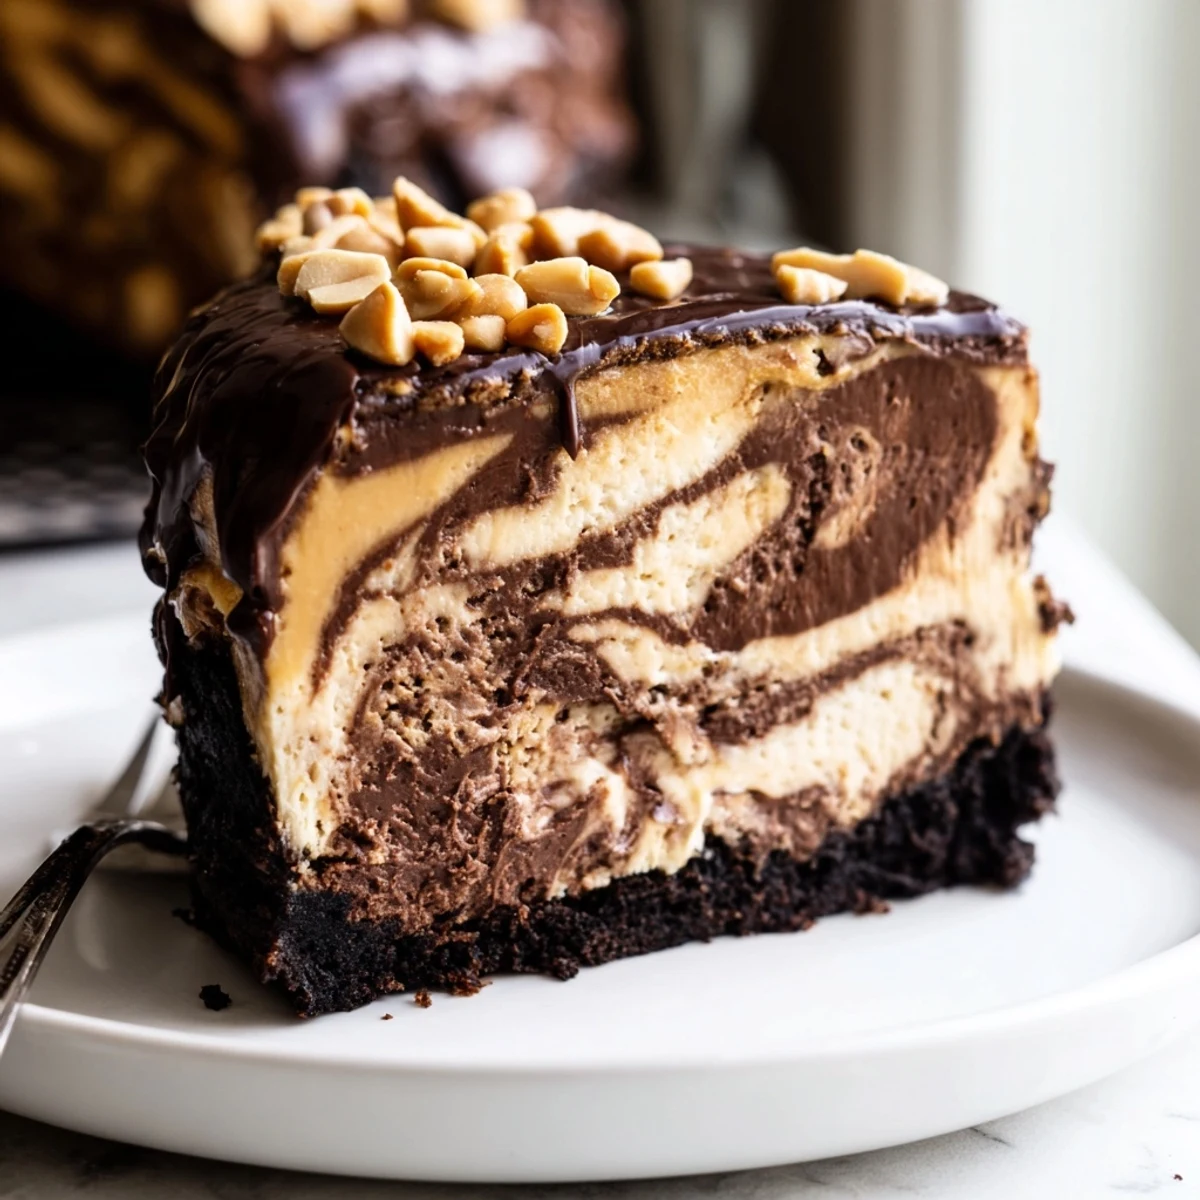
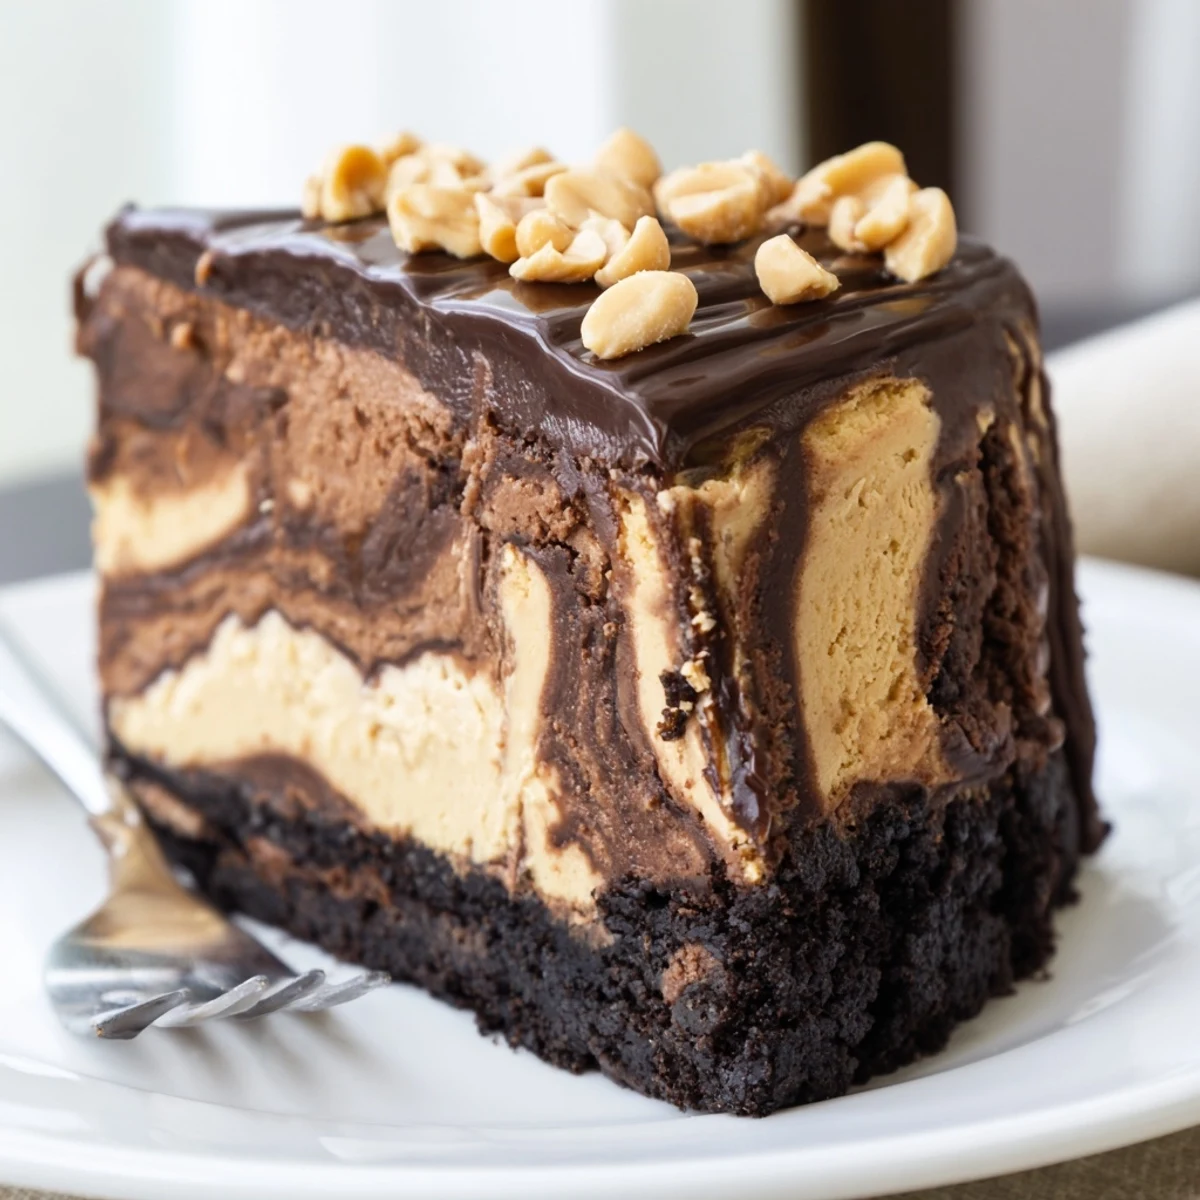
Pin This chocolate peanut butter cheesecake brings together two beloved flavors in one showstopping dessert. A buttery chocolate cookie crust serves as the foundation for a rich, creamy filling layered with both chocolate and peanut butter batters, gently swirled together for a stunning marbled effect.
The cheesecake bakes low and slow for a silky, crack-free surface, then chills overnight to develop its full flavor and texture. A glossy chocolate-peanut butter ganache crowns the top, finished with a sprinkle of roasted peanuts for crunch.
Plan ahead for the chilling time — it's essential for achieving that perfect slice. Serve it at your next gathering and watch it disappear.
The rain was hammering against the kitchen window the afternoon I threw together my first chocolate peanut butter cheesecake, mostly because I needed an excuse to avoid going outside. What started as a restless experiment became the dessert my sister now texts me about every single birthday without fail. Something about the way dark chocolate and peanut butter melt into cream cheese feels almost unfairly good. This recipe is that cake, refined over years of cracked tops and underbaked centers until it finally behaves.
I brought this to a potluck once and watched a quiet coworker go back for thirds before pretending he had been looking for the napkins. That moment told me everything I needed to know about its pulling power.
Ingredients
- 200 g chocolate sandwich cookies, crushed: Oreos are the classic choice but any dark cocoa sandwich cookie works, and you do not need to remove the filling.
- 60 g unsalted butter, melted: This binds the crumbs together so do not skimp or the crust will crumble when you slice.
- 600 g cream cheese, softened: Leave it out for at least two hours because cold cream cheese guarantees lumps you will never chase down.
- 200 g smooth peanut butter: Use a commercial brand like Skippy rather than natural or stir varieties, since the stabilizers help the texture set properly.
- 200 g granulated sugar: This may seem like a lot but the bitterness of dark chocolate and the salt in peanut butter need every grain.
- 3 large eggs: Add them one at a time on low speed to keep the batter velvety rather than airy.
- 1 tsp vanilla extract: A quiet background note that rounds out both the chocolate and peanut butter.
- 120 ml sour cream: This is your secret weapon for a tangy, creamy finish that balances all the richness.
- 100 g dark chocolate, melted and slightly cooled: Use something around 60 to 70 percent cacao so it cuts through the sweetness without turning bitter.
- 120 ml heavy cream for topping: Heat it until it just steams and no more or you risk seizing the chocolate.
- 120 g dark chocolate, chopped for topping: Finely chopped pieces melt faster and smoother than large chunks.
- 2 tbsp creamy peanut butter for topping: Stirred into the warm ganache it adds a subtle salty depth.
- Chopped roasted peanuts, optional: A handful on top gives a satisfying crunch that contrasts the silkiness underneath.
Instructions
- Build the crust:
- Preheat your oven to 160 degrees Celsius (325 degrees Fahrenheit) and grease a 23 cm springform pan before lining the base with parchment. Toss the crushed cookies with melted butter until the mixture feels like damp sand, then press it firmly and evenly across the bottom. Bake for ten minutes until fragrant and set, then let it cool completely before adding any filling.
- Start the filling:
- Beat the softened cream cheese and sugar together in a large bowl until completely smooth, scraping down the sides at least once. Add the peanut butter and mix until fully incorporated with no streaks remaining.
- Add the eggs and flavorings:
- Pour in the eggs one at a time on low speed, letting each disappear into the batter before adding the next. Stir in the vanilla and sour cream until just combined, being careful not to overmix.
- Split and flavor:
- Divide the batter evenly between two bowls. Fold the melted dark chocolate into one half until it looks uniformly rich and dark.
- Layer and swirl:
- Pour the chocolate batter over the cooled crust and spread it into an even layer. Spoon the plain peanut butter batter on top in gentle dollops, then drag a knife through both layers in loose figure eights for a marbled effect.
- Bake low and slow:
- Place the cheesecake in the center of the oven and bake for 50 to 60 minutes until the edges are puffed and set but the center still has a slight wobble when you nudge the pan. Turn off the oven, crack the door open, and let it cool inside for one full hour to prevent cracks.
- Chill patiently:
- Transfer the cheesecake to the refrigerator and let it chill for at least four hours or ideally overnight so the flavors deepen and the texture firms up.
- Make the topping:
- Heat the heavy cream in a small saucepan until steaming, then pour it over the chopped chocolate and stir until you have a smooth glossy ganache. Stir in the peanut butter while still warm, let it cool slightly, then spread it evenly over the chilled cheesecake and finish with chopped peanuts if you like.
 Pin
Pin The first time I served this at a holiday dinner my aunt held her fork midair and stared at the slice on her plate like it had personally complimented her. That is the kind of dessert this is.
What to Serve With It
A strong cup of black coffee is really all you need beside a slice of this cheesecake since the bitterness cuts through the richness perfectly. Dessert wine also works beautifully if you are ending a dinner party on a lavish note.
Getting Ahead
This cheesecake actually improves overnight in the fridge which makes it the ideal make ahead dessert for any occasion. You can even freeze individual slices wrapped tightly in plastic for up to a month, though the topping may lose a bit of its shine.
Tools That Help
A springform pan is nonnegotiable unless you enjoy the terror of flipping a cheesecake onto a plate. Beyond that a stand mixer saves your arm and a good flexible spatula gets every last bit of batter from the bowl.
- Wrap the outside of your springform pan in foil if you plan to use a water bath for extra insurance against cracks.
- A offset spatula makes spreading both the filling and the ganache infinitely easier.
- Always use a hot clean knife for slicing so each piece has clean edges.
 Pin
Pin Every time I make this cake I think about that rainy afternoon and how a bit of kitchen boredom turned into the most requested recipe I have. Some desserts just earn their place in your life.
Recipe FAQs
- → Can I make this cheesecake ahead of time?
-
Yes, this cheesecake actually benefits from being made in advance. It needs at least 4 hours of chilling, but refrigerating it overnight allows the flavors to meld and the texture to set perfectly. It will keep well in the fridge for up to 5 days covered tightly.
- → Why does the cheesecake need to cool slowly in the oven?
-
Cooling the cheesecake slowly inside the turned-off oven with the door cracked prevents sudden temperature changes that cause cracks on the surface. This gentle cooling method helps maintain a smooth, creamy top and an even texture throughout.
- → Can I use crunchy peanut butter instead of smooth?
-
You can substitute crunchy peanut butter, but it will change the texture of the filling. The filling will have small peanut pieces throughout, which some people enjoy. For the smoothest, creamiest result, stick with smooth peanut butter.
- → How do I get clean slices when cutting the cheesecake?
-
Use a sharp knife dipped in hot water and wiped clean between each cut. The warm blade glides through the cheesecake cleanly. Make sure the cheesecake is fully chilled before slicing — warm or even slightly soft cheesecake will not hold clean edges.
- → Can I freeze leftover cheesecake?
-
Absolutely. Wrap individual slices tightly in plastic wrap, then place them in an airtight container or freezer bag. Frozen cheesecake keeps for up to 2 months. Thaw slices overnight in the refrigerator before serving for the best texture.
- → What's the best way to melt the dark chocolate for the filling?
-
Use a double boiler or microwave in 20-second bursts, stirring between each interval. The chocolate should be melted and slightly cooled before adding to the filling mixture — hot chocolate can cause the cream cheese to seize or become grainy.