Pin
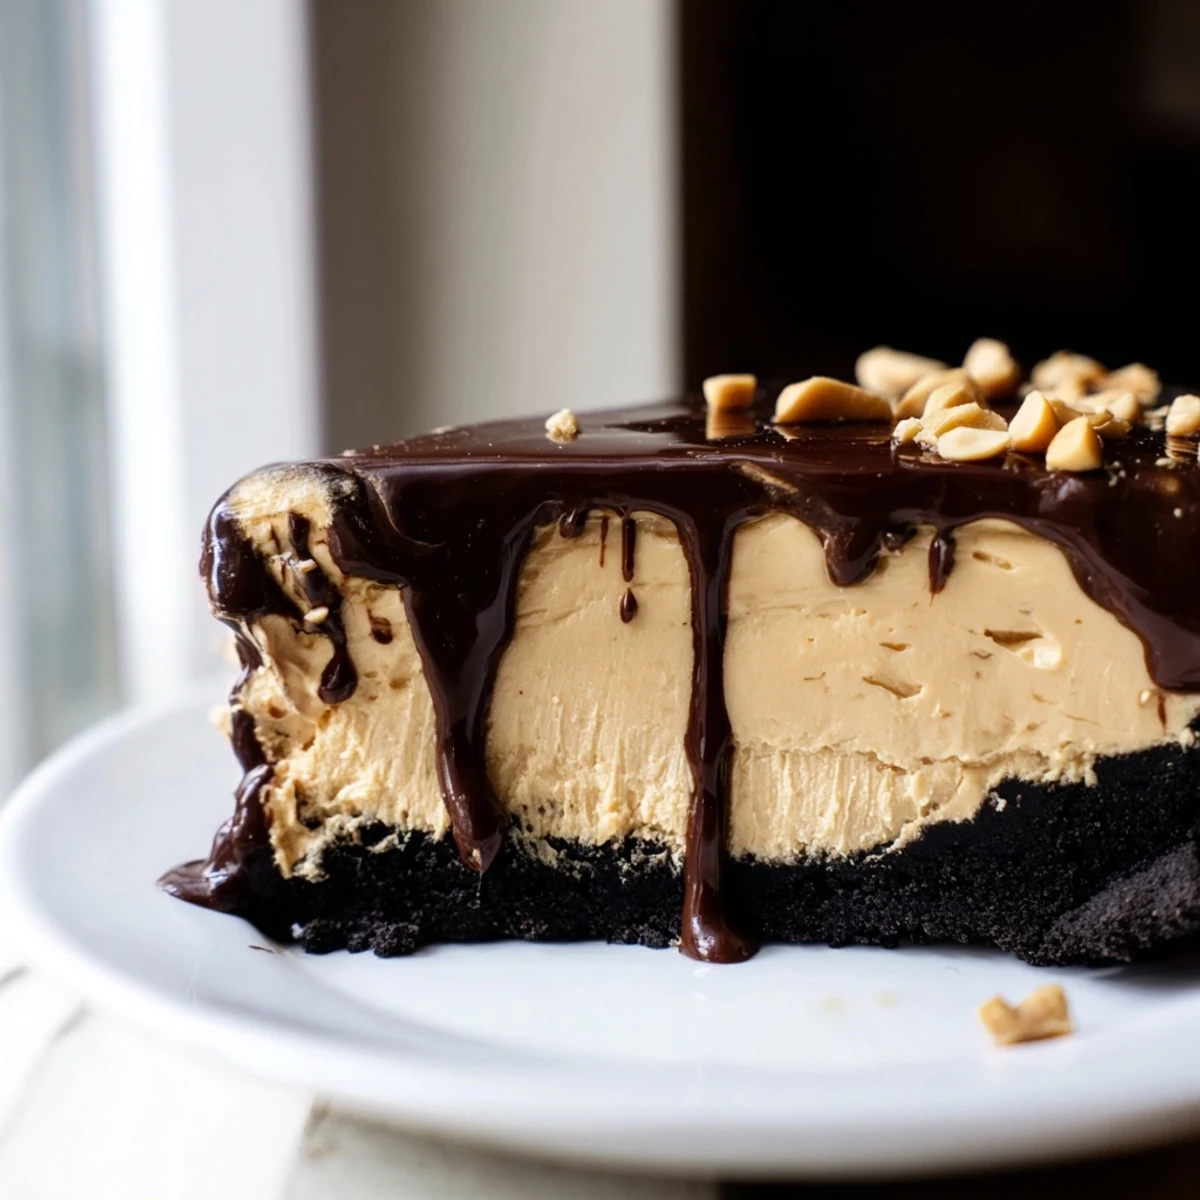
Pin This indulgent dessert combines velvety peanut butter filling with a crunchy chocolate cookie base, creating the perfect balance of textures and flavors. The filling gets its incredibly smooth, mousse-like consistency from whipped heavy cream folded into a creamy peanut butter and cream cheese mixture.
The entire thing comes together in just 20 minutes of active prep time, then chills until perfectly set. You can add an optional chocolate ganache topping for extra richness, or keep it simple with just the peanut butter layer.
It's an ideal make-ahead dessert for dinner parties, potlucks, or holiday gatherings since it actually improves after a few hours in the refrigerator. The crust provides a satisfying crunch that contrasts beautifully with the silky smooth filling.
The Sunday my youngest daughter requested a special dessert for her birthday dinner, I knew exactly what to make. She had mentioned this peanut butter pie months ago after trying it at a friends house, and the way her eyes lit up when I pulled it from the refrigerator made every minute worth it. Sometimes the simplest recipes become the most requested.
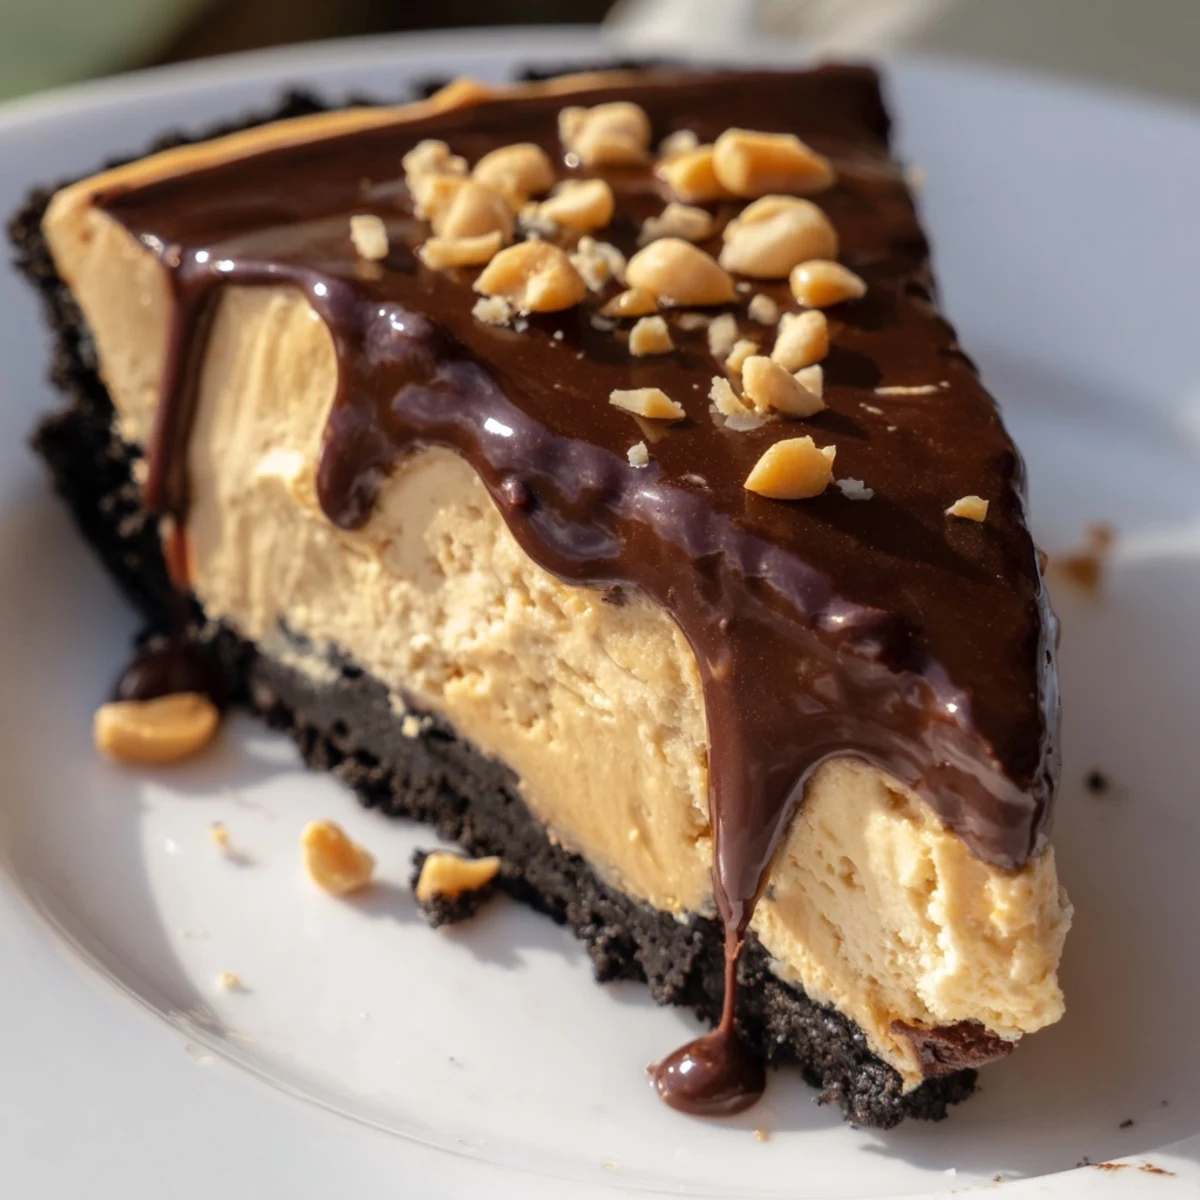
I brought this to a summer potluck last year and watched three different people ask for the recipe within minutes of the first bite. The contrast between the crisp chocolate cookie crust and the impossibly smooth peanut butter filling creates something almost magical. My husband now requests it for every special occasion, claiming he could eat the entire pie himself if I let him.
Ingredients
- 200 g chocolate sandwich cookies: Processing these whole with the cream filling inside creates the perfect crumb texture and natural sweetness for the crust base
- 75 g unsalted butter, melted: The fat binds the cookie crumbs together while adding richness, and using unsalted lets you control the overall saltiness
- 240 g creamy peanut butter: Room temperature peanut butter incorporates more smoothly into the filling without any lumps
- 225 g cream cheese, softened: This stabilizes the filling and adds a slight tang that balances the intense peanut butter sweetness
- 120 g powdered sugar: The cornstarch in powdered sugar helps create that impossibly silky texture you want in a no bake pie
- 240 ml heavy cream, cold: Extremely cold cream whips up faster and holds its structure better when folded into the dense peanut butter mixture
- 1 tsp pure vanilla extract: A touch of vanilla brightens all the rich flavors and prevents the peanut butter from feeling too heavy
Instructions
- Build the chocolate foundation:
- Pulse those chocolate sandwich cookies in your food processor until they resemble wet sand, then stream in the melted butter while the motor runs. Press the mixture firmly into your pie dish using the bottom of a measuring cup to create an even layer. The crust needs at least 30 minutes in the refrigerator to set before you add any filling.
- Whip up the filling base:
- Beat the peanut butter, softened cream cheese, and powdered sugar until absolutely smooth with no visible lumps. In a separate bowl, whip that cold heavy cream with the vanilla until you have stiff peaks that hold their shape when you lift the beaters.
- Combine with care:
- Fold one third of the whipped cream into the peanut butter mixture to lighten it, then gently fold in the remaining cream until just combined. Spread this fluffy mixture into your chilled crust, smoothing the top with an offset spatula.
- Add the crowning glory:
- Heat the extra heavy cream until steaming hot, pour it over the chocolate chips, and let it sit for two minutes before stirring until glossy and smooth. Spread this ganache over the peanut butter layer and finish with chopped peanuts for crunch.
 Pin
Pin My mother-in-law took one bite during our first holiday dinner together and immediately asked if she could take the leftovers home. That moment when someone closes their eyes and makes that involuntary happy sound after tasting something you made is exactly why I love sharing recipes like this one.
Making It Your Own
Once I swapped in crunchy peanut butter on a whim because that was what I had in the pantry, and the texture variation was surprisingly delightful. The little peanut bits add a satisfying contrast to the smooth filling that keeps every bite interesting.
Serving Suggestions
A drizzle of salted caramel over individual slices takes this pie into restaurant-quality territory, though it is hardly necessary. I have also served it with fresh strawberries on the side when I want something to cut through all that richness.
Make Ahead Magic
This pie actually improves after sitting overnight in the refrigerator, as the flavors have time to meld together and the texture becomes even more luxurious. The crust stays perfectly crisp for up to three days when stored properly.
- Wrap the pie dish loosely with plastic wrap once it is fully set
- Let slices sit at room temperature for 10 minutes before serving
- Add any fresh toppings right before serving to prevent sogginess
 Pin
Pin This pie has become my go-to for every celebration that calls for something indulgent yet completely doable ahead of time. The way people hover around the dessert table waiting for that first slice is all the confirmation I need.
Recipe FAQs
- → Can I use natural peanut butter instead of regular creamy peanut butter?
-
Natural peanut butter can work, but the texture may be slightly grainier and less stable since it lacks the stabilizers found in commercial brands. The filling might also separate more easily. For best results, use a standard creamy peanut butter like Jif or Skippy. If you prefer natural, make sure to stir it thoroughly and chill the filling well before serving.
- → How long does this need to chill before serving?
-
The pie needs at least 4 hours in the refrigerator to fully set, but overnight is even better. The filling firms up beautifully during chilling, making clean slices much easier. You can make it up to 2 days ahead—the flavors actually develop and improve over time. Just cover it well with plastic wrap or foil to prevent absorption of other flavors in your fridge.
- → Can I freeze this pie for later?
-
Yes, this pie freezes exceptionally well! Wrap the fully chilled pie tightly in plastic wrap followed by foil, and freeze for up to 2 months. Thaw overnight in the refrigerator before serving. The texture remains remarkably smooth after freezing. For best results, add any ganache topping or garnishes after thawing rather than before freezing.
- → What can I use instead of chocolate sandwich cookies for the crust?
-
Chocolate graham crackers, chocolate wafers, or even Oreos work great. You could also use crushed pretzels mixed with cocoa powder for a salty-sweet twist, or go traditional with graham crackers plus 2 tablespoons of cocoa powder. Just keep the ratio of about 200 g crumbs to 75 g melted butter for the perfect pressable crust.
- → Do I really need an electric mixer, or can I mix by hand?
-
While you can mix the filling by hand, an electric mixer (hand or stand) makes achieving that perfectly smooth, airy texture much easier. The cream cheese needs to be completely lump-free, and the whipped cream must reach stiff peaks. If mixing by hand, use a whisk and allow extra time—plan on 5-10 minutes of vigorous whisking to get the cream to the right consistency.
- → Can I make this gluten-free?
-
Absolutely! Simply substitute the chocolate sandwich cookies with gluten-free chocolate sandwich cookies or gluten-free chocolate graham crackers. Most other ingredients are naturally gluten-free, but always check your specific brands to be safe, especially for the chocolate chips and vanilla extract, which sometimes contain gluten-based additives.