 Pin
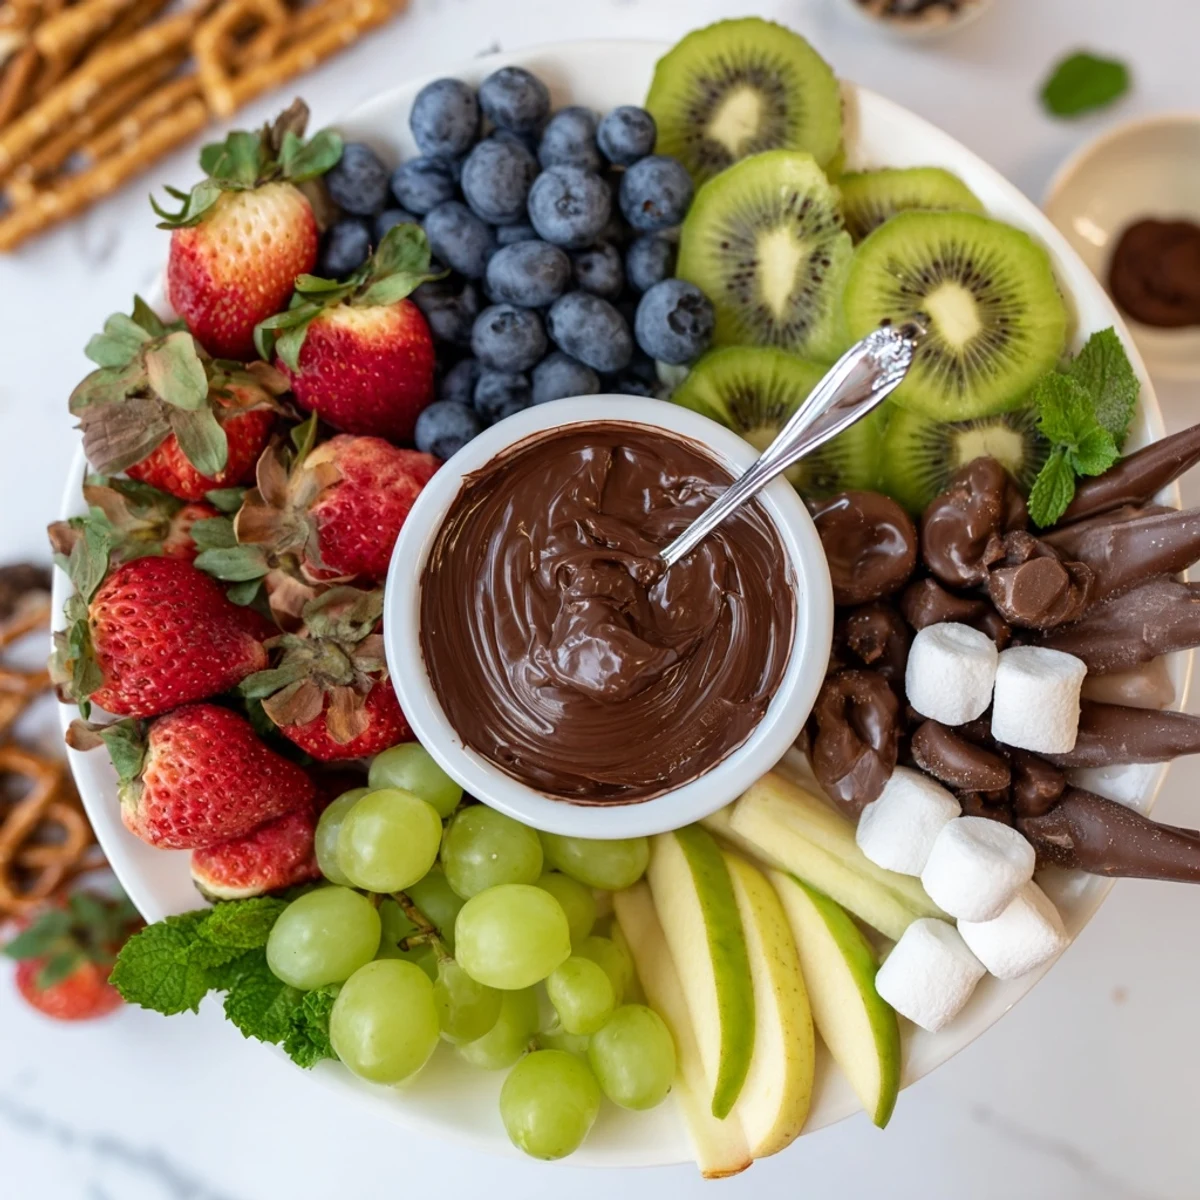
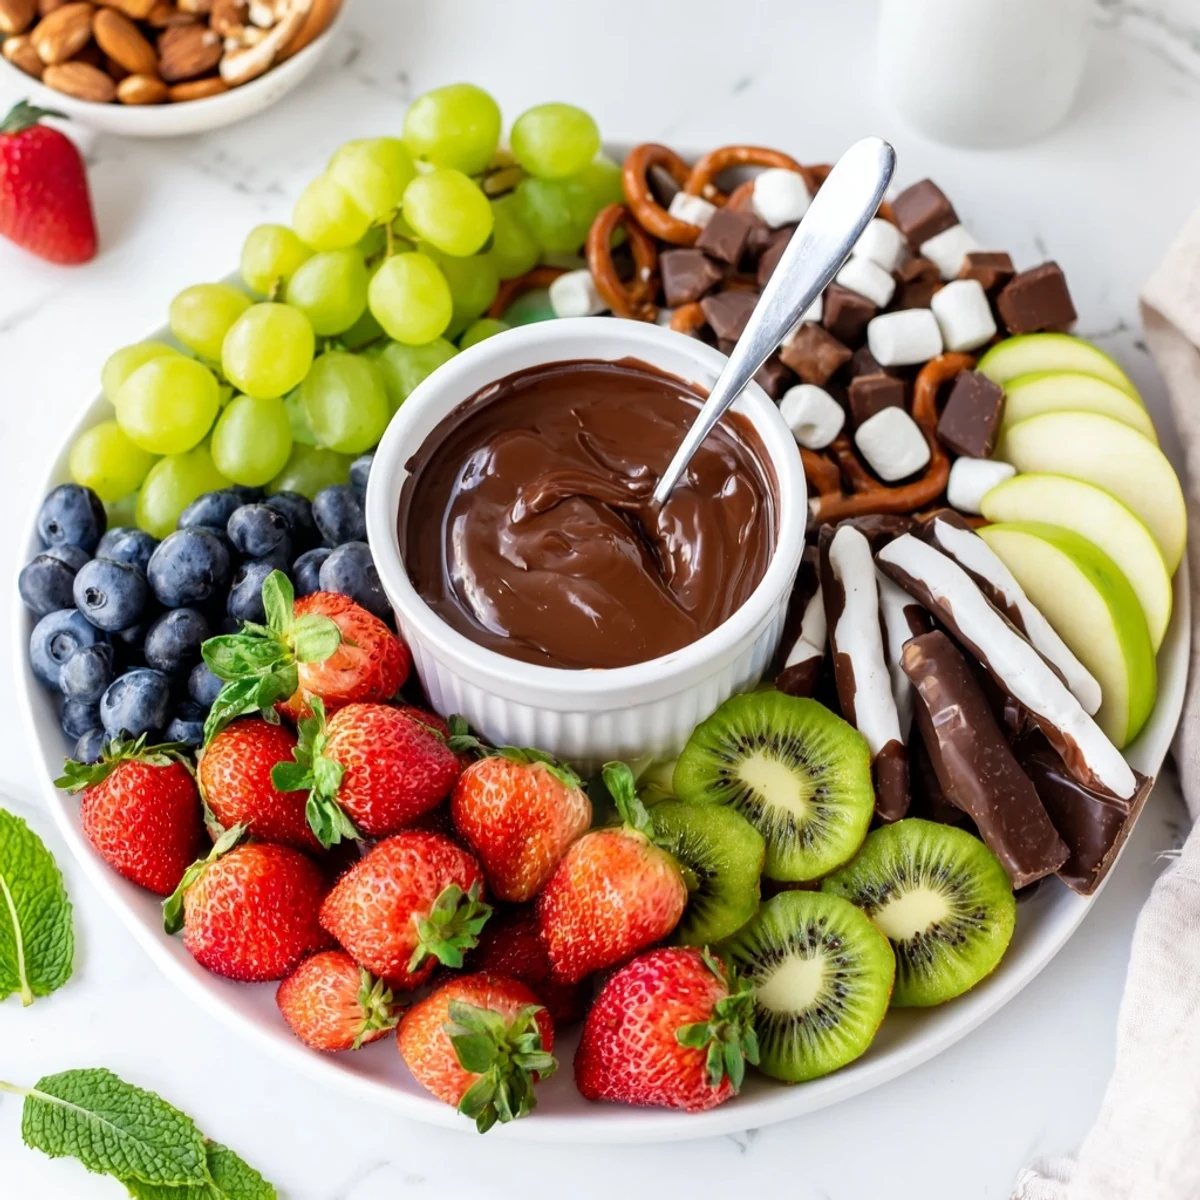
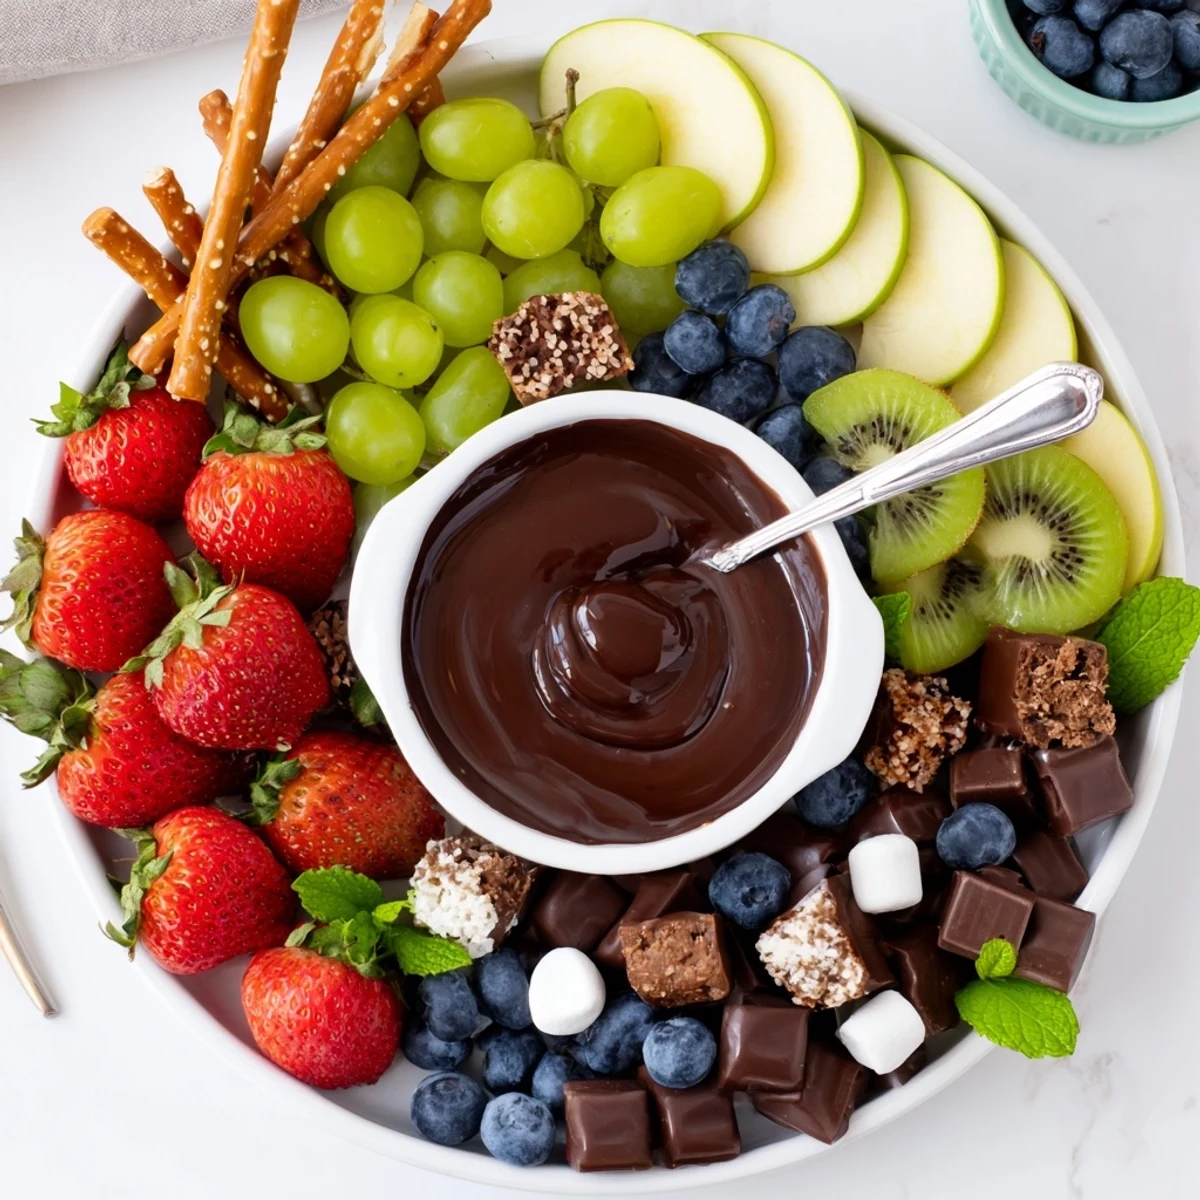
Pin This dazzling dessert charcuterie board comes together in about 20 minutes and serves 8. Arrange halved strawberries, grapes, blueberries, sliced kiwis and apple sections around small bowls of Nutella, salted caramel and whipped cream. Scatter chocolates, cookies, brownie bites, marshmallows and chocolate-covered pretzels, then fill gaps with candied nuts and mint. Offer utensils and encourage dipping and mixing.
My sister walked into the kitchen holding an empty wooden cutting board and announced she was tired of cakes at every gathering. She dumped a bag of groceries on the counter and said we were building something better. Three hours later, our dessert charcuterie board had become the only thing anyone remembered from that Thanksgiving.
Last New Years Eve, I built one of these on a borrowed slate tile because I had run out of serving boards. My friend Leah stood over it with a marshmallow in one hand and a strawberry in the other, laughing that she could not choose.
Ingredients
- Fresh fruits (strawberries, grapes, blueberries, kiwis, apple): The freshness cuts through all the richness and adds vibrant color that makes the board look abundant.
- Assorted chocolates (dark, milk, white): A mix of types keeps every bite interesting, and dark chocolate balances the sweeter elements.
- Assorted cookies (shortbread, chocolate chip, macarons): These give the board texture and familiarity, and guests always gravitate toward what they recognize.
- Mini brownies or brownie bites: Fudgy and dense, they anchor the sweeter side of the board with something indulgent.
- Marshmallows: Pillowy and light, they are perfect for dipping and fill visual gaps effortlessly.
- Chocolate covered pretzels: The salt is the secret weapon here, cutting sweetness and keeping people reaching for more.
- Nutella or chocolate hazelnut spread: This is the dip people crowd around, so always put it somewhere accessible.
- Salted caramel sauce: Warm it slightly for a silky texture that makes everything taste like a gourmet treat.
- Whipped cream or vanilla yogurt: A cool, creamy contrast that works beautifully with fruit and cookies alike.
- Candied nuts and fresh mint (optional garnishes): These fill empty spaces and make the whole board look polished without any real effort.
Instructions
- Prep the fruit:
- Wash everything thoroughly and pat it dry with a clean towel, because wet fruit makes the board slippery and unappetizing. Slice the strawberries, peel and cut the kiwis, and toss the apple slices in a little lemon juice so they stay bright.
- Place your bowls first:
- Set small bowls or ramekins of Nutella, caramel sauce, and whipped cream around the board before anything else goes down. This anchors your layout and prevents the awkward reshuffle later.
- Build fruit clusters:
- Arrange the fruits in loose, generous groups around the bowls, letting colors contrast each other. Think of it like painting with food rather than organizing a pantry shelf.
- Layer in the sweets:
- Tuck chocolates, cookies, brownie bites, marshmallows, and pretzels into the remaining spaces, grouping similar textures together but letting edges blur into each other. You want abundance, not rigid rows.
- Fill the gaps:
- Scatter candied nuts into empty corners and tuck mint sprigs wherever the board looks sparse. These tiny details are what make the difference between a snack tray and a showpiece.
- Set it out and step back:
- Place the board where everyone can reach it and let people serve themselves without ceremony. The best dessert boards are the ones that get a little messy because people actually enjoyed them.
 Pin
Pin The night my neighbor brought her kids over and they treated the board like a treasure map, carefully selecting each bite, I realized this was never really about the food.
Adapting for Dietary Needs
Gluten free cookies and brownies are easy to find now, and swapping them in does not change the look or the joy of the board at all. For a vegan version, use plant based chocolates, coconut whipped cream, and dairy free caramel sauce.
Seasonal Variations
In autumn, I trade the berries for figs, persimmons, and apple cider caramels, and the whole board feels like a completely different experience. Summer begs for stone fruits and watermelon chunks arranged alongside white chocolate and shortbread.
Pairing and Presentation
Serve this alongside coffee, dessert wine, or mugs of hot chocolate, and the evening stretches longer than you planned in the best way. The board itself becomes a reason to linger.
- A slate tile, marble slab, or even a clean wooden table surface works if you do not own a dedicated serving board.
- Keep extra napkins nearby, because chocolate fingers are inevitable and that is part of the fun.
- Remember that imperfection is part of the charm, so stop rearranging and let people dig in.
 Pin
Pin Every time I build one of these boards, I end up standing in the kitchen afterward eating the leftover caramel with a spoon, already planning the next version. That is the true mark of a recipe worth keeping.
Recipe FAQs
- → How should I prep the fruit to prevent browning?
-
Toss apple slices in a light squeeze of lemon juice and keep them chilled until assembly. Dry berries thoroughly to avoid sogginess and slice delicate fruits just before arranging.
- → What’s the best way to arrange items for visual appeal?
-
Create sections by ingredient type, vary colors and textures, place bowls of dips evenly, and use clusters of sweets to balance the board. Fill gaps with nuts or mint sprigs for contrast.
- → How far ahead can I assemble the board?
-
Assemble no more than 1–2 hours ahead for optimal freshness; keep refrigerated until serving and add delicate items like whipped cream or airy cookies just before guests arrive.
- → Can I adapt this for dietary restrictions?
-
Yes. Swap cookies and brownies for gluten-free or vegan alternatives, choose dairy-free spreads, and label allergen-containing items. Keep potential cross-contact in mind when arranging.
- → What dips and spreads work best on a dessert board?
-
Chocolate hazelnut spread, salted caramel, whipped cream or vanilla yogurt all complement fruit and sweets—place them in small bowls for easy dipping and to prevent spreading.
- → How should I store leftovers safely?
-
Cover and refrigerate leftovers within two hours. Separate moist fruit from dry items if possible to maintain texture; consume within 1–2 days for best quality.