 Pin
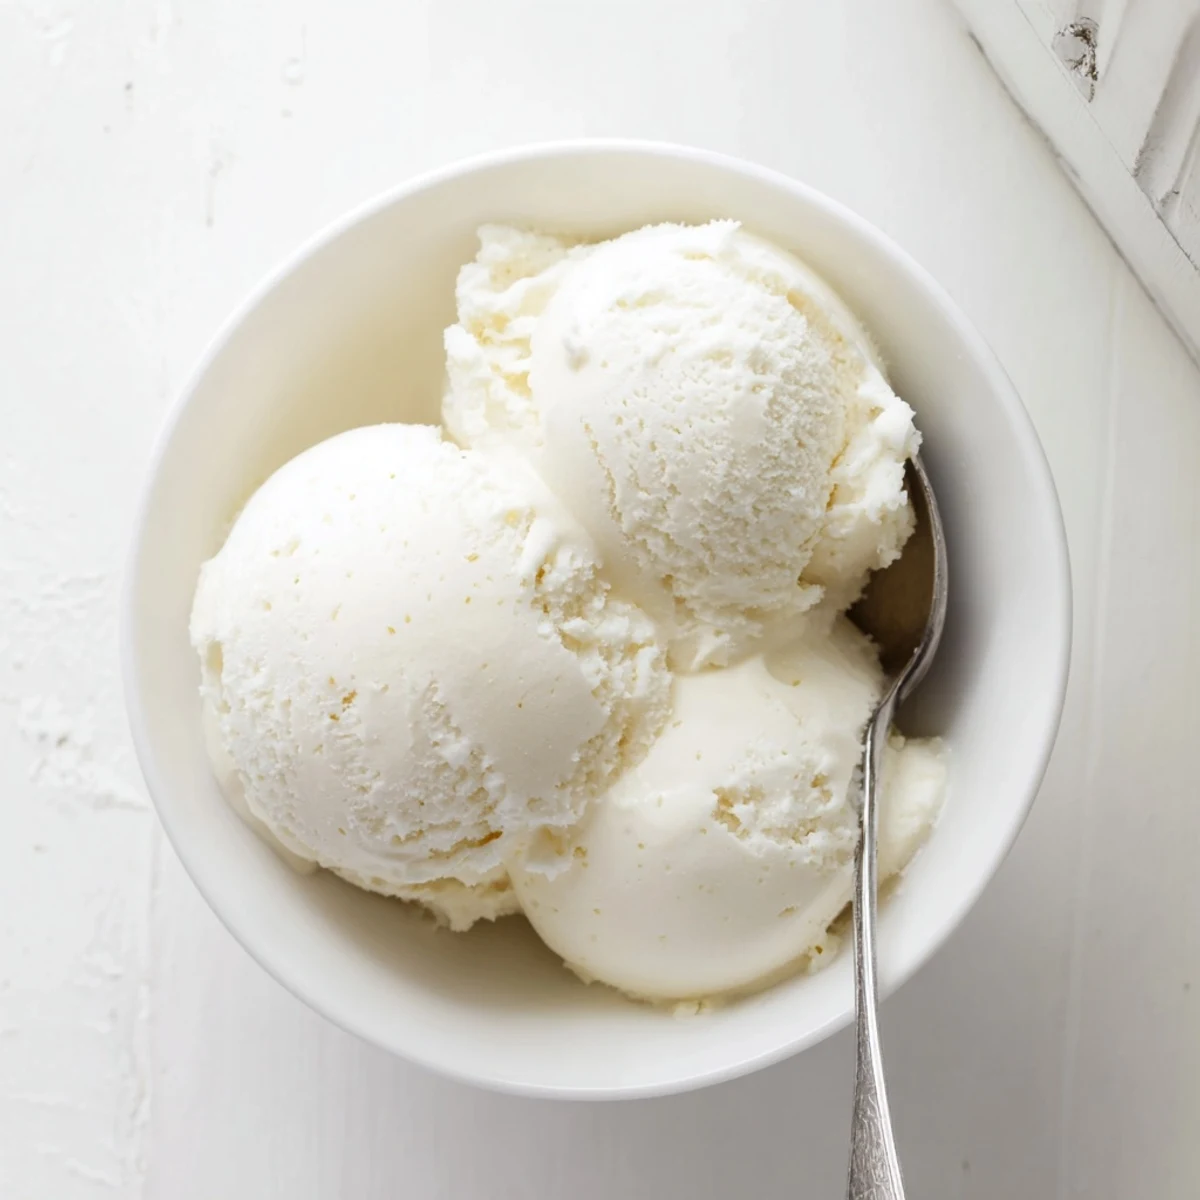
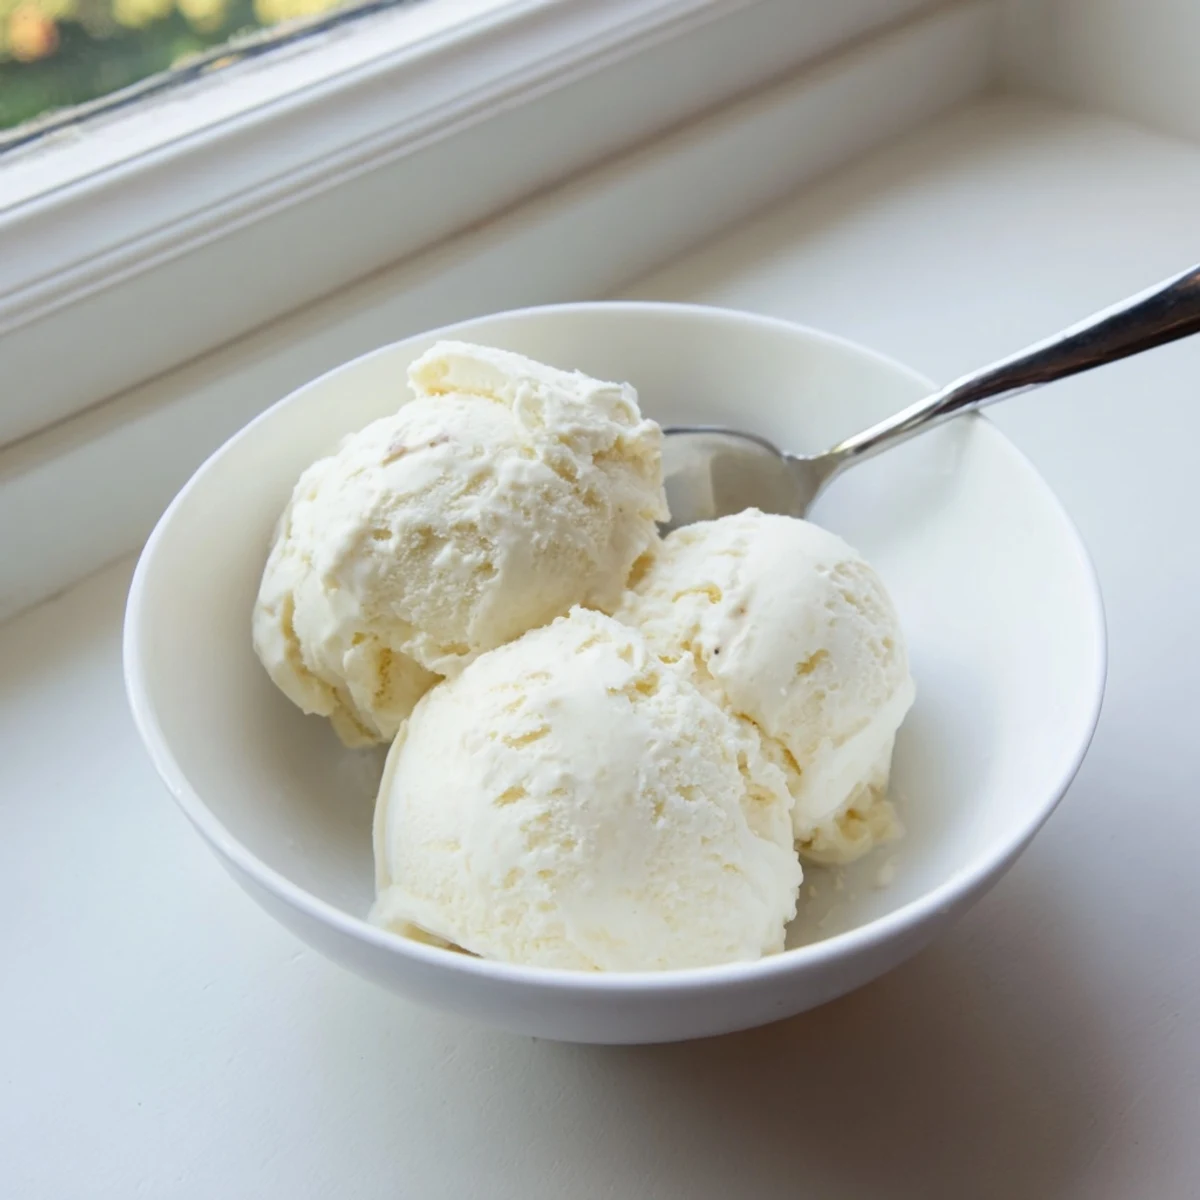
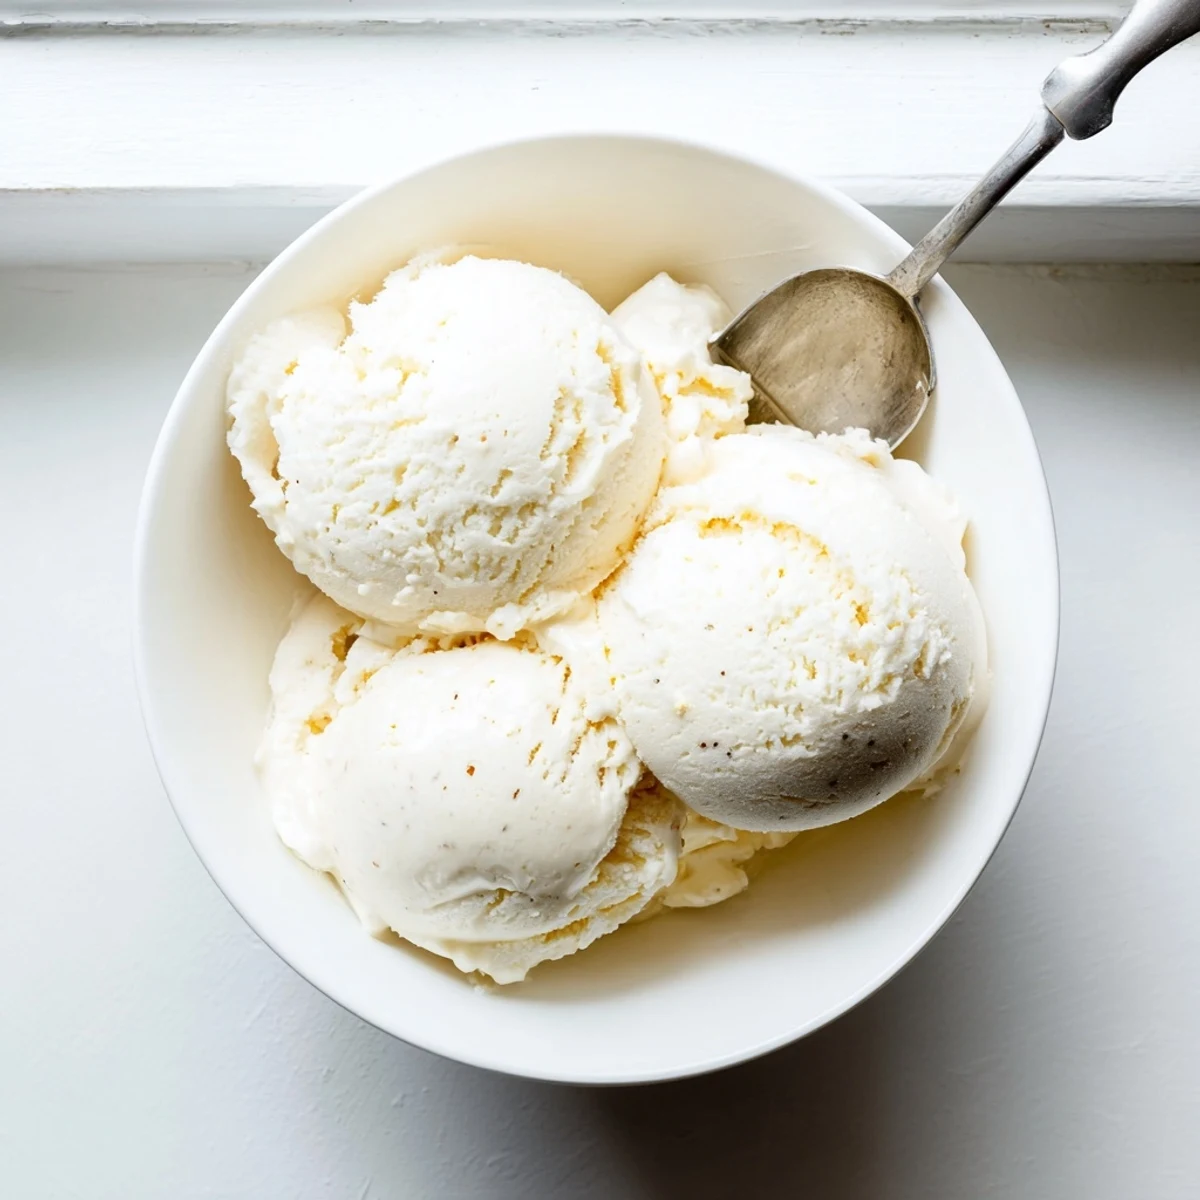
Pin Create this rich, creamy vanilla ice cream using a traditional custard method with fresh vanilla bean and heavy cream. The process involves infusing cream with vanilla, creating a silky egg yolk custard, and churning until perfectly smooth. This indulgent frozen dessert requires patience for proper chilling and freezing, but rewards you with restaurant-quality results.
The key to success lies in gentle heat when making the custard base and thorough chilling before churning. Customize by adding melted dark chocolate for chocolate variations or fold in chopped fruit, nuts, or cookie pieces during the last minutes of churning.
The sound of the ice cream maker churning on my back porch is permanently wired into my brain as the soundtrack of July. My grandmother never measured anything, just poured and tasted and somehow produced the most impossibly silky vanilla ice cream every single time. I spent years trying to replicate it before I understood that patience, not precision, was her real secret ingredient.
One August evening my neighbor walked over with a basket of bruised peaches and asked if I could do anything with them. I chopped them up and folded them into a batch of this base during the last minutes of churning, and we sat on the driveway eating it straight from the container with wooden spoons while the fireflies came out.
Ingredients
- Heavy cream (500 ml): The fat content here is everything, so do not even think about substituting light cream or half and half because the texture will break your heart.
- Whole milk (250 ml): Balances the richness of the cream so the final result feels luxurious instead of greasy.
- Granulated sugar (150 g): Dissolves into the custard smoothly and keeps the ice cream soft enough to scoop after freezing.
- Vanilla bean (1 pod) or pure vanilla extract (2 tsp): A real vanilla bean gives you those tiny black flecks and a perfume that extract cannot fully replicate, but extract will still deliver a lovely result.
- Large egg yolks (4): These are the thickening power that turns liquid into silk, and no you cannot skip them for a lighter version without ending up with icy disappointment.
Instructions
- Wake up the vanilla:
- Split the bean down the middle with a sharp knife and scrape out the sticky dark seeds. Drop the seeds and the empty pod into a saucepan with the milk and cream, then heat everything gently until you see steam curling off the surface and tiny bubbles forming at the edges. Pull it off the heat before it boils and let it sit for 15 minutes so the vanilla can really soak into the dairy.
- Build the pale ribbon:
- Whisk the egg yolks and sugar together in a bowl until the mixture turns pale yellow and falls off the whisk in thick, lazy ribbons. This takes about two minutes of enthusiastic whisking and your arm will feel it.
- Temper with care:
- Fish out the vanilla pod from the warm cream mixture and discard it. Now pour the cream slowly into the egg yolks in a thin stream while whisking like your life depends on it, because scrambled egg ice cream is not a thing anyone wants.
- Cook to velvet:
- Pour the whole mixture back into the saucepan and set it over low heat. Stir constantly with a wooden spoon, scraping the bottom, until the custard thickens enough to coat the back of the spoon and a finger drawn through it leaves a clean line. This happens around 80 degrees Celsius and it sneaks up on you fast so do not walk away.
- Strain and chill:
- Pour the custard through a fine sieve into a clean bowl to catch any stray cooked egg bits. Let it come to room temperature, then cover and refrigerate for at least two hours until it is completely cold.
- Churn it real good:
- Pour the chilled custard into your ice cream maker and churn according to the instructions until it reaches the consistency of soft serve. This usually takes 20 to 25 minutes and the machine will do the hard work.
- Freeze to finish:
- Transfer the softly frozen ice cream into a lidded container and smooth the top. Freeze for at least three hours until it firms up into proper scooping texture.
- Soft serve yourself:
- Let the container sit at room temperature for about 10 minutes before scooping so it softens just enough to yield perfect round scoops.
 Pin
Pin There is something quietly powerful about pulling out a container of homemade ice cream at a dinner party. People who have been politely picking at their salad all evening suddenly lean forward in their chairs and start asking real questions.
Flipping the Flavor Script
Melt 80 grams of dark chocolate and whisk it into the warm custard after straining for a deeply chocolatey version that tastes like the inside of a truffle. You can also swirl in peanut butter, fold through espresso, or steep fresh basil in the cream during the infusion step for a savory sweet twist that catches people off guard.
Mix Ins Worth the Extra Step
Toss in chopped toasted nuts, crumbled cookies, or diced fruit during the last two minutes of churning so they distribute evenly without sinking to the bottom. Frozen fruit works better than fresh because it will not water down the base as it thaws.
Serving Without Stress
Homemade ice cream freezes firmer than commercial brands because it lacks the stabilizers and overrun that keep store pints fluffy. A brief rest on the counter solves this completely, and honestly a slightly melty bowl of vanilla ice cream with fresh berries piled on top might be better than any perfectly round scoop anyway.
- Dip your scoop in warm water between servings for cleaner results.
- A warm metal spoon cuts through frozen ice cream more easily than a cold one.
- Press a piece of parchment directly on the surface before lidding to prevent ice crystals from forming on top.
 Pin
Pin Every batch you make teaches you something new about heat, patience, and the quiet magic of turning five humble ingredients into something that makes people close their eyes when they take the first bite.
Recipe FAQs
- → How long does homemade ice cream need to freeze?
-
After churning, transfer to a freezer-safe container and freeze for at least 3 hours until firm. For best results, let it soften slightly at room temperature for 5-10 minutes before scooping.
- → Can I make this without an ice cream maker?
-
Yes, though the texture will be denser. Pour the chilled custard into a shallow container, freeze for 2 hours, then whisk vigorously to break up ice crystals. Repeat every 30 minutes for 2-3 hours until smooth.
- → Why did my custard curdle?
-
Curdling occurs from overheating. Keep the temperature around 80°C (175°F) and stir constantly. If tiny grains appear, strain immediately through a fine sieve and blend with an immersion blender before chilling.
- → How should I store leftover ice cream?
-
Store in an airtight freezer-safe container with parchment paper pressed directly on the surface to prevent ice crystals. Properly stored, it will keep for 2-3 weeks without significant texture loss.
- → What's the difference between vanilla extract and vanilla bean?
-
Vanilla beans provide superior flavor with visible specks and complex floral notes. Extract offers convenience but a simpler taste profile. One vanilla bean equals approximately 2 teaspoons of pure extract.
- → Can I reduce the sugar in this recipe?
-
Sugar isn't just for sweetness—it lowers the freezing point for smoother texture and stabilizes the custard. You can reduce by 25%, but expect icier results. Consider using honey or maple syrup as alternatives.