 Pin
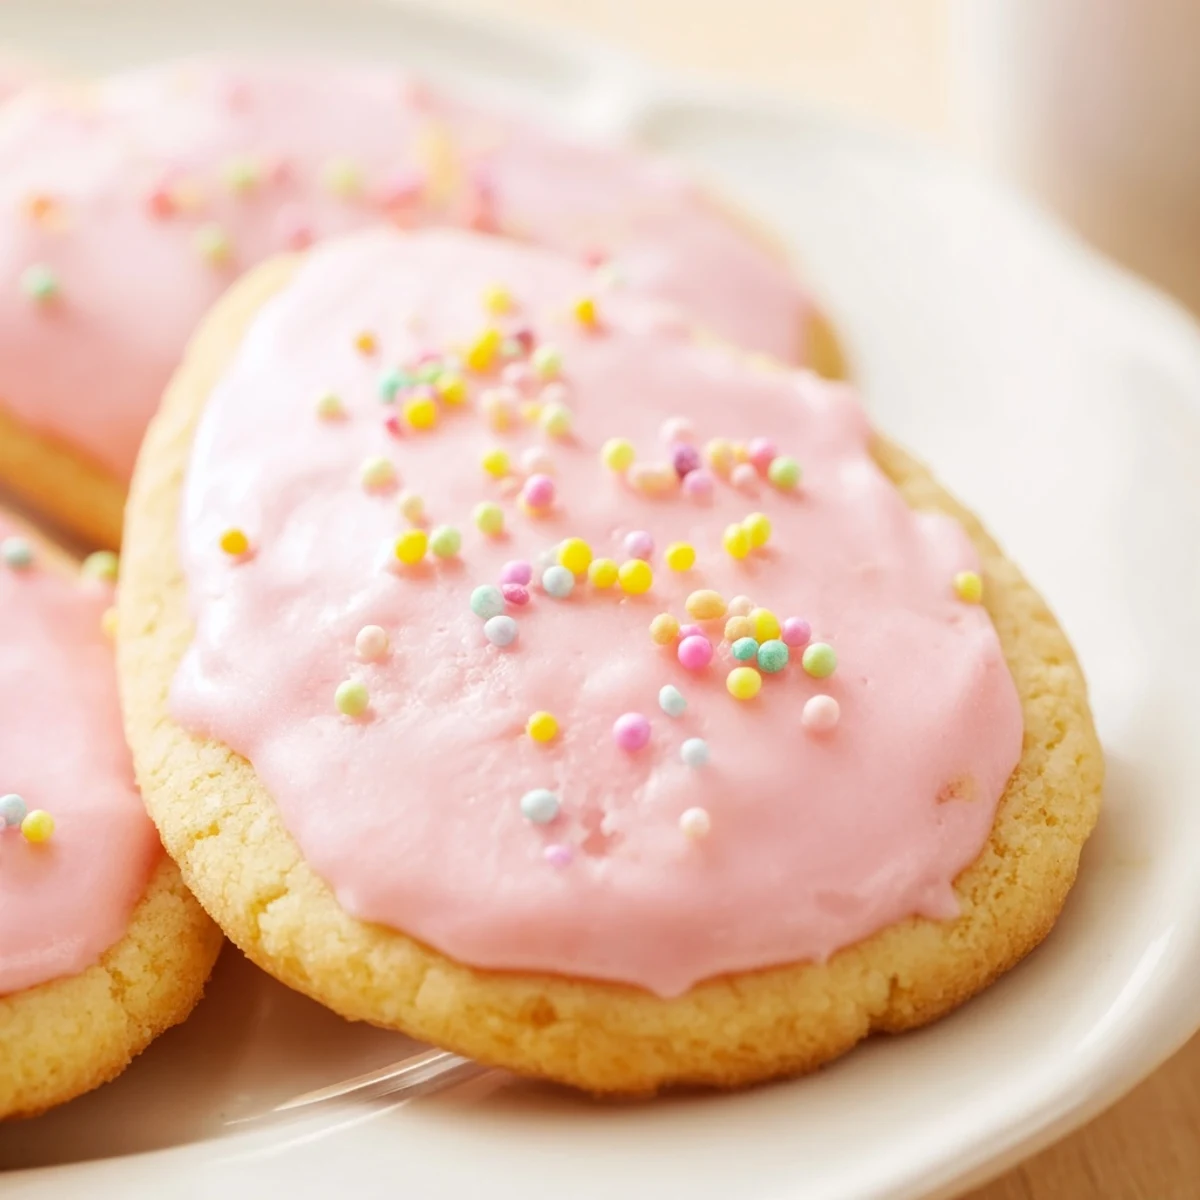
Pin Create beautiful, festive treats with these light and buttery sugar cookies decorated in soft pastel colors. The classic vanilla-almond dough rolls out perfectly for Easter shapes like eggs, bunnies, and flowers, while the glossy royal icing provides the ideal canvas for colorful spring designs.
These handheld sweets come together quickly—just 25 minutes of prep before chilling, then a quick 10-minute bake. The royal icing dries smooth and firm, making them perfect for gifting, Easter baskets, or spring dessert tables. You can easily customize flavors with citrus extracts or adapt for gluten-free diets.
Store them in airtight containers for up to a week, though their charming appearance and delicious buttery taste usually means they disappear much faster.
Last Easter, my youngest discovered she could decorate cookies faster than I could bake them. We ended up with an entire dining table covered in pastel frosted eggs, bunnies, and flowers, some more abstract than others. The joy wasn't in perfection but in the collective sugar rush and flour-dusted aprons. That afternoon taught me that the best holiday desserts are the ones made together, mess and all.
My grandmother never measured anything for her sugar cookies, but she insisted on one thing. Always chill the dough, she would say, pointing to the refrigerator. The first time I tried shortcutting this step, my Easter bunnies spread into unrecognizable blobs. Now I never skip that hour of chilling, even when I am rushing.
Ingredients
- All purpose flour: The backbone of these cookies. Spoon and level your flour instead of scooping directly to avoid packing too much in.
- Baking powder: Just a half teaspoon gives the cookies a subtle lift without making them cakey.
- Unsalted butter: Room temperature is non negotiable here. Cold butter won not cream properly and your cookies will be dense.
- Granulated sugar: Cream this with the butter for the full two to three minutes. That air you are incorporating makes all the difference in texture.
- Vanilla and almond extract: The almond extract is optional but I highly recommend it. That subtle marzipan note is what makes people ask what your secret ingredient is.
- Meringue powder: This creates royal icing that actually sets hard. Without it your icing will stay soft and smudge when stacked.
Instructions
- Whisk the dry ingredients:
- In a medium bowl, combine the flour, baking powder, and salt. Whisk them together thoroughly so you do not get pockets of baking powder in your finished cookies.
- Cream the butter and sugar:
- Beat the butter and sugar together until the mixture looks pale and fluffy. This usually takes two to three minutes and is worth every second of effort.
- Add the egg and extracts:
- Crack in the egg and pour in both extracts. Beat until everything is fully incorporated and the mixture looks smooth and creamy.
- Mix in the flour:
- Add the dry ingredients in two or three additions, mixing on low speed until just combined. The dough will be soft but should hold its shape when pressed together.
- Chill the dough:
- Divide the dough in half, pat each portion into a disk, and wrap tightly in plastic. Refrigerate for at least one hour or up to two days if you are planning ahead.
- Prep for baking:
- Preheat your oven to 350 degrees F and line two baking sheets with parchment paper. This parchment is essential. These cookies can be delicate and it prevents sticking.
- Roll and cut:
- Roll the chilled dough on a lightly floured surface until it is a quarter inch thick. Cut into shapes and arrange them one inch apart on your prepared baking sheets.
- Bake to perfection:
- Bake for nine to eleven minutes. You want the edges to just barely start turning golden. The centers should still look slightly soft. They will firm up as they cool.
- Make the royal icing:
- Whisk together the powdered sugar, meringue powder, and water until smooth and glossy. The consistency should be like thick honey that slowly flows off a spoon.
- Decorate your cookies:
- Divide the icing into small bowls and tint with your chosen colors. Pipe or spread onto the completely cooled cookies and add sprinkles while the icing is still wet.
 Pin
Pin Last year, my neighbor brought over her grandchildren for cookie decorating. They left with frosting in their hair and shirts covered in sprinkles, but they also left with plates of cookies they decorated themselves. Those imperfect, joyful cookies were the highlight of their Easter celebration.
Making Your Icing The Right Consistency
Royal icing consistency depends on what you are doing. For outlining cookies, you want it thick enough to hold its shape. For flooding the inside, thin it with a few drops of water until it spreads smoothly to the edges on its own. I keep a small spray bottle of water handy to adjust as I work.
Choosing The Right Colors
Gel food coloring is your friend here. Liquid coloring can thin your icing too much and affect how it sets. Start with a tiny amount of gel on a toothpick. You can always add more, but you cannot take color back out. For a soft pastel look, less pigment is actually more.
Storage And Make Ahead Tips
The dough disks freeze beautifully for up to three months. Thaw overnight in the refrigerator before rolling and baking. Already baked and decorated cookies will keep for about a week in an airtight container at room temperature, assuming they last that long.
- Layer cookies between sheets of wax paper when storing to prevent the icing from sticking to other cookies
- Undecorated baked cookies can be frozen for up to a month and decorated later when you have more time
- royal icing sets completely in about two to four hours depending on humidity and thickness
 Pin
Pin However you decorate them, these cookies capture everything wonderful about spring baking. Enjoy every sweet, colorful bite.
Recipe FAQs
- → How long should I chill the cookie dough?
-
Chill the dough for at least 1 hour before rolling. This step is crucial—it firms the butter, prevents sticking, and helps the cutouts hold their shape during baking without spreading too much.
- → Can I make the dough ahead of time?
-
Absolutely. Wrap the dough disks tightly in plastic and refrigerate for up to 3 days, or freeze for up to 3 months. Thaw overnight in the refrigerator before rolling and baking.
- → What's the best consistency for royal icing?
-
For outlining, use stiff icing that holds its shape. For flooding and filling, add more water until it flows smoothly like honey. Test by dragging a knife through—the line should disappear in about 10-15 seconds.
- → How do I prevent my cookies from spreading?
-
Keep dough cold while working, roll to consistent 1/4-inch thickness, and avoid overcrowding the baking sheet. Using parchment paper and measuring ingredients precisely also helps maintain shape.
- → Can I use liquid food coloring instead of gel?
-
Gel coloring works best because it doesn't thin the icing. Liquid food coloring can alter consistency, requiring more powdered sugar to achieve the right texture. If using liquid, add it drop by drop and adjust as needed.
- → How should I store the decorated cookies?
-
Once the icing is completely set (usually 4-6 hours or overnight), layer them between parchment paper in an airtight container. They'll stay fresh for up to a week at room temperature.