 Pin
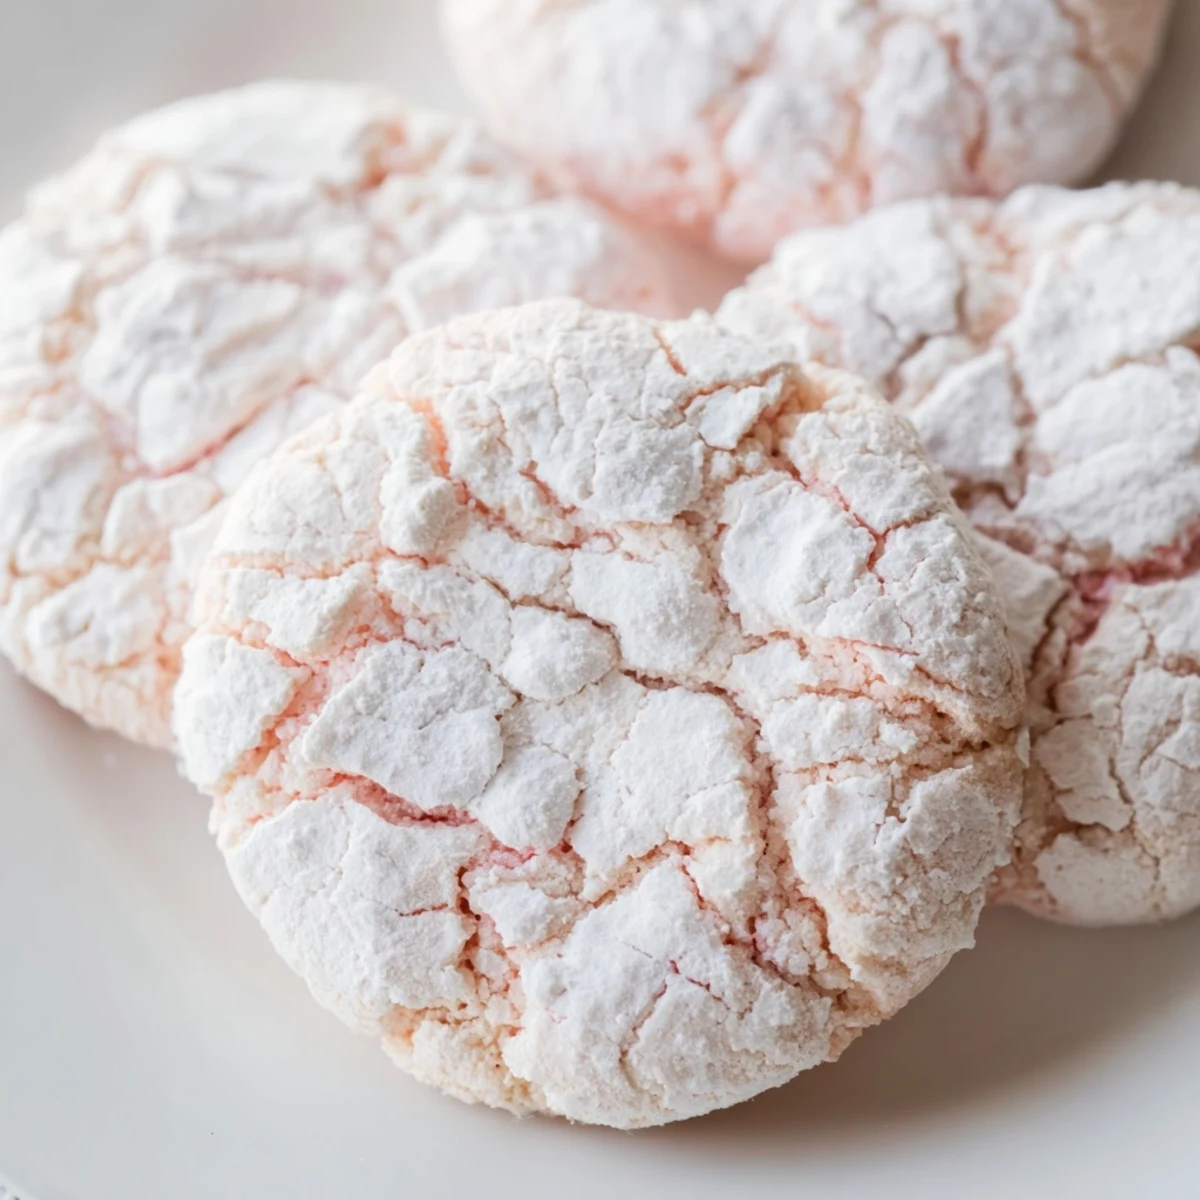
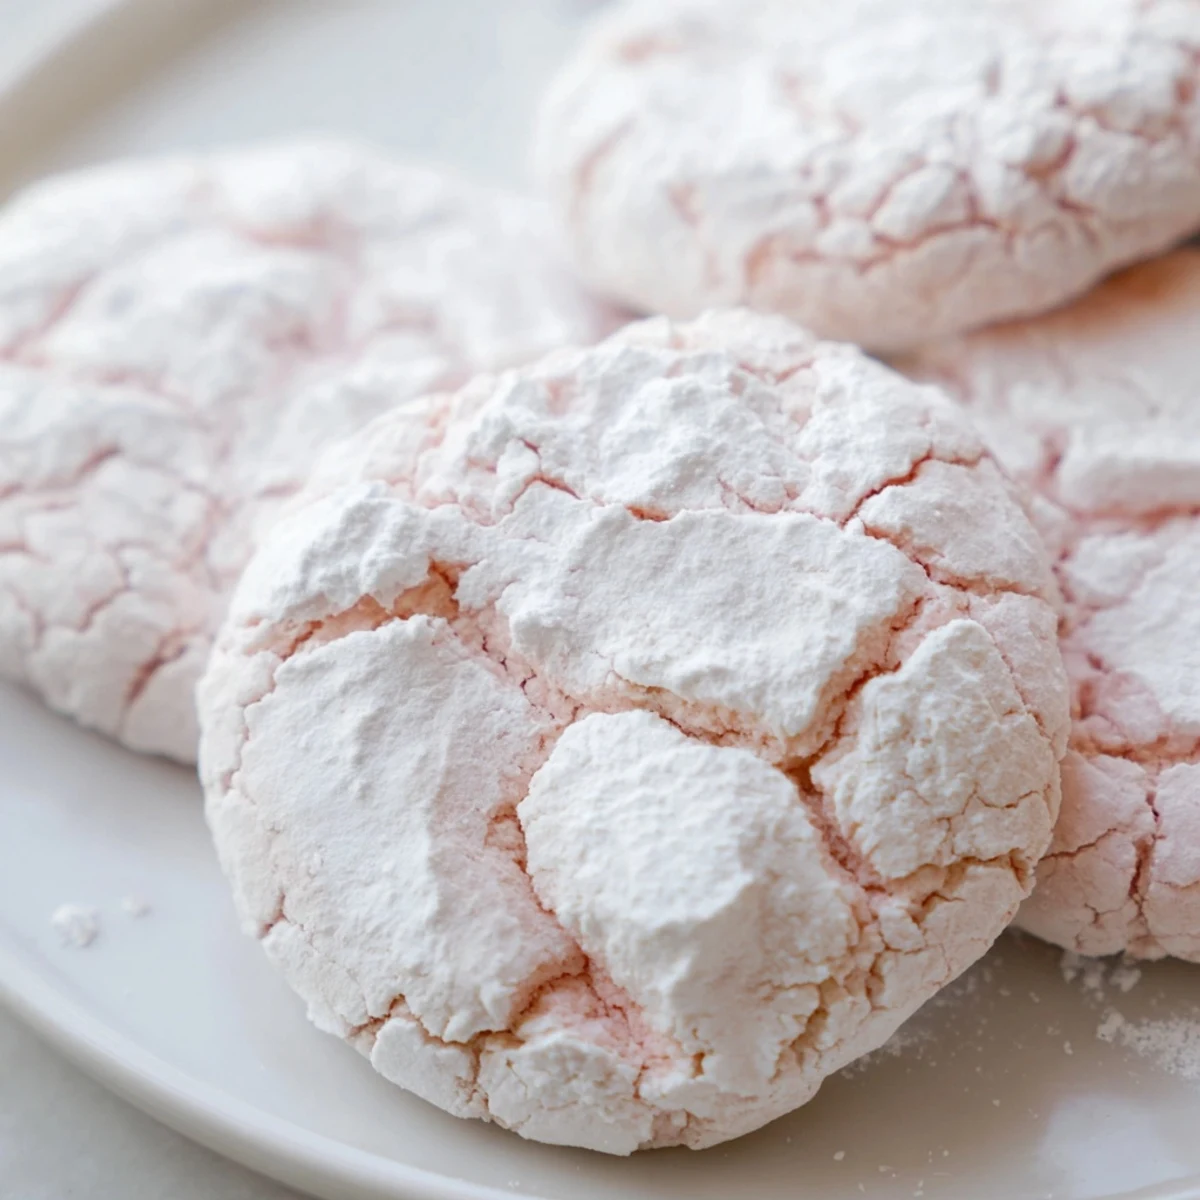
Pin These delightful cookies feature a soft, chewy texture with a characteristic crackled appearance created by rolling the dough in powdered sugar before baking. The pastel colors make them visually stunning for spring events, baby showers, or birthday celebrations.
The dough comes together quickly with basic pantry ingredients, then gets divided and tinted with gel food coloring in your choice of soft shades. A brief chill ensures the cookies hold their shape while developing those signature cracks in the oven.
Ready in just 30 minutes from start to finish, these treats store beautifully for up to five days and can be customized with different extracts like lemon or almond for flavor variations.
The first time I made pastel crinkle cookies was for my daughter's spring birthday party. I'd seen them on a baking blog and thought they looked impossibly fancy, the kind of thing that required secret skills or patience I didn't possess. When they came out of the oven with those gorgeous cracks revealing the prettiest shades of pink and mint, I actually gasped out loud. Now they're my go-to whenever I need something that makes people pause and smile.
Last Easter, my niece helped me make a batch and she insisted on making every single color of the rainbow. We had dough in six different bowls, food coloring everywhere, and flour dusted across half the kitchen. Her dad walked in, looked at the chaos, then at the tray of beautifully crackled cookies, and said he'd never seen anything so worth the mess.
Ingredients
- 2 cups all-purpose flour: The foundation that gives these cookies their structure while staying incredibly tender
- 1½ tsp baking powder: Essential for achieving those signature cracks as the cookies rise and spread
- ¼ tsp salt: Just enough to balance the sweetness and make the flavors pop
- ½ cup unsalted butter, softened: Room temperature butter creates the perfect creamy base for the dough
- 1 cup granulated sugar: Sweetens the dough and helps create that crackled exterior
- 2 large eggs: Bind everything together while adding richness and structure
- 2 tsp vanilla extract: Pure vanilla makes these taste like a proper bakery cookie
- ¼ cup whole milk: Keeps the dough soft and helps achieve that perfect chewy texture
- Gel food coloring: Gel colors give you vibrant pastels without thinning the batter like liquid food coloring can
- ¾ cup powdered sugar: The magic ingredient that creates the crackled pattern and adds that sweet snowy coating
Instructions
- Get your oven ready:
- Preheat to 350°F and line two baking sheets with parchment paper so your cookies dont stick
- Whisk the dry ingredients:
- In a medium bowl, combine flour, baking powder, and salt until everything is evenly distributed
- Cream the butter and sugar:
- Beat softened butter and granulated sugar until the mixture looks pale and fluffy, about 2 to 3 minutes
- Add the eggs and vanilla:
- Beat in eggs one at a time, then add vanilla extract, mixing well after each addition
- Combine everything:
- Add the flour mixture in two parts, alternating with milk, mixing until just combined
- Color the dough:
- Divide dough evenly into 3 or 4 bowls and tint each portion with gel food coloring until you have soft pastel shades
- Chill if needed:
- If your dough feels too soft or sticky, refrigerate for 20 minutes to make it easier to handle
- Roll in sugar:
- Scoop tablespoon-sized balls and roll them generously in powdered sugar until completely coated
- Bake to perfection:
- Place cookies 2 inches apart on baking sheets and bake for 10 to 12 minutes until edges are set but centers still look slightly soft
- Cool completely:
- Let cookies rest on the baking sheet for 5 minutes before transferring to a wire rack
 Pin
Pin My mother-in-law asked for the recipe after trying them at our house, and now she makes them for every baby shower and bridal shower she attends. She calls them her signature cookies, even though I'm pretty sure she's added her own tweaks along the way.
Getting the Perfect Pastels
The secret to achieving those soft, dreamy colors is starting with just a tiny amount of gel coloring. You can always add more, but you can't take it back. I use the end of a toothpick to add color drop by drop, folding it in gently until I reach exactly the shade I want. The dough will bake a shade or two darker, so keep that in mind when mixing.
Making These Ahead
You can prepare the dough up to 2 days in advance and store it in the refrigerator, which actually helps develop the flavors. When you're ready to bake, let the dough sit at room temperature for about 15 minutes so it's easier to scoop. You can also freeze the dough balls for up to 3 months and bake them straight from the freezer, just add an extra minute or two to the baking time.
Serving and Storing
These cookies are at their absolute best the day they're baked, when the exterior is still slightly crisp from the powdered sugar and the interior is perfectly soft. They'll stay fresh in an airtight container at room temperature for up to 5 days, though I've never had a batch last longer than 2 in my house.
- Arrange them on a pretty cake stand for instant party decorations
- Package them in clear bags tied with pastel ribbon for edible gifts
- Serve alongside vanilla ice cream for an over-the-top dessert
 Pin
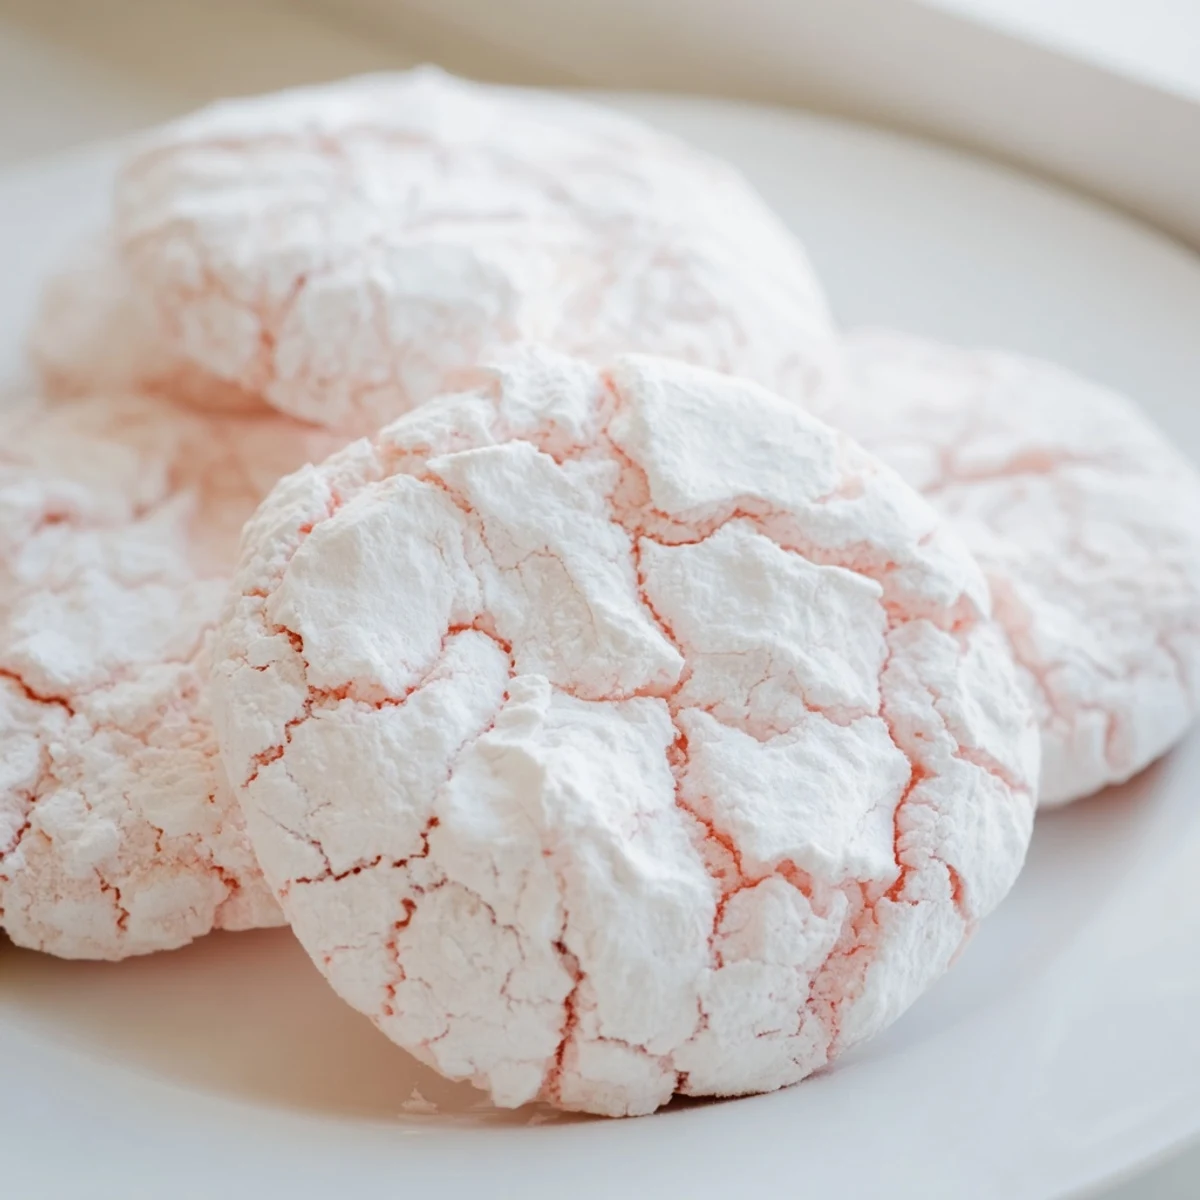
Pin There's something magical about pulling a tray of these from the oven and seeing how each one cracked differently, like edible snowflakes in pastel colors.
Recipe FAQs
- → Why do these cookies crackle?
-
The crackled effect happens when powdered sugar on the dough's surface caramelizes differently than the dough itself during baking. As the cookies spread and rise, the sugar coating creates beautiful cracks, revealing the pastel-colored dough underneath.
- → Can I use liquid food coloring instead of gel?
-
Liquid coloring can work but may make the dough too sticky. Gel food coloring is preferred because it delivers vibrant color with minimal liquid, preserving the dough's consistency for proper spreading and crackling.
- → How do I know when they're done baking?
-
The cookies are ready when the edges appear set but the centers still look slightly soft. They'll continue cooking on the hot baking sheet during the 5-minute cooling period, resulting in perfectly chewy texture.
- → Can I freeze the dough?
-
Yes, portion the colored dough into balls, roll in powdered sugar, and freeze on a baking sheet. Once solid, transfer to a freezer bag. Bake frozen dough balls, adding 1-2 extra minutes to the baking time.
- → What other flavors work well?
-
Try replacing vanilla with lemon, almond, orange, or coconut extract. You can also add citrus zest or a pinch of cardamom for sophisticated flavor variations that complement the sweet, buttery base.
- → Why chill the dough before baking?
-
Chilling prevents the cookies from spreading too much in the oven, ensuring they maintain their shape while still developing those beautiful crackles. If your dough feels warm or sticky, 20 minutes in the refrigerator makes a noticeable difference.