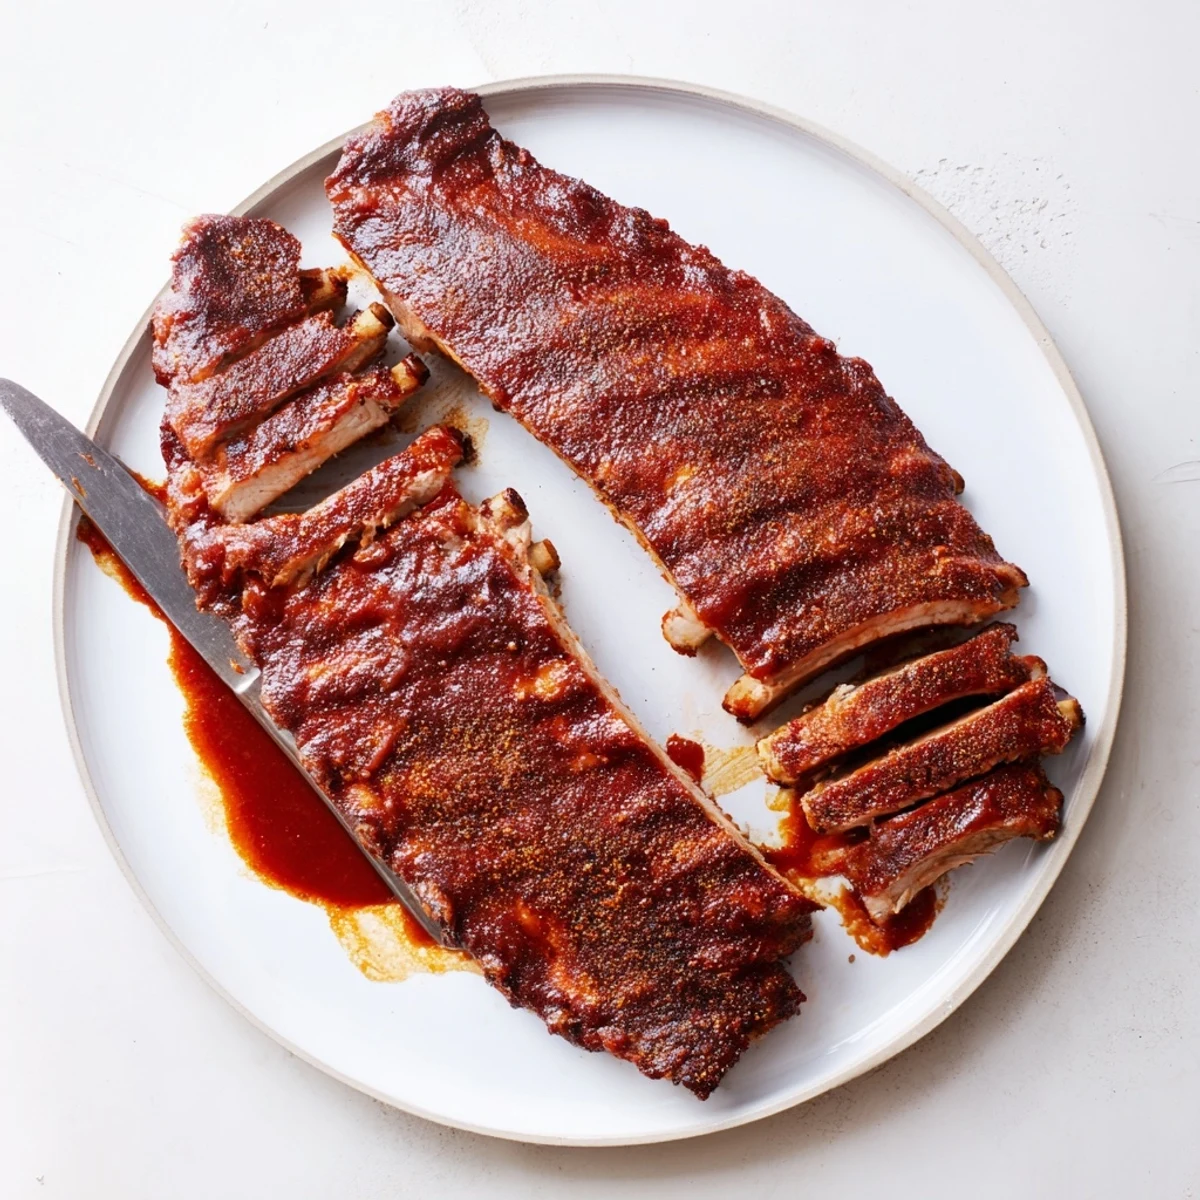
 Pin
Pin Start by removing the membrane and rubbing the racks with a brown sugar, paprika, garlic and cayenne blend. Let sit 20 minutes, then cook wrapped in foil over medium indirect heat (140–160°C / 285–320°F) for about 1½ hours with a splash of apple cider vinegar. Unwrap, brush with barbecue sauce and finish over direct heat 10–15 minutes to caramelize. Rest 5 minutes, slice and serve with classic sides or grilled veg. Check sauces for gluten-free labels if needed.
There&aposs a certain excitement that comes with the first sharp sizzle of ribs meeting a hot grill. When the air starts to smell like slow caramelizing sugar and gentle smoke, I remember countless weekends spent perfecting my spice mix in the backyard. Each try led me closer to that ideal tenderness—the kind that practically melts the moment you take a bite. With every batch, the sticky barbecue glaze signaled another round of grinning tasters eager for more.
I once made these ribs on a whim for a chilly autumn get-together—everyone ended up gathered around the grill, poking fun and sneaking crunchy bits before they officially hit the platter. It turns out, laughter and sticky fingers are the real secret ingredients.
Ingredients
- Pork baby back ribs: Choose meaty racks and pat them dry—removing the membrane makes all the difference in tenderness.
- Brown sugar: This brings just enough sweetness and helps the crust caramelize perfectly.
- Paprika: A touch of this basic spice builds depth, while smoked paprika adds that signature barbecue drift.
- Garlic powder and onion powder: These powders cut straight to rich flavor without any peeling or chopping required.
- Ground black pepper and salt: Don&apost skimp here; seasoning makes everything sing and draws the juices out.
- Cayenne pepper (optional): For those who enjoy a bit of heat, a careful sprinkle is all you need.
- Barbecue sauce: Homemade turns it into your own classic, but your favorite store-bought will also shine.
- Apple cider vinegar: Just a splash inside the foil keeps the meat wonderfully moist and tangy.
Instructions
- Prep the ribs:
- Slide a knife under the silvery membrane on the bone side and peel it away to ensure every bite is tender. Pat the racks dry with a paper towel.
- Mix your rub:
- Stir the brown sugar, paprika, smoked paprika, garlic powder, onion powder, pepper, salt, and cayenne together—don&apost be afraid to use your hands, it&aposs faster.
- Season generously:
- Massage the rub into both sides of the ribs, then let them rest on the counter while you get the grill going. The spices soak in and make the color deepen beneath your fingertips.
- Fire up the grill:
- Set your grill for indirect medium heat; if using charcoal, bank the coals to the side. It should feel hot but not scorching when you hold your hand above the grate.
- Wrap and steam:
- Lay each rack on a large sheet of foil, splash with vinegar, and seal tightly. Place on the grill, close the lid, and let the magic happen—turn every so often for even tenderness.
- Glaze and taste:
- Once unwrapped, the aroma will be irresistible. Brush on barbecue sauce generously, and get ready for the final sizzle.
- Char and finish:
- Return the ribs directly onto the hot grate. Turn and baste as the sauce bubbles and starts sticking, watching for those sought-after little browned edges.
- Rest and enjoy:
- Transfer to a cutting board, let rest, then slice between bones. The juices will glisten as you finally serve them up.
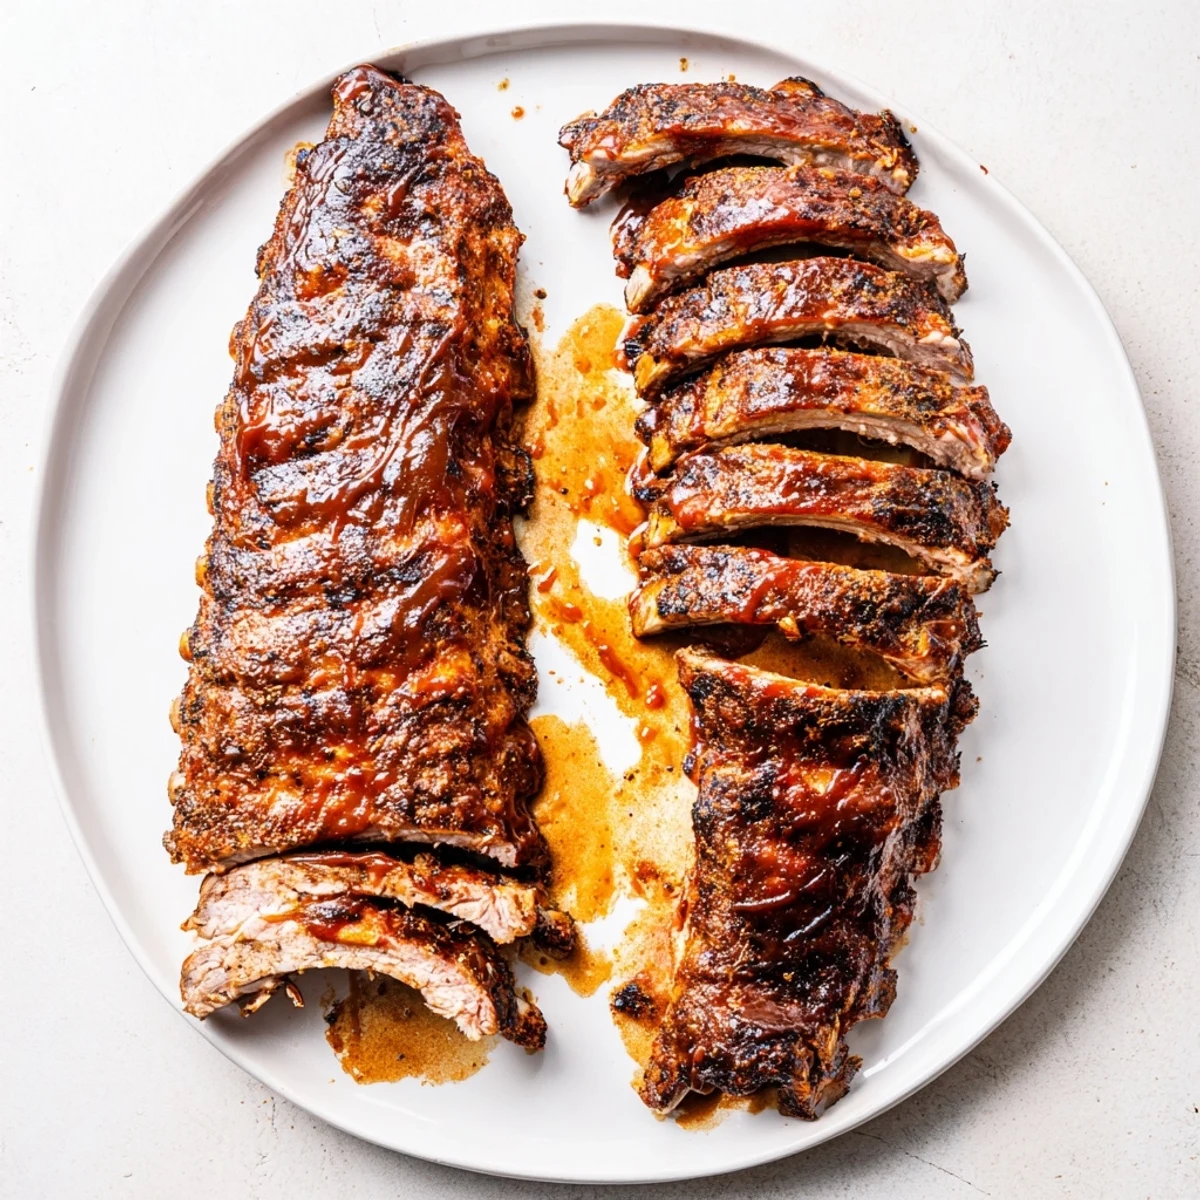 Pin
Pin The moment these ribs hit the table and a quiet hush fell on the crowd, I realized how a simple cookout can linger as a cherished memory longer than any fancy meal.
Swapping Sauces and Sides
Experimenting with different sauces—from tangy mustard-based ones to peppery homemade blends—has kept things interesting (and sometimes led to heated debates about &aposthe best&apos version). Even the sides you pick—think creamy slaw or grilled corn—can make each meal feel new.
Mastering Grill Temperatures
I learned quickly that keeping the heat gentle and indirect prevents dry ribs and helps the smoky aroma slowly build. If you notice your ribs browning too quickly, move them to a cooler spot and cover for even cooking.
Troubleshooting and Last-Minute Fixes
Occasionally, I&apove had ribs that seemed stubbornly tough or a glaze that wouldn&apost stick. Steaming them a bit longer, or giving the sauce an extra minute to thicken over the heat, can turn a near-miss into a triumph.
- Letting ribs rest after grilling keeps the juices from running out all over your board.
- If you&apostre out of apple cider vinegar, a squeeze of lemon works in a pinch.
- Always slice between the bones to keep servings neat and easy to handle.
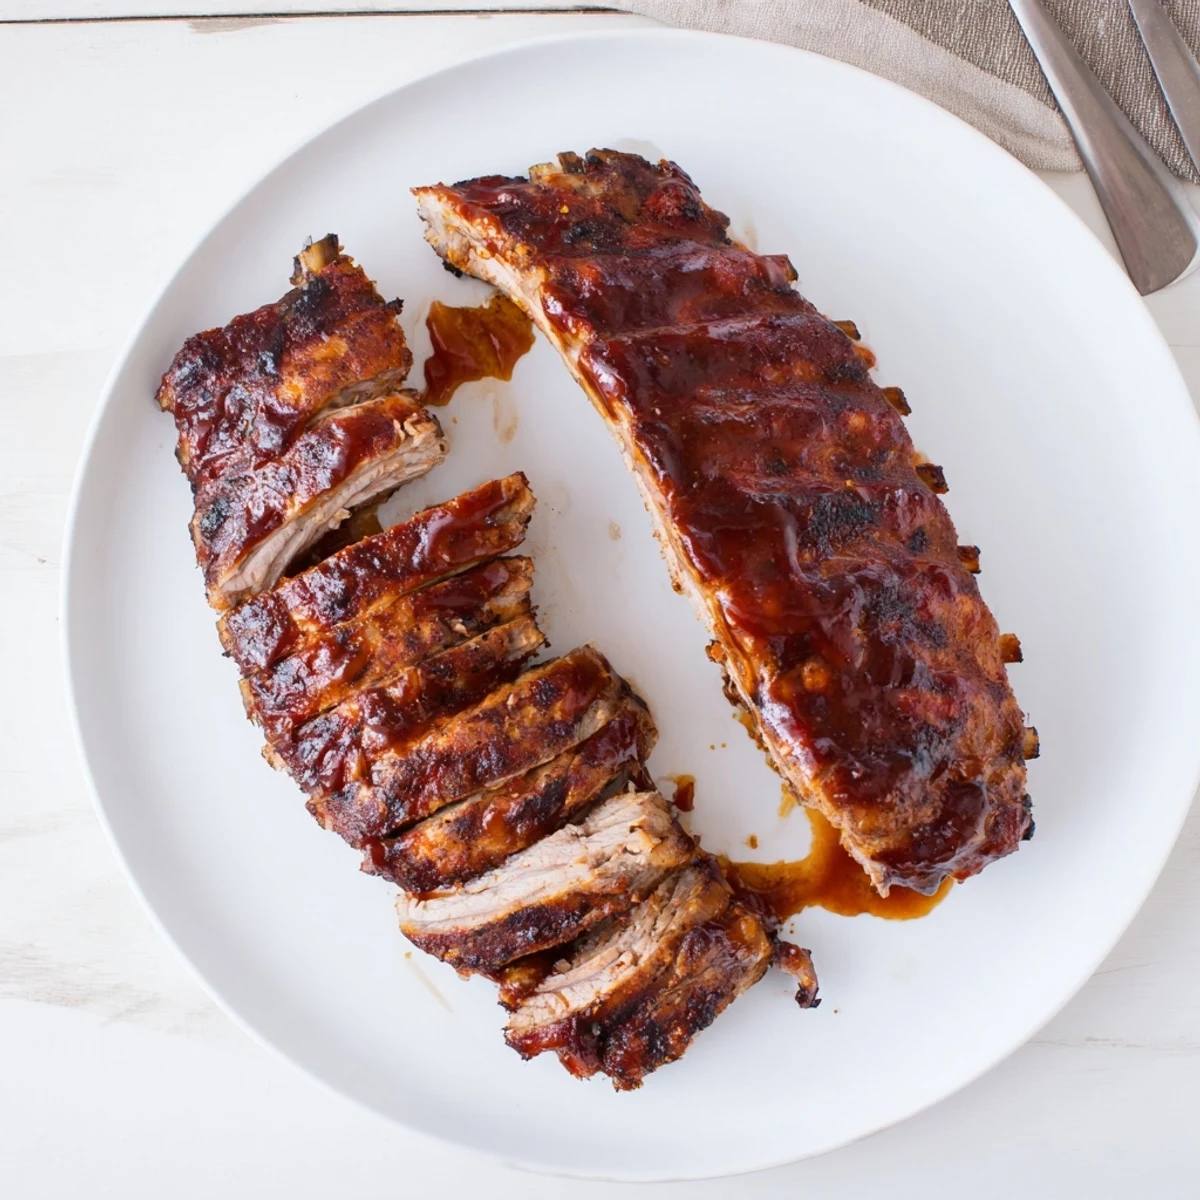 Pin
Pin May your next cookout be filled with laughter, second helpings, and that irresistible aroma wafting through the air. Ribs this good have a way of making every gathering unforgettable.
Recipe FAQs
- → How do I remove the membrane from ribs?
-
Slide a knife under the membrane at one end, lift and use a paper towel to grip and pull it off in one piece for more tender results.
- → What temperature and method yield tender ribs?
-
Cook low and slow: indirect medium heat (about 140–160°C / 285–320°F) wrapped in foil for moisture, then finish unwrapped over direct heat to caramelize the glaze.
- → Why add apple cider vinegar inside the foil?
-
A splash of vinegar creates steam that helps break down connective tissue and brightens the overall flavor during the foil phase.
- → Can I use a gas grill instead of charcoal?
-
Yes. Maintain indirect medium heat and monitor temperature. Gas grills are fine for the low-and-slow phase, then move to direct burners for finishing charring.
- → How long should I baste and finish the glaze?
-
Brush generously after unwrapping and grill 10–15 minutes, turning and basting often until the sauce caramelizes without burning.
- → How should leftovers be stored and reheated?
-
Wrap cooled ribs tightly and refrigerate up to 3–4 days. Reheat gently in a low oven or covered on the grill with a little sauce to retain moisture.