 Pin
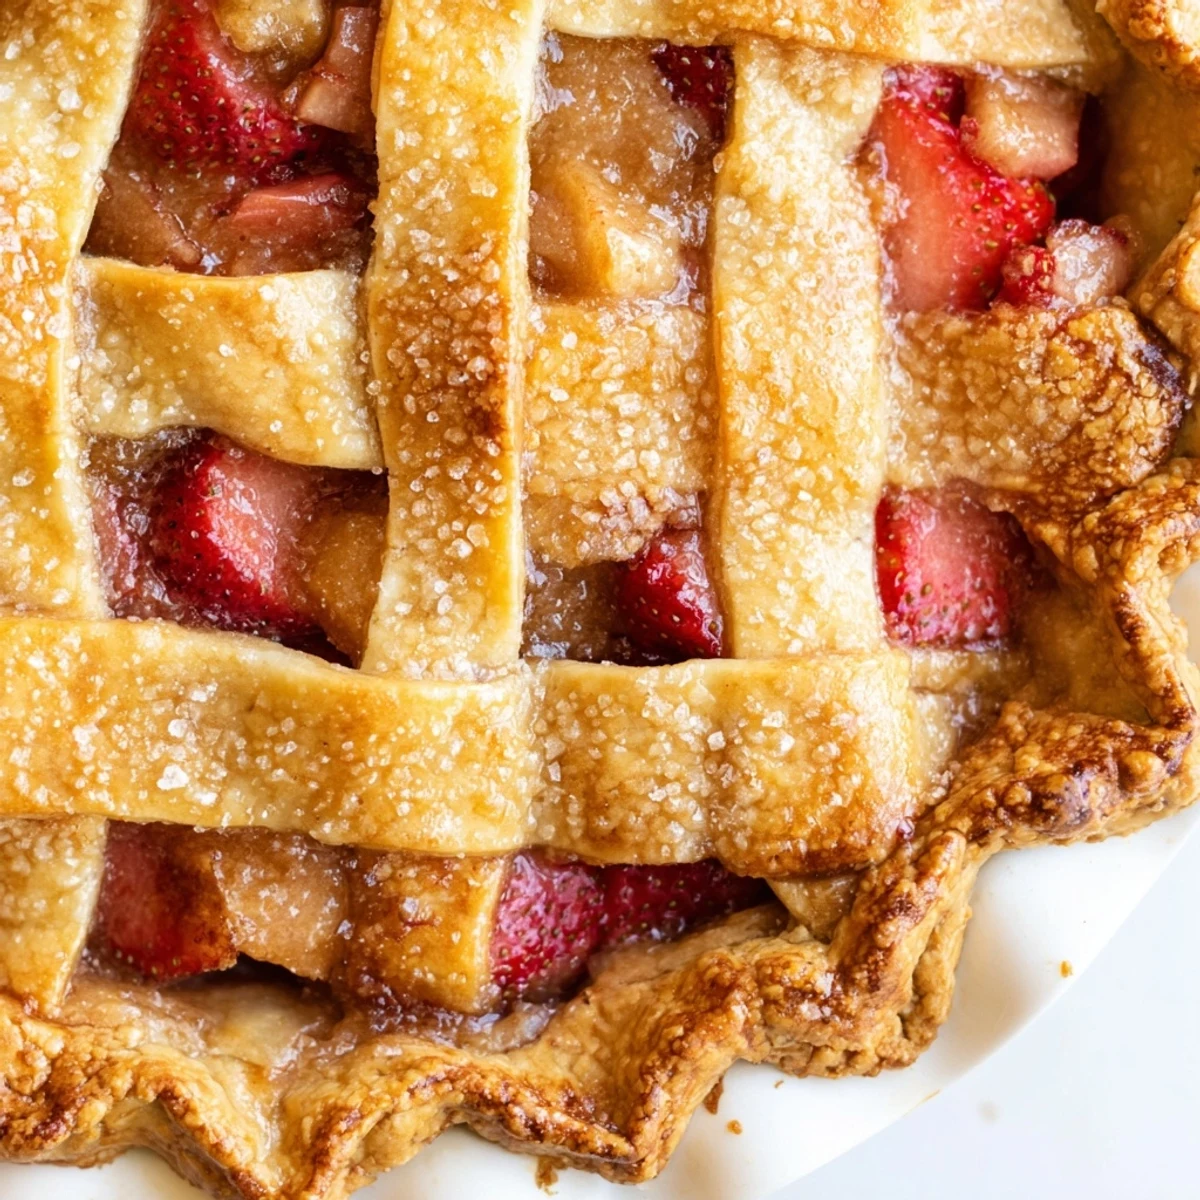
Pin This gluten-free strawberry-rhubarb pie begins with a flaky, chilled gluten-free crust and a filling of strawberries, diced rhubarb, sugar, cornstarch, cinnamon and lemon. Roll two dough discs, top with a solid or lattice lid, brush with egg wash and sprinkle sugar. Bake 45–50 minutes until bubbling and golden, then cool at least 2 hours before slicing for best texture.
The farmer across the road dropped off a paper bag of rhubarb on my porch last June, stalks as red as traffic lights and twitching with dew. I had strawberries sitting on the counter from that mornings market run, and the two together smelled like a season trying to introduce itself. Within an hour my kitchen was covered in flour and my windows were steamed up from a pie I hadnt planned on making. That spontaneous pie disappeared so fast I made a second one the very next day.
I brought this pie to a neighborhood potluck and watched a woman who swore she hated rhubarb go back for a second slice before the compliment left her mouth.
Ingredients
- Gluten-free all-purpose flour blend (2 1/2 cups / 300 g): Use a blend that already contains xanthan gum because it saves you from sandy, crumbly dough.
- Sugar (1 tbsp for crust, 3/4 cup / 150 g for filling): The small amount in the crust keeps it from tasting flat, while the filling amount is calibrated for natural sweetness.
- Salt (1/2 tsp for crust, 1/8 tsp for filling): Salt in gluten-free baking is non-negotiable since GF flours tend to mute flavor.
- Cold unsalted butter (1 cup / 230 g, cubed): Cold butter is the entire secret to flaky layers so cube it straight from the fridge and work fast.
- Large egg (1 for crust, 1 beaten for wash): The egg in the dough adds structure that gluten-free flour desperately needs.
- Ice water (4 to 6 tbsp): Add it gradually because gluten-free dough goes from too dry to too wet in a single splash.
- Strawberries (2 cups / 250 g, hulled and sliced): Smaller, ripe berries carry more concentrated flavor than giant out-of-season ones.
- Rhubarb (2 cups / 250 g, diced): Dice it uniformly so every bite has the same tangy punch instead of a surprise sour chunk.
- Cornstarch (1/4 cup / 30 g): This is the thickener that turns juicy fruit into sliceable pie filling.
- Ground cinnamon (1/4 tsp): Just a whisper of cinnamon rounds out the fruit without announcing itself.
- Lemon juice (1 tbsp): Fresh lemon keeps the filling lively and prevents the strawberries from tasting flat.
Instructions
- Cut the butter in:
- Whisk the flour, sugar, and salt together in a big bowl, then drop in the cold butter cubes and cut them in with a pastry blender or your fingertips until everything looks like coarse sand with a few pea-sized bits left.
- Bring the dough together:
- Beat the egg with 4 tablespoons of ice water in a small bowl, pour it into the flour mixture, and stir gently until the dough just holds together, adding more water a tablespoon at a time if it looks too dry.
- Chill the discs:
- Split the dough into two flat discs, wrap each tightly in plastic, and let them rest in the fridge for at least an hour so the butter firms back up and the flour hydrates properly.
- Preheat the oven:
- Set your oven to 400 degrees F (200 degrees C) and give it a full twenty minutes to get truly hot because a cold oven means a soggy bottom crust.
- Toss the filling:
- In a large bowl, combine the strawberries, rhubarb, sugar, cornstarch, cinnamon, salt, and lemon juice, tossing everything with your hands until the fruit is evenly coated and glossy.
- Roll and line the plate:
- Roll one disc of dough between two sheets of parchment paper until it is large enough to fill a 9-inch pie plate, then gently ease it in without stretching and trim the overhang.
- Fill and top:
- Pour the fruit mixture into the crust and spread it evenly, then roll out the second disc and lay it over the top either whole or woven into a lattice, sealing and crimping the edges with your fingers or a fork.
- Wash and sprinkle:
- Brush the top crust with beaten egg and scatter a teaspoon of sugar over it so it bakes into a crackly, golden finish.
- Bake until golden:
- Set the pie on a baking sheet to catch drips and bake for 45 to 50 minutes until the crust is deeply golden and you can see the filling bubbling through the vents or lattice openings.
- Cool before slicing:
- Let the pie rest on a wire rack for at least 2 hours because cutting too early turns your beautiful pie into a soupy mess.
 Pin
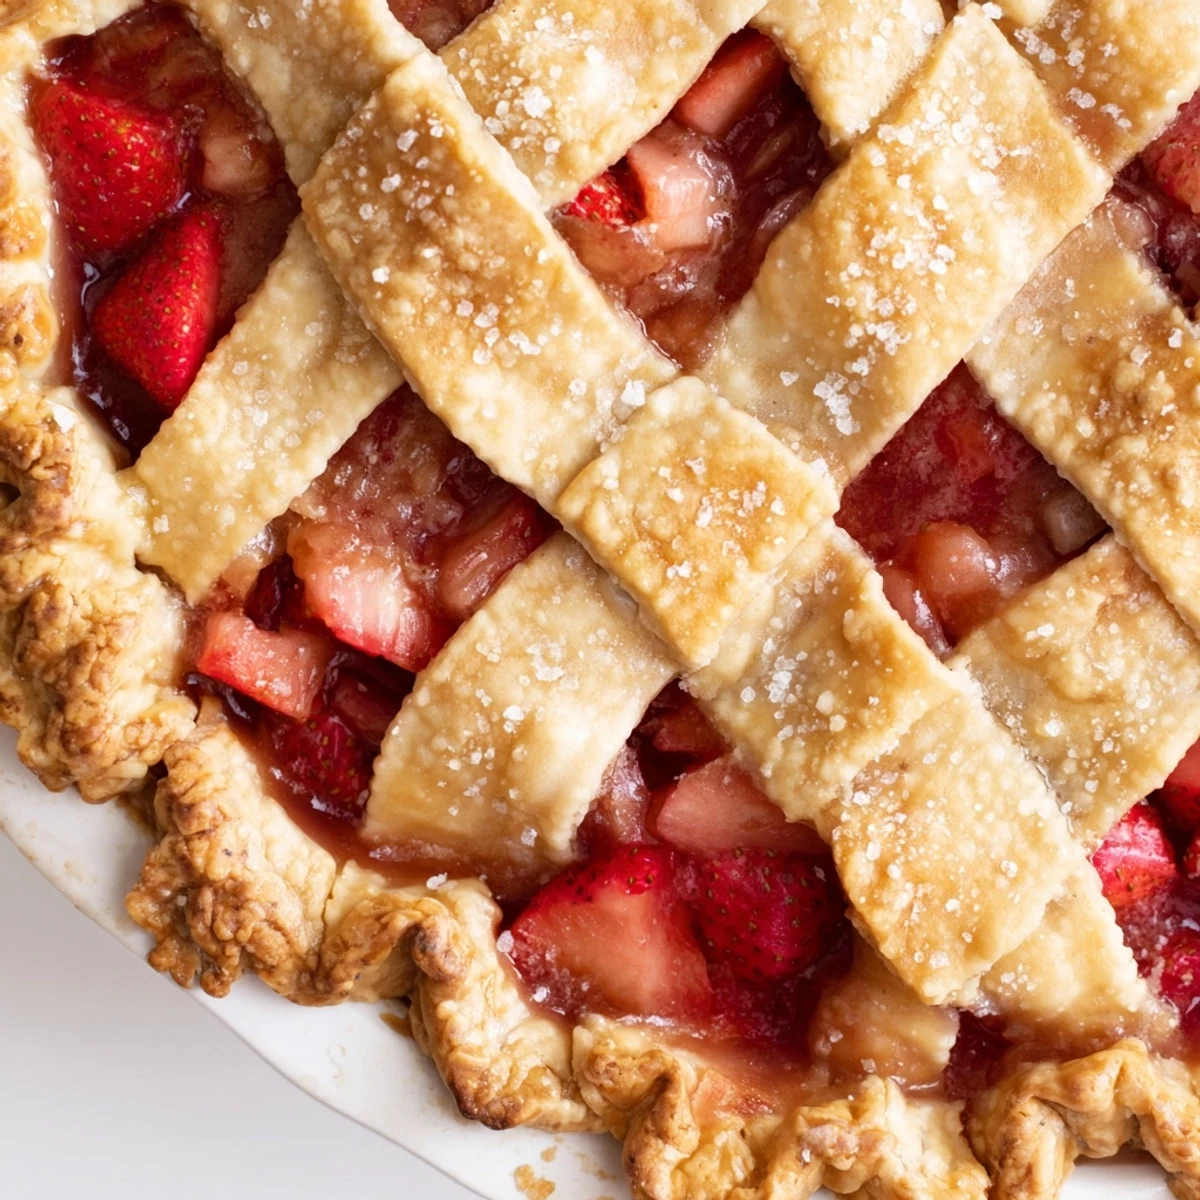
Pin One rainy afternoon my daughter sat on the kitchen counter swinging her legs while I woven a lattice top, and she announced that the pie looked like it was wearing a sweater.
Serving Suggestions
A scoop of vanilla bean ice cream slowly melting over a warm slice of this pie turns a great dessert into something people close their eyes while eating. Whipped cream works too, especially if you add a drop of rose water to it for a subtle floral lift.
Vegan and Allergy Swaps
Replace the butter with a high-quality vegan butter stick and swap the egg for a flaxseed egg made from one tablespoon of ground flax mixed with three tablespoons of water. Brush the top crust with non-dairy milk instead of egg wash and you will still get a beautiful golden color.
Storing and Making Ahead
This pie keeps well at room temperature for up to two days if loosely covered with foil, and it actually tastes better the second day when the flavors have settled.
- You can make the crust dough up to three days ahead and store the discs in the fridge wrapped tightly.
- The assembled but unbaked pie freezes beautifully for up to a month so you can bake it straight from frozen with just ten extra minutes in the oven.
- Always check that your flour blend is certified gluten-free because cross-contamination can happen at the processing level.
 Pin
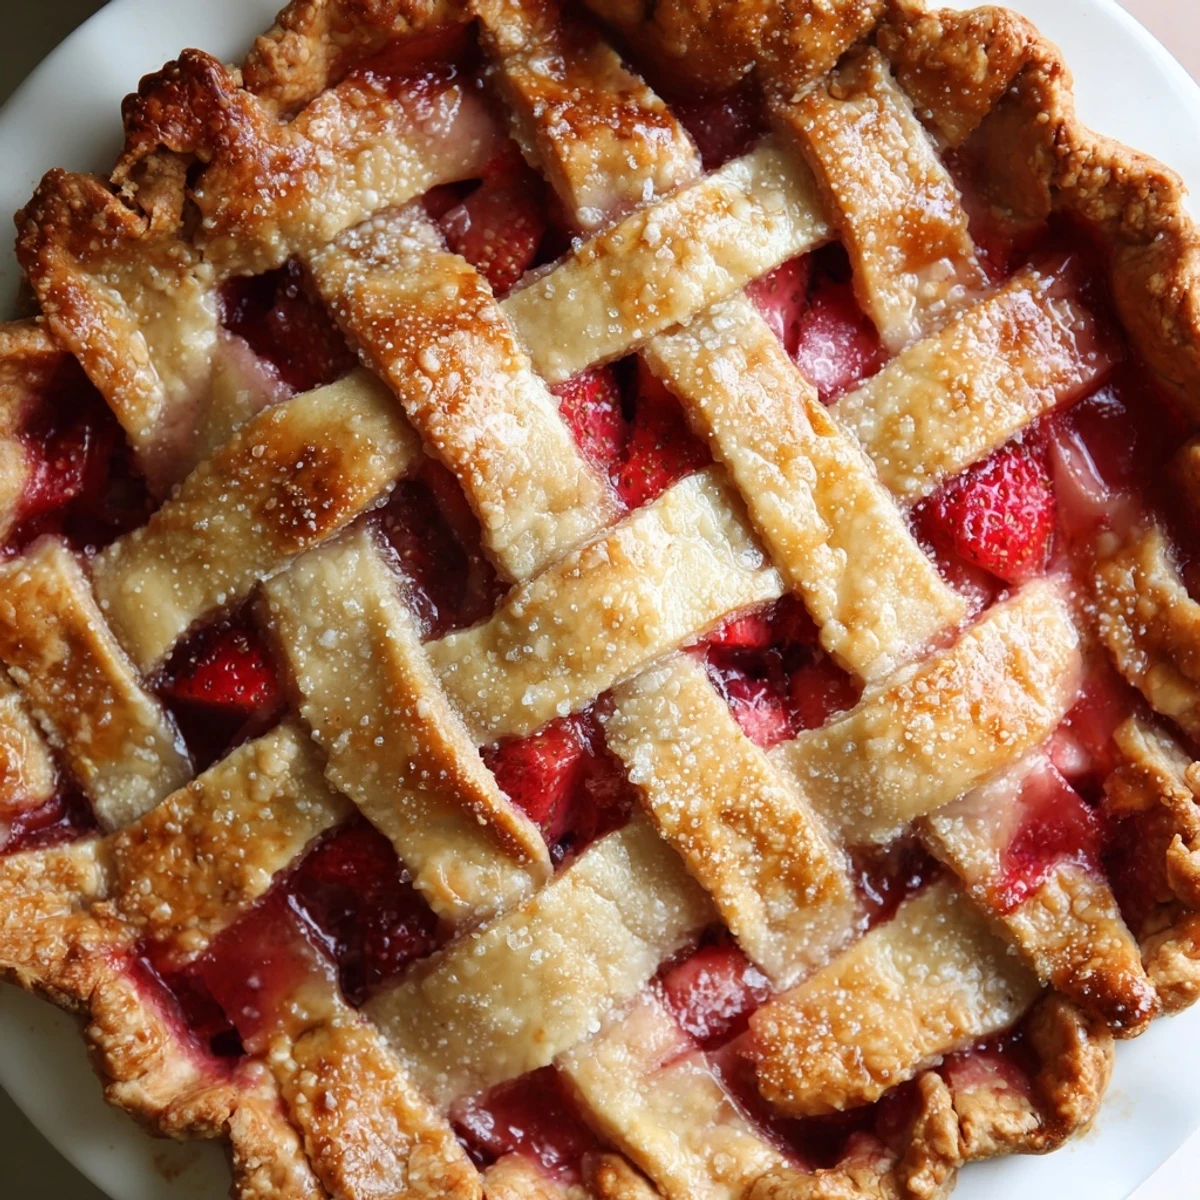
Pin This pie tastes like the best kind of June afternoon, whether you share it with a crowd or eat a slice standing over the sink when nobody is watching.
Recipe FAQs
- → How do I prevent a soggy bottom crust?
-
Blind-bake the bottom crust briefly or place the assembled pie on a preheated baking sheet. Ensure the filling is well-thickened with cornstarch and avoid overly wet fruit by tossing with sugar and cornstarch before filling.
- → When is the filling fully cooked?
-
The filling should be bubbling through the vents or edges and the crust a deep golden color. Bubbles indicate the cornstarch has activated and the filling will set as it cools.
- → Can I make the crust ahead of time?
-
Yes. Form the dough into discs and chill for at least 1 hour or freeze for longer storage. Thaw in the refrigerator before rolling to maintain texture and ease of handling.
- → What are good swaps for extra flavor?
-
Add a splash of vanilla or a pinch of nutmeg, swap half the strawberries for raspberries, or stir in a tablespoon of orange zest to brighten the filling.
- → How can I adapt this for egg or dairy allergies?
-
Use plant-based butter and a flaxseed egg for the crust, and brush the top with non-dairy milk instead of egg wash. Check all ingredients for allergy-safe labeling.
- → How should I store leftovers?
-
Keep cooled slices covered at room temperature for up to 24 hours or refrigerate up to 3 days. Rewarm gently in a low oven for a fresh-baked texture.