 Pin
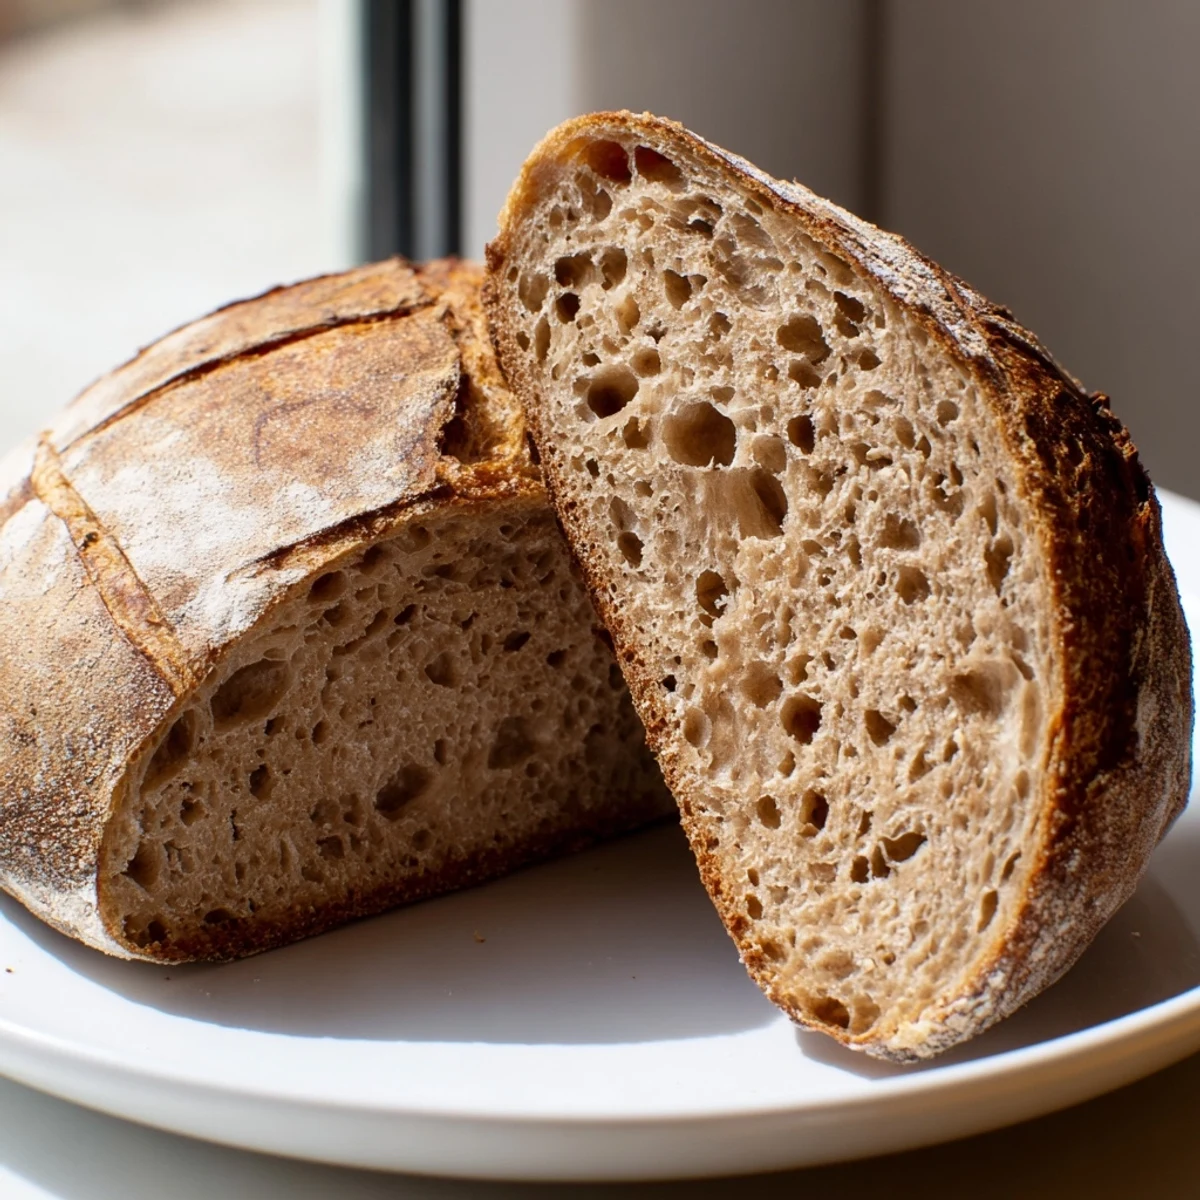
Pin Create an authentic crusty sourdough loaf using wild yeast fermentation and traditional techniques. This artisan bread develops a beautifully chewy crumb and distinctive tangy flavor through an extended 14–20 hour process including autolyse, bulk fermentation, and proofing stages.
The method combines bread flour with whole wheat for depth, while stretch-and-fold techniques build structure naturally. Baking in a preheated Dutch oven creates professional steam for exceptional crust development.
Cold-proofing overnight enhances sour notes, making this perfect for both beginners and experienced bakers seeking genuine results.
The smell of sourdough baking in my apartment always makes my neighbors pause in the hallway. I started this journey during a lonely winter when I needed something alive and patient in my kitchen. My first loaf was dense as a brick, but that tangy, complex flavor kept me trying batch after batch. Now I cant imagine a weekend without the rhythm of feeding, folding, and baking.
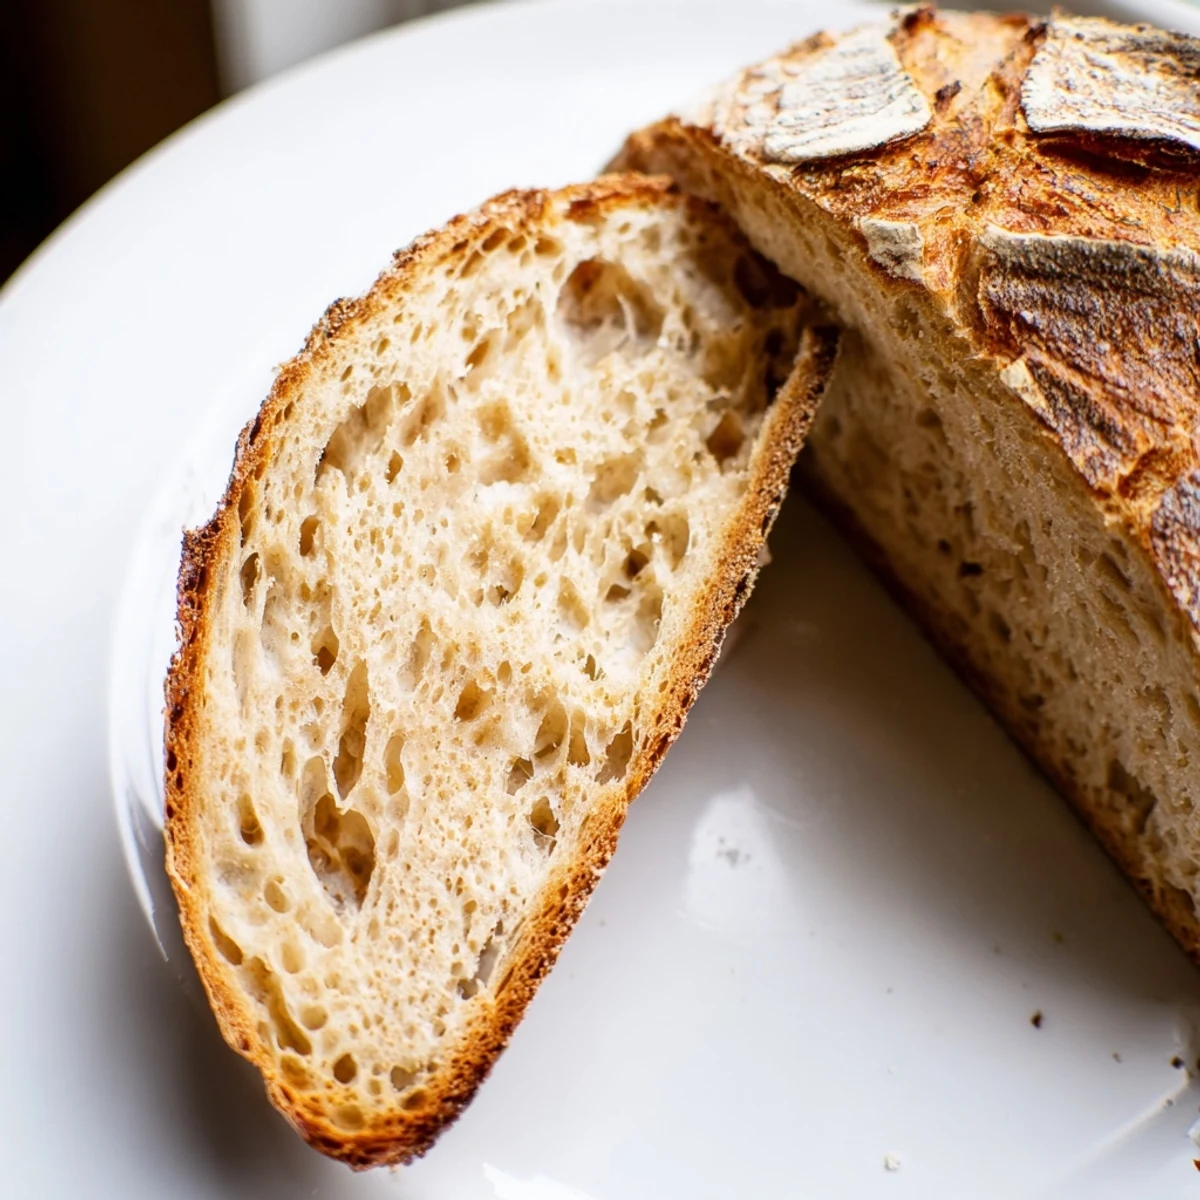
I brought my first successful loaf to a dinner party, and the host actually gasped when I pulled it from the bag. The crumb was open and beautiful, the crust shattered under the knife. We spent the whole meal passing slices around the table, tearing off pieces by hand. Thats when I knew sourdough wasnt just bread. It was something worth sharing.
Ingredients
- Active sourdough starter: Use starter thats been fed within 8 hours and doubled in volume. The wild yeast here does all the heavy lifting.
- Bread flour: Higher protein content than all purpose gives better structure and those gorgeous air pockets.
- Whole wheat flour: Just enough adds depth, nuttiness, and helps fermentation along.
- Water: Room temperature helps the starter wake up and get to work immediately.
- Sea salt: Dont skip this or skimp. Salt controls fermentation and deepens flavor dramatically.
Instructions
- The autolyse rest:
- Mix the flours and water until combined but not smooth. This hydrates the flour and develops gluten before you even start kneading.
- Bring it together:
- Add your bubbly starter and salt. Squeeze and fold the dough until everything is evenly distributed. It will feel shaggy at first.
- Bulk fermentation:
- Let the dough rise at room temperature for 4 to 5 hours. Every 30 to 45 minutes, grab one edge of the dough and fold it over the center. Repeat four times working around the bowl.
- Pre shape gently:
- Turn dough onto a floured surface and coax it into a loose round. Let it rest for 20 minutes to relax the gluten.
- Final shaping:
- Tighten the dough into a smooth ball, creating surface tension. Place seam side up in a floured proofing basket.
- The final rise:
- Let proof for 2 to 3 hours at room temperature. For more sour flavor, refrigerate overnight.
- Get your oven ready:
- Heat a Dutch oven at 250 degrees Celsius for at least 30 minutes. The trapped steam is crucial for that blistered crust.
- The moment of truth:
- Invert dough onto parchment, score with a sharp blade, and transfer to the hot pot. Bake covered for 20 minutes, then uncovered for 25 more.
- Patient cooling:
- Let the bread cool completely on a wire rack. Slicing while warm ruins the crumb and loses moisture.
 Pin
Pin Sunday mornings in my house now revolve around the sourdough schedule. I time my coffee, my emails, even my shower around when the dough needs folding. Its a slow, deliberate kind of magic that grounds the whole week ahead.
Understanding Fermentation
The longer your dough ferments, the more complex the flavor becomes. Cold proofing in the refrigerator develops that signature tang. Watch your dough, not the clock. When its puffy and jiggly like a water balloon, it is ready to bake.
Getting That Professional Crust
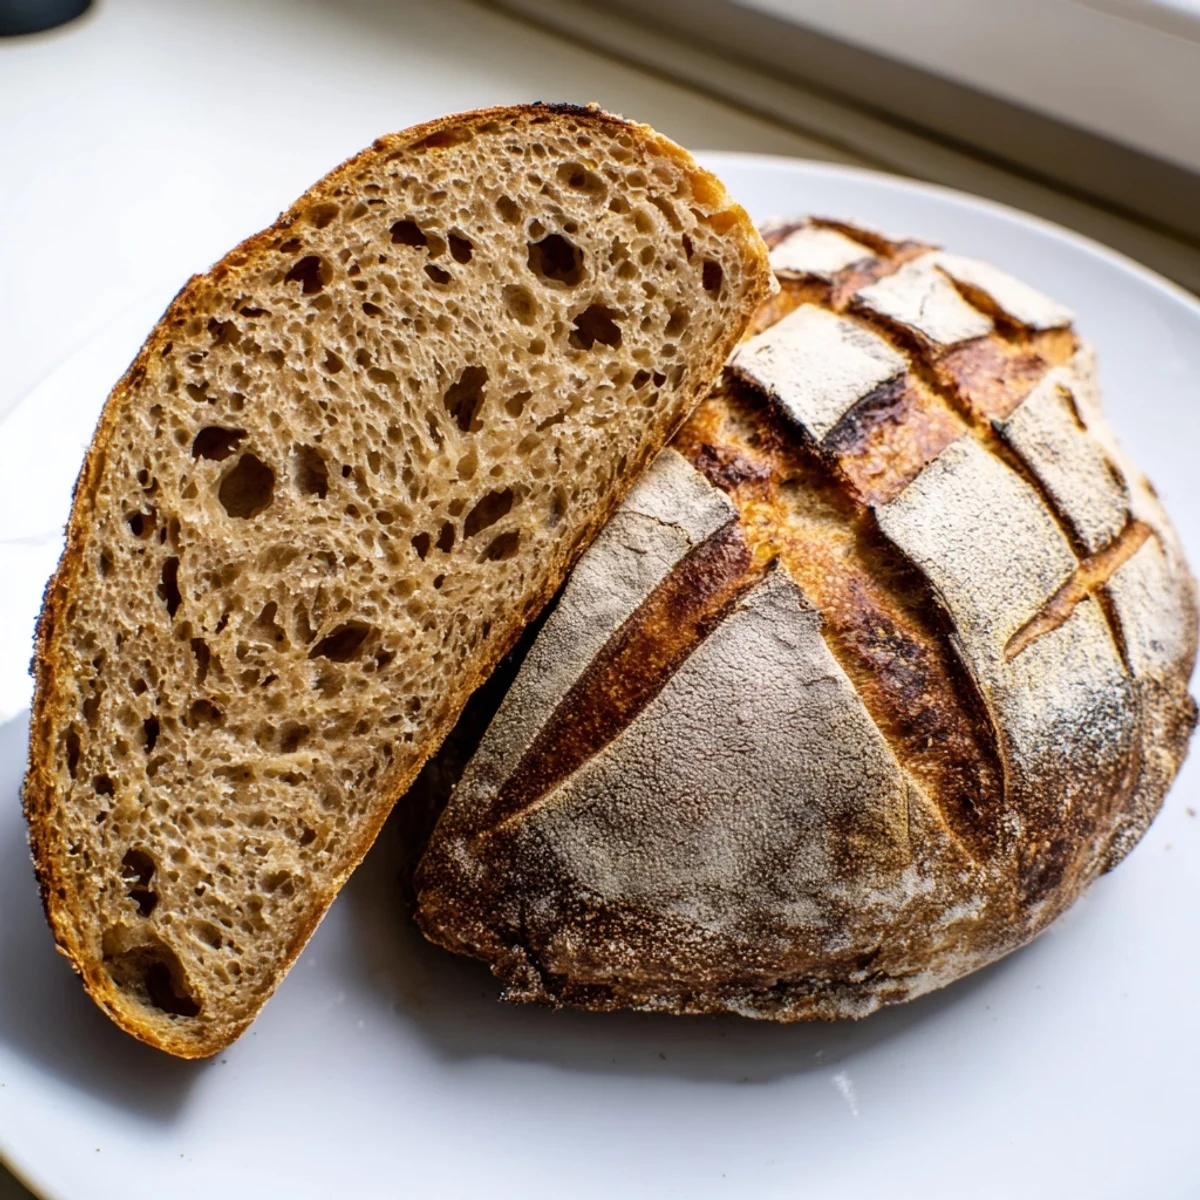
A Dutch oven creates a steamy environment that mimics professional deck ovens. The steam keeps the crust soft initially, allowing maximum oven spring. When you remove the lid, the crust hardens into that chewy, golden perfection.
Storing and Slicing
Store your loaf cut side down on a cutting board or wrapped in a cloth bag. Plastic makes the crust soggy. The flavor actually develops for a day or two after baking.
- Freeze extra slices wrapped tightly and toast straight from frozen
- Revive a day old loaf with a quick sprinkle of water and 10 minutes in a hot oven
- Stale sourdough makes incredible breadcrumbs or croutons
 Pin
Pin There is something profound about bread you made yourself, fermented by wild yeast captured in your own kitchen. Every slice tells the story of time, temperature, and attention. That is worth the wait.
Recipe FAQs
- → What makes sourdough different from regular bread?
-
Sourdough uses wild yeast and beneficial bacteria naturally present in flour rather than commercial yeast. This creates signature tangy flavor, improves digestibility, and develops a chewy crumb with superior keeping qualities.
- → How do I know when my starter is active enough?
-
Your starter should be fed 8–12 hours before mixing, doubled in volume, bubbly throughout, and have a pleasant sour aroma. When you drop a spoonful in water, it should float.
- → Can I skip the overnight proof?
-
You can proof at room temperature for 2–3 hours, though cold-proofing develops deeper flavor complexity and makes scoring easier. Both methods work well for different schedules.
- → Why is a Dutch oven recommended?
-
A preheated Dutch oven creates professional steam during baking, essential for developing a crispy, crackly crust and impressive oven spring. It mimics commercial steam-injected ovens.
- → How should I store the finished loaf?
-
Wrap in cloth or place cut-side down in a paper bag at room temperature for up to 3 days. Avoid plastic as it softens the crust. Freezing sliced portions works excellently for longer storage.