 Pin
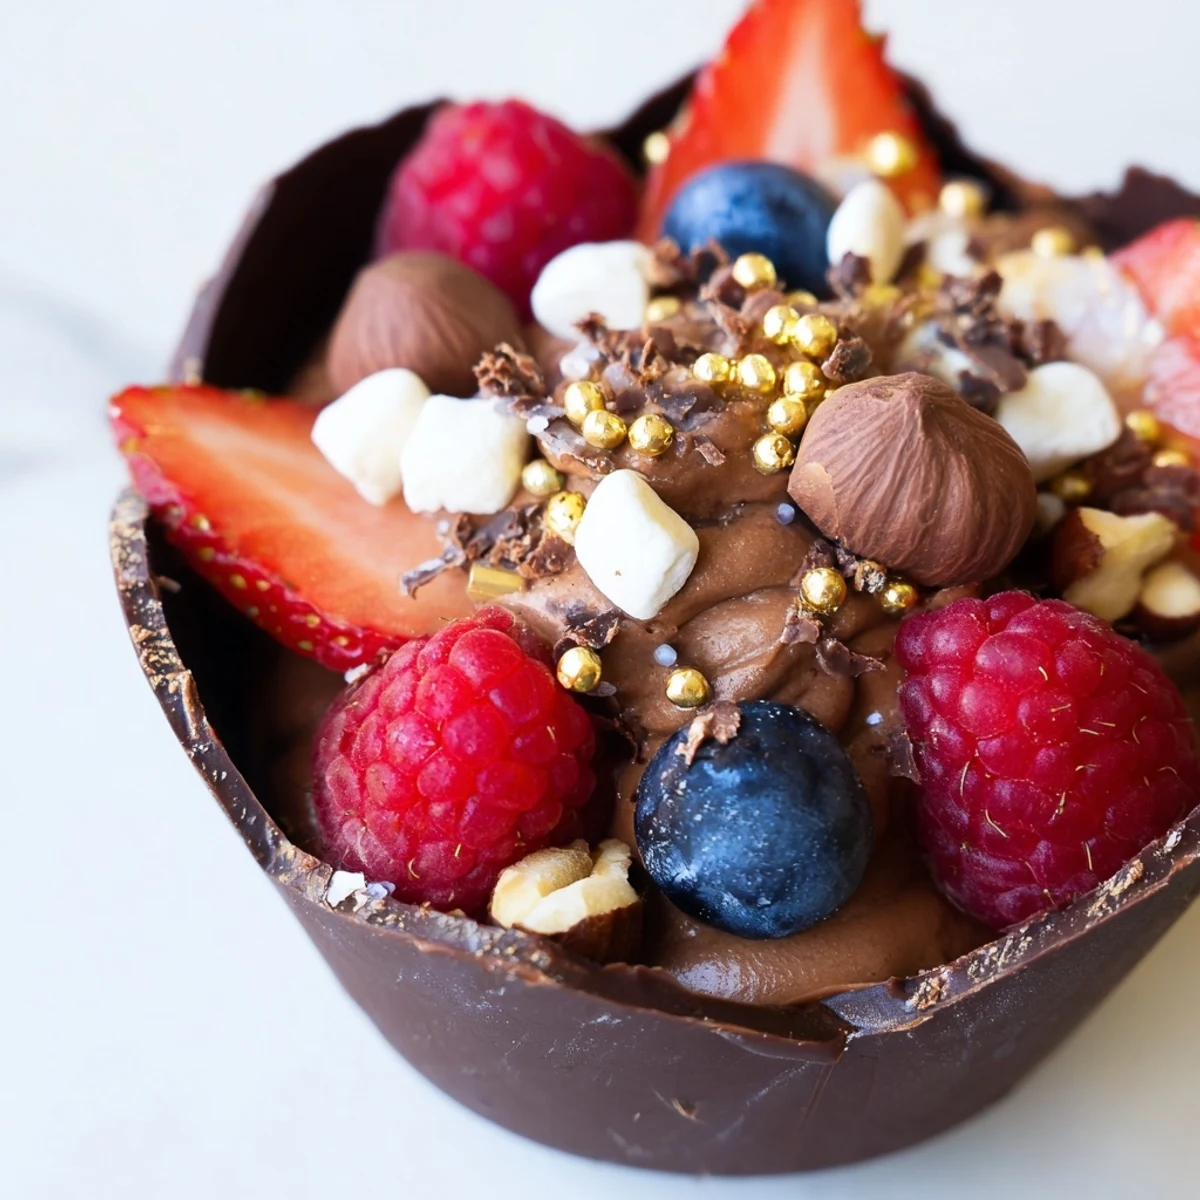
Pin These elegant chocolate grazing cups feature handcrafted dark chocolate shells filled with silky chocolate mousse. Each cup is topped with fresh mixed berries, crunchy nuts, mini marshmallows, and chocolate curls for a luxurious dessert experience.
The preparation involves creating delicate chocolate cups by coating liners with melted dark chocolate, then whipping together a creamy mousse with vanilla and powdered sugar. The assembly allows for creative garnishing with edible gold leaf or pearls for extra sophistication.
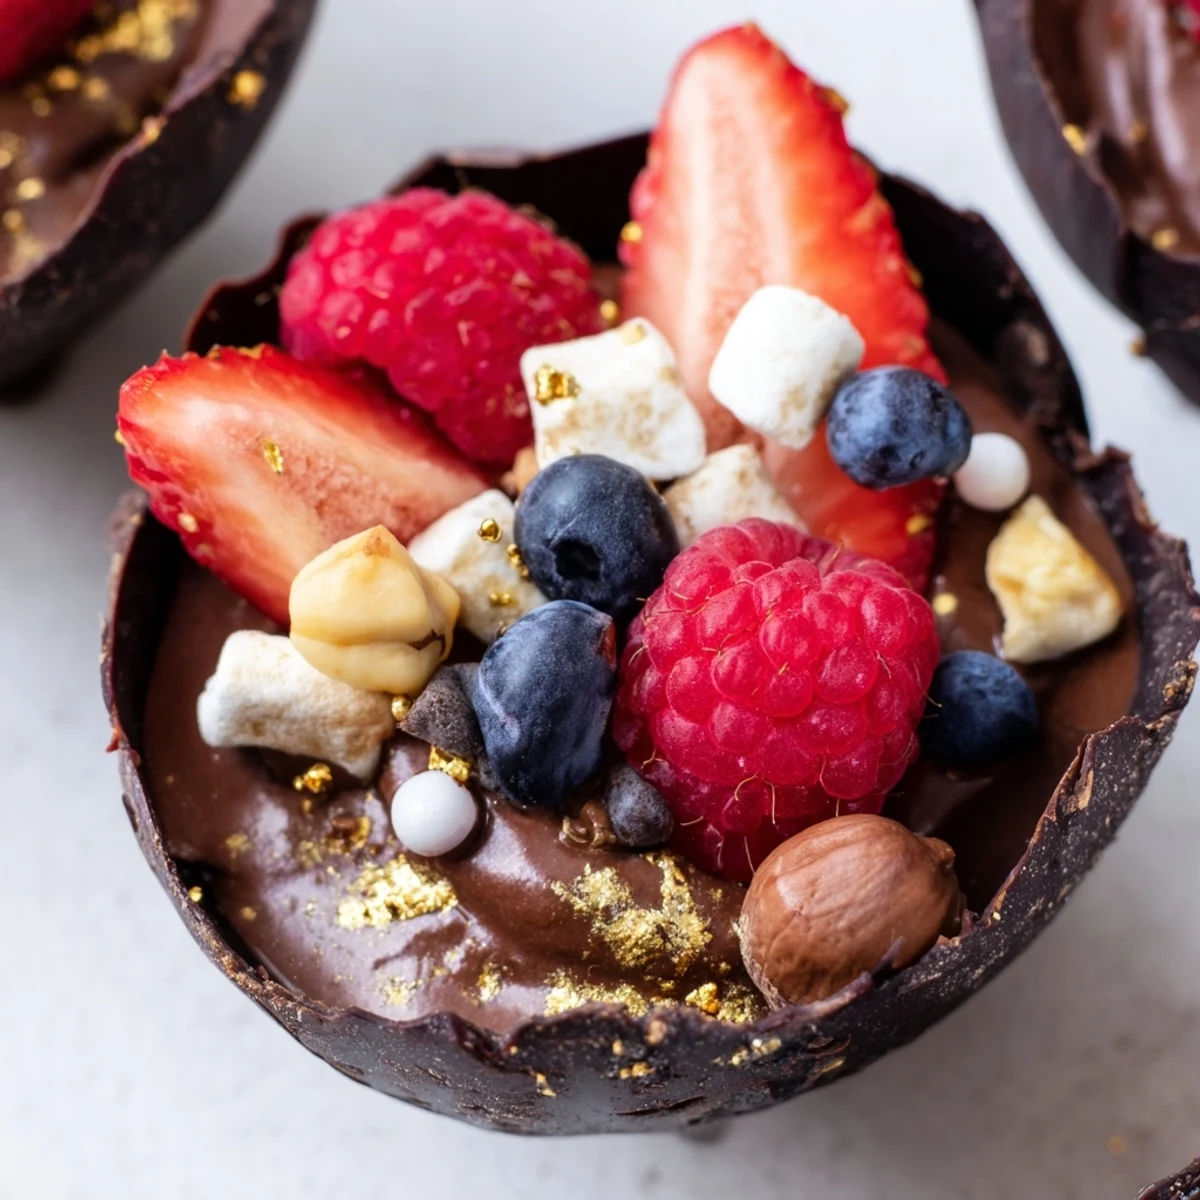
Best assembled fresh on serving day, these grazing cups offer an impressive presentation perfect for dessert tables, celebrations, or intimate gatherings. The combination of smooth mousse, tart berries, and textured toppings creates an indulgent treat that balances richness with freshness.
The first time I made chocolate cups, my kitchen smelled like a chocolate shop and I couldnt stop sampling the mousse. These grazing cups have become my go to when I want something impressive but actually manageable to make.
I served these at my dinner club last spring and everyone went quiet for a solid minute after the first bite. Thats when you know a dessert recipe is a keeper.
Ingredients
- Dark chocolate (at least 60% cocoa): The higher cocoa percentage gives your cups structure and depth of flavor that milk chocolate just cant match
- Heavy cream: Very cold whips up faster and holds those delicate peaks better
- Powdered sugar: Dissolves instantly into the cream so no grainy texture in your silky mousse
- Vanilla extract: Pure vanilla makes the chocolate sing instead of just tasting sweet
- Fresh mixed berries: The tartness cuts through all that rich chocolate beautifully
- Chopped nuts: Toast them first for that warm nutty aroma that takes these cups over the top
- Mini marshmallows: Pure nostalgia factor plus textural contrast
- Chocolate curls: Use a vegetable peeler on a room temperature chocolate bar for effortless curls
Instructions
- Craft your chocolate cups:
- Melt the dark chocolate until glossy and smooth, then paint the insides of your liners with a pastry brush. The freezer speeds up setting time but watch closely so the chocolate doesnt crack from the temperature change.
- Whip up the mousse:
- Melt the chocolate and let it cool to room temperature while you whip the cream. Fold them together gently like youre folding a letter into an envelope to keep all that air you just whipped in.
- Bring it all together:
- Fill each chocolate cup about two thirds full with mousse, then let your creativity take over with the toppings. The mousse settles a bit in the fridge so dont be afraid to pile those berries high.
- Let them rest:
- Twenty minutes in the fridge lets everything firm up just enough that the cups hold their shape when you take that first bite. Trust me, warm chocolate mousse is wonderful but chilled is even better.
 Pin
Pin My sister texted me at midnight after I first made these, demanding the recipe because she couldnt stop thinking about them. Now theyre her signature dessert for dinner parties too.
Getting That Perfect Chocolate Shell
Theres a moment when painting the chocolate cups where you think its too thin, but itll actually set perfectly. If you can still see through slightly to the liner, youre doing it right. Too thick and the cups become overwhelming to eat in one bite.
The Art of Mousse Folding
I ruined my first batch by stirring too vigorously and ending up with dense chocolate pudding instead of cloudlike mousse. Now I tell myself folding with light hands is more important than speed every single time.
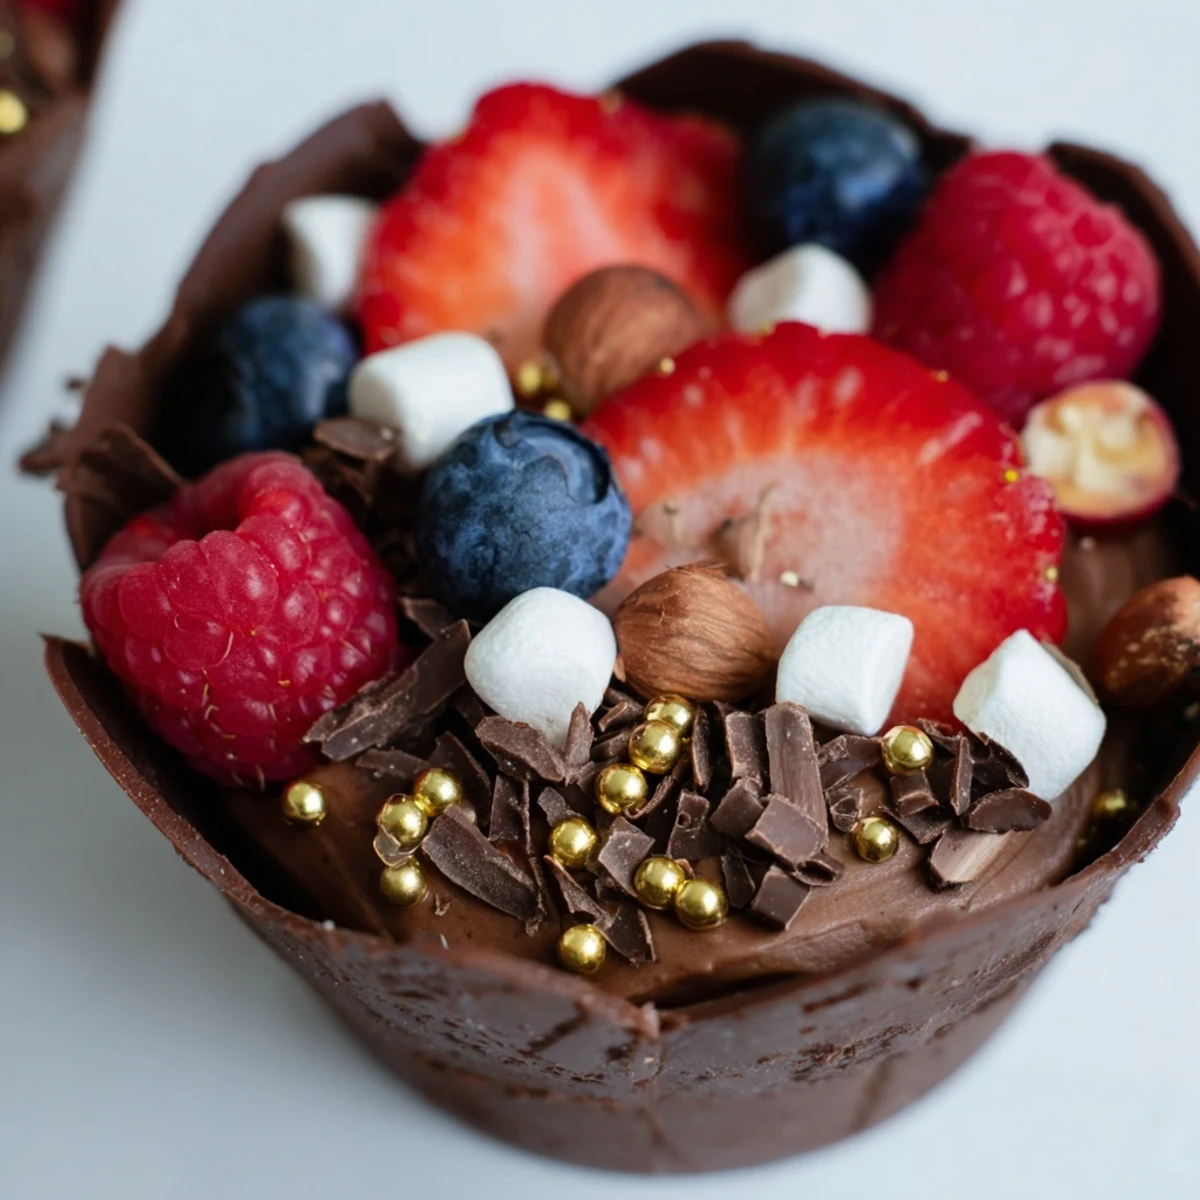
Building Your Grazing Cup
Start with the heaviest toppings at the bottom and work your way up to the delicate items on top. The berries go last because they release juice and can make everything underneath soggy if they sit too long.
- Press larger toppings gently into the mousse so they dont tumble off
- Add edible flowers for a pop of color that feels fancy
- Keep extra toppings nearby because guests always want to customize
 Pin
Pin These little cups have a way of making any Tuesday night feel like a celebration. Thats the magic of really good chocolate.
Recipe FAQs
- → How far in advance can I make these chocolate cups?
-
The chocolate cups can be prepared up to 2 days in advance and stored in an airtight container at room temperature. However, for optimal texture, it's best to assemble with mousse and toppings on the day of serving to prevent the mousse from losing its airy consistency and the toppings from becoming soggy.
- → Can I use milk or white chocolate instead of dark chocolate?
-
Absolutely. While dark chocolate provides a sophisticated richness that balances the sweet toppings, milk chocolate creates a sweeter, creamier profile. White chocolate offers a delicate, vanilla-forward flavor. Note that milk and white chocolate are softer, so the cups may require additional chilling time to set properly.
- → What other toppings work well with these grazing cups?
-
Beyond the suggested toppings, consider adding crushed pretzels for salt contrast, shaved coconut for tropical notes, or crushed cookies for extra crunch. Fresh mint leaves add brightness, while caramel drizzle complements the chocolate beautifully. For seasonal variations, try figs and pears in autumn or peaches in summer.
- → Do I need special equipment to make the chocolate cups?
-
No specialized equipment is required. Silicone cupcake liners work best for easy removal, but paper liners also function adequately. A small pastry brush helps achieve even coating, though a spoon works as well. The key is ensuring the chocolate is smooth and properly tempered—this means melting gently and avoiding overheating, which causes seizing.
- → How can I make these chocolate cups vegan?
-
Use dairy-free dark chocolate (verify it contains no milk solids) and substitute heavy cream with full-fat coconut cream or whipped plant-based cream alternatives. Coconut cream whips beautifully and adds subtle tropical notes. For the marshmallows, seek vegan brands made without gelatin. All other components—berries, nuts, and chocolate—are naturally plant-based.
- → What's the best way to melt chocolate for these cups?
-
A double boiler method offers the most control: place chopped chocolate in a heatproof bowl over simmering water, ensuring the bowl doesn't touch the water. Stir constantly until 75% melted, then remove from heat and continue stirring to melt the remainder. This prevents overheating. If using a microwave, heat in 20-second intervals at 50% power, stirring between each interval.